How to file proof of service
Recently updated on January 6th, 2026 at 04:01 am
- Click E-Serve button
From the dashboard (Notice the “Cases” item is selected)
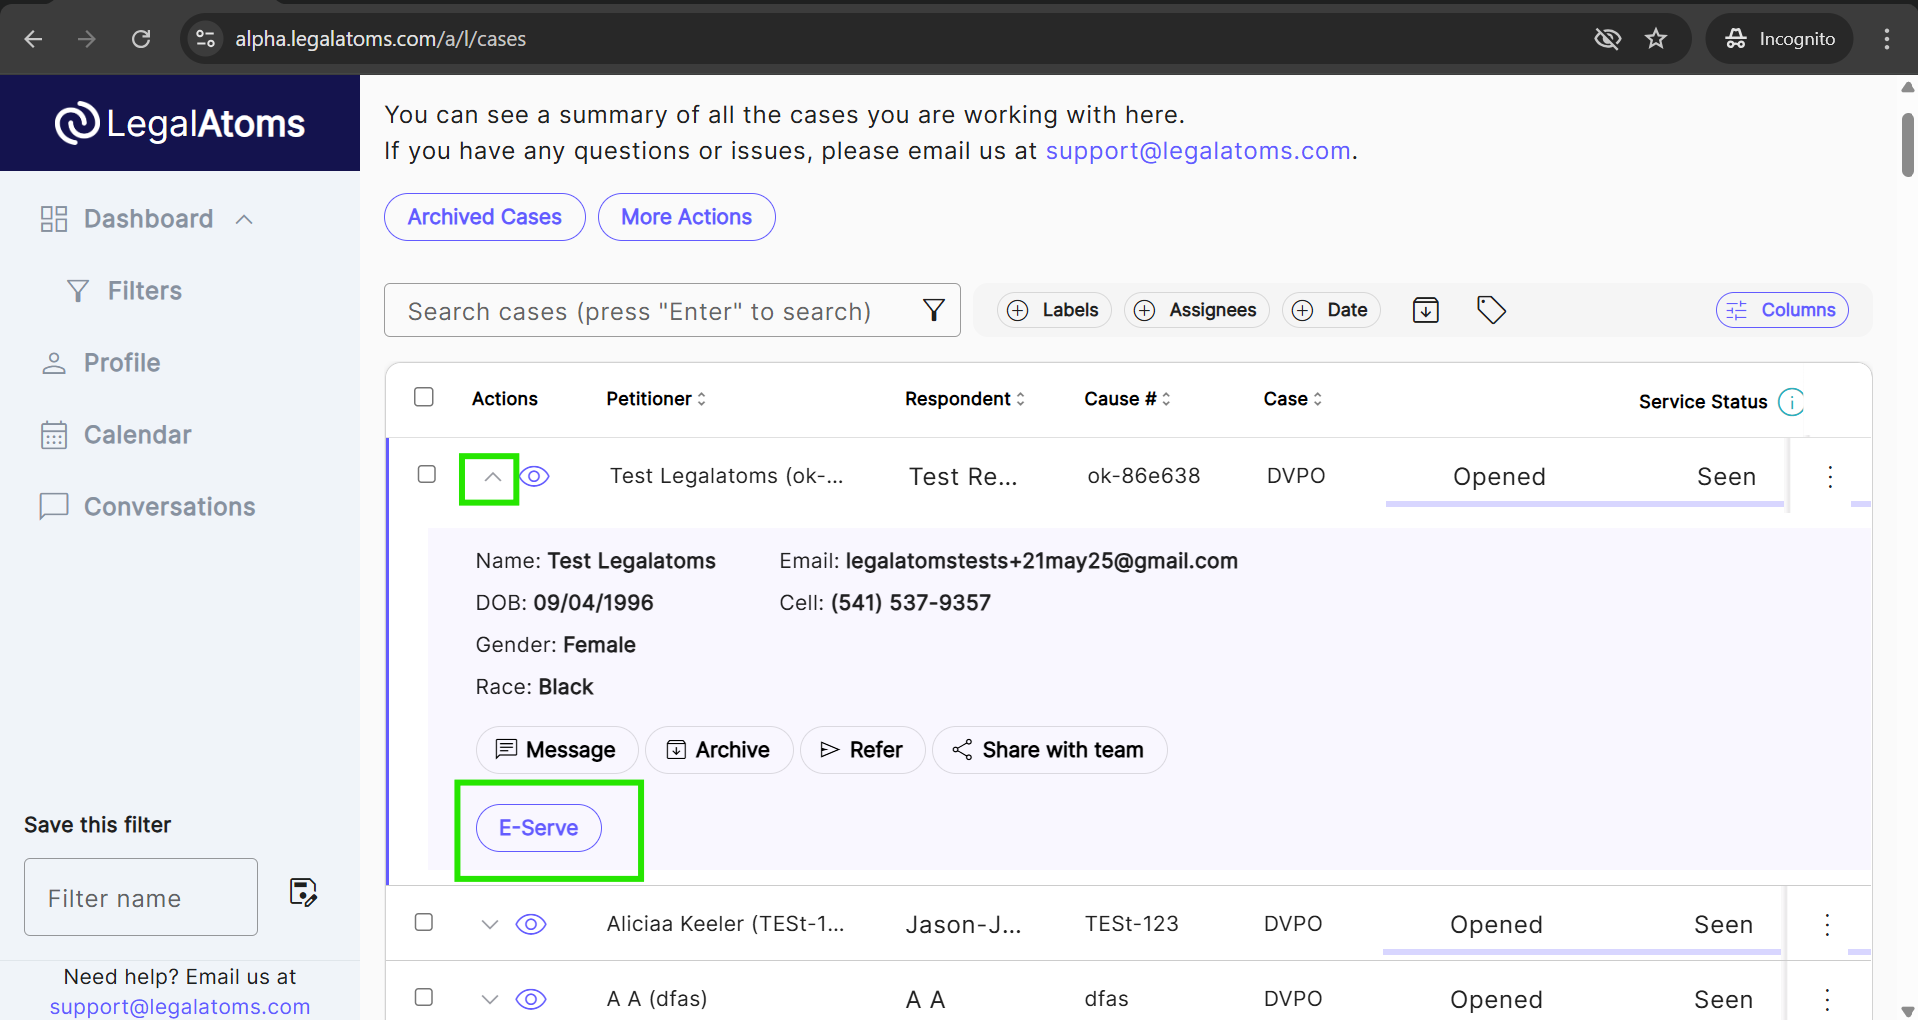
Please note you can click E-serve as many times as you want to serve
2. In the popup, click on the “Send” button
The telephone (cell) number, email address, and WhatsApp number are pre-populated using values provided by the petitioner. You are welcome to

2. At this point the respondent will receive notifications
The respondent can take time to view, and acknowledge the receipt of court documents. For details on the respondent experience please view
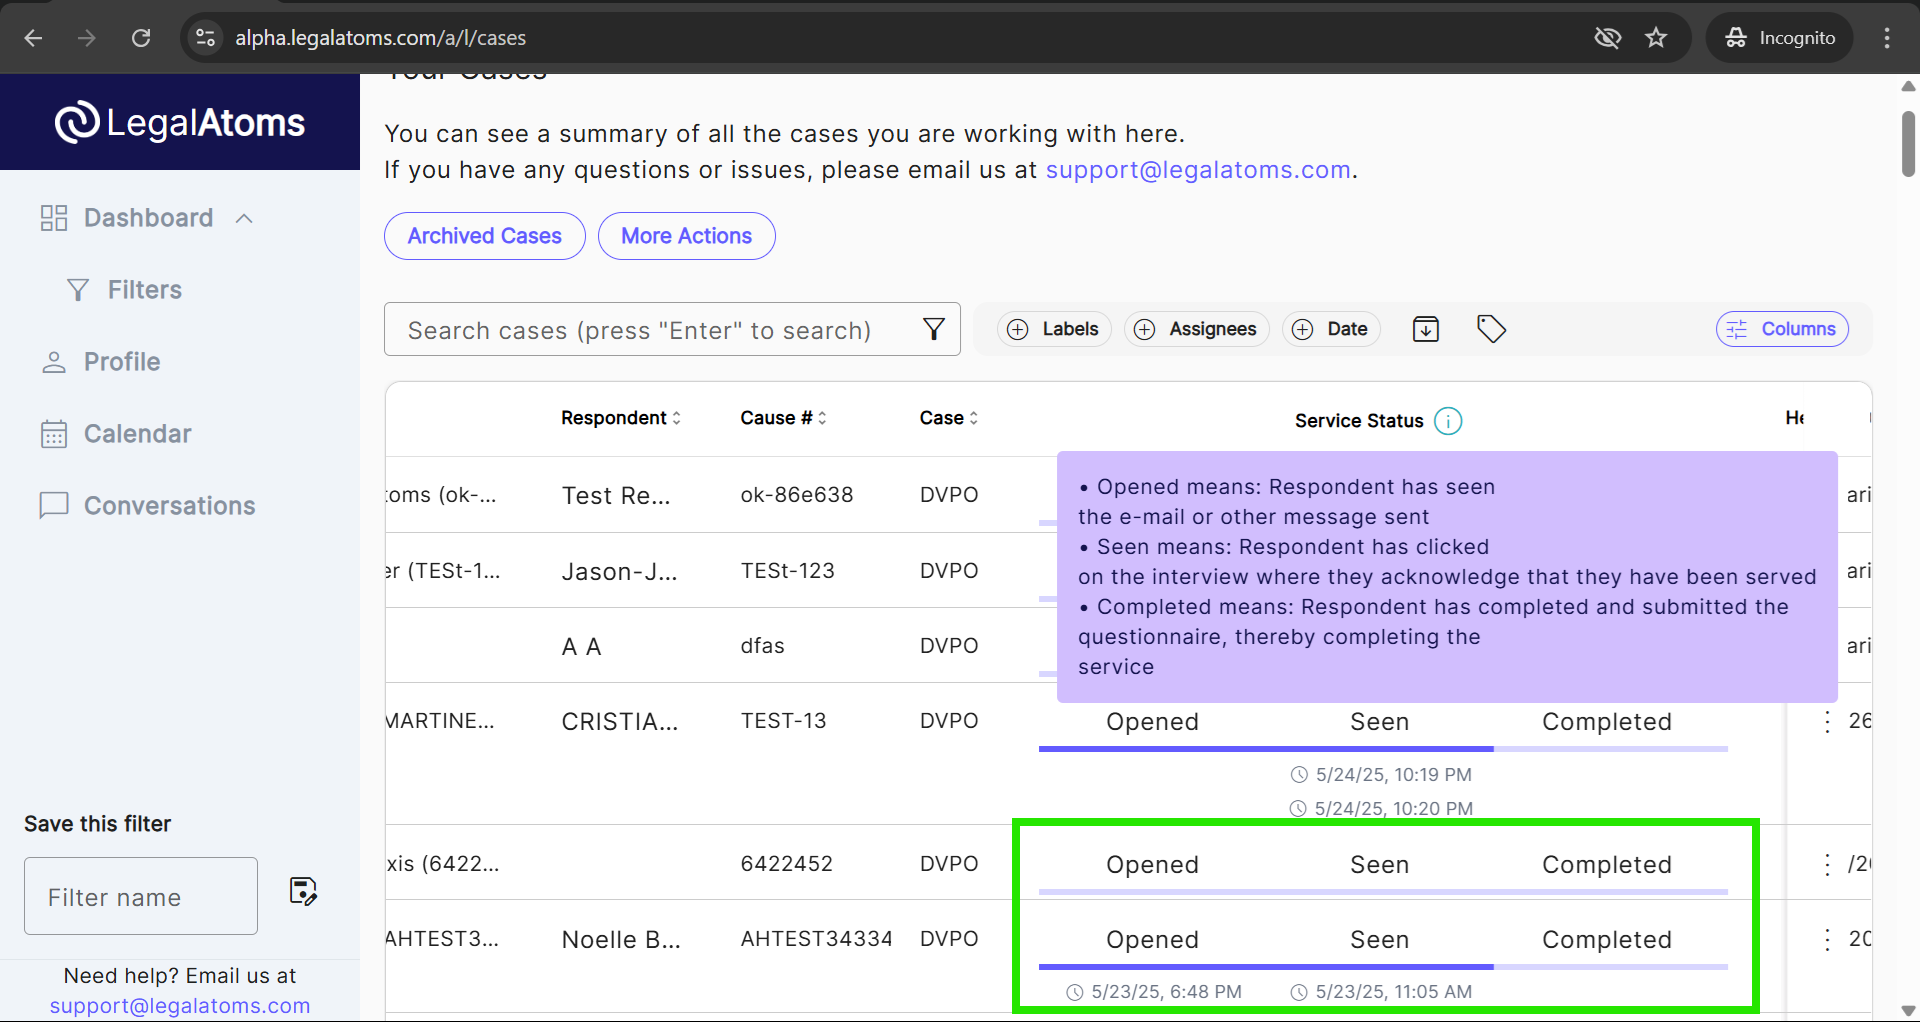
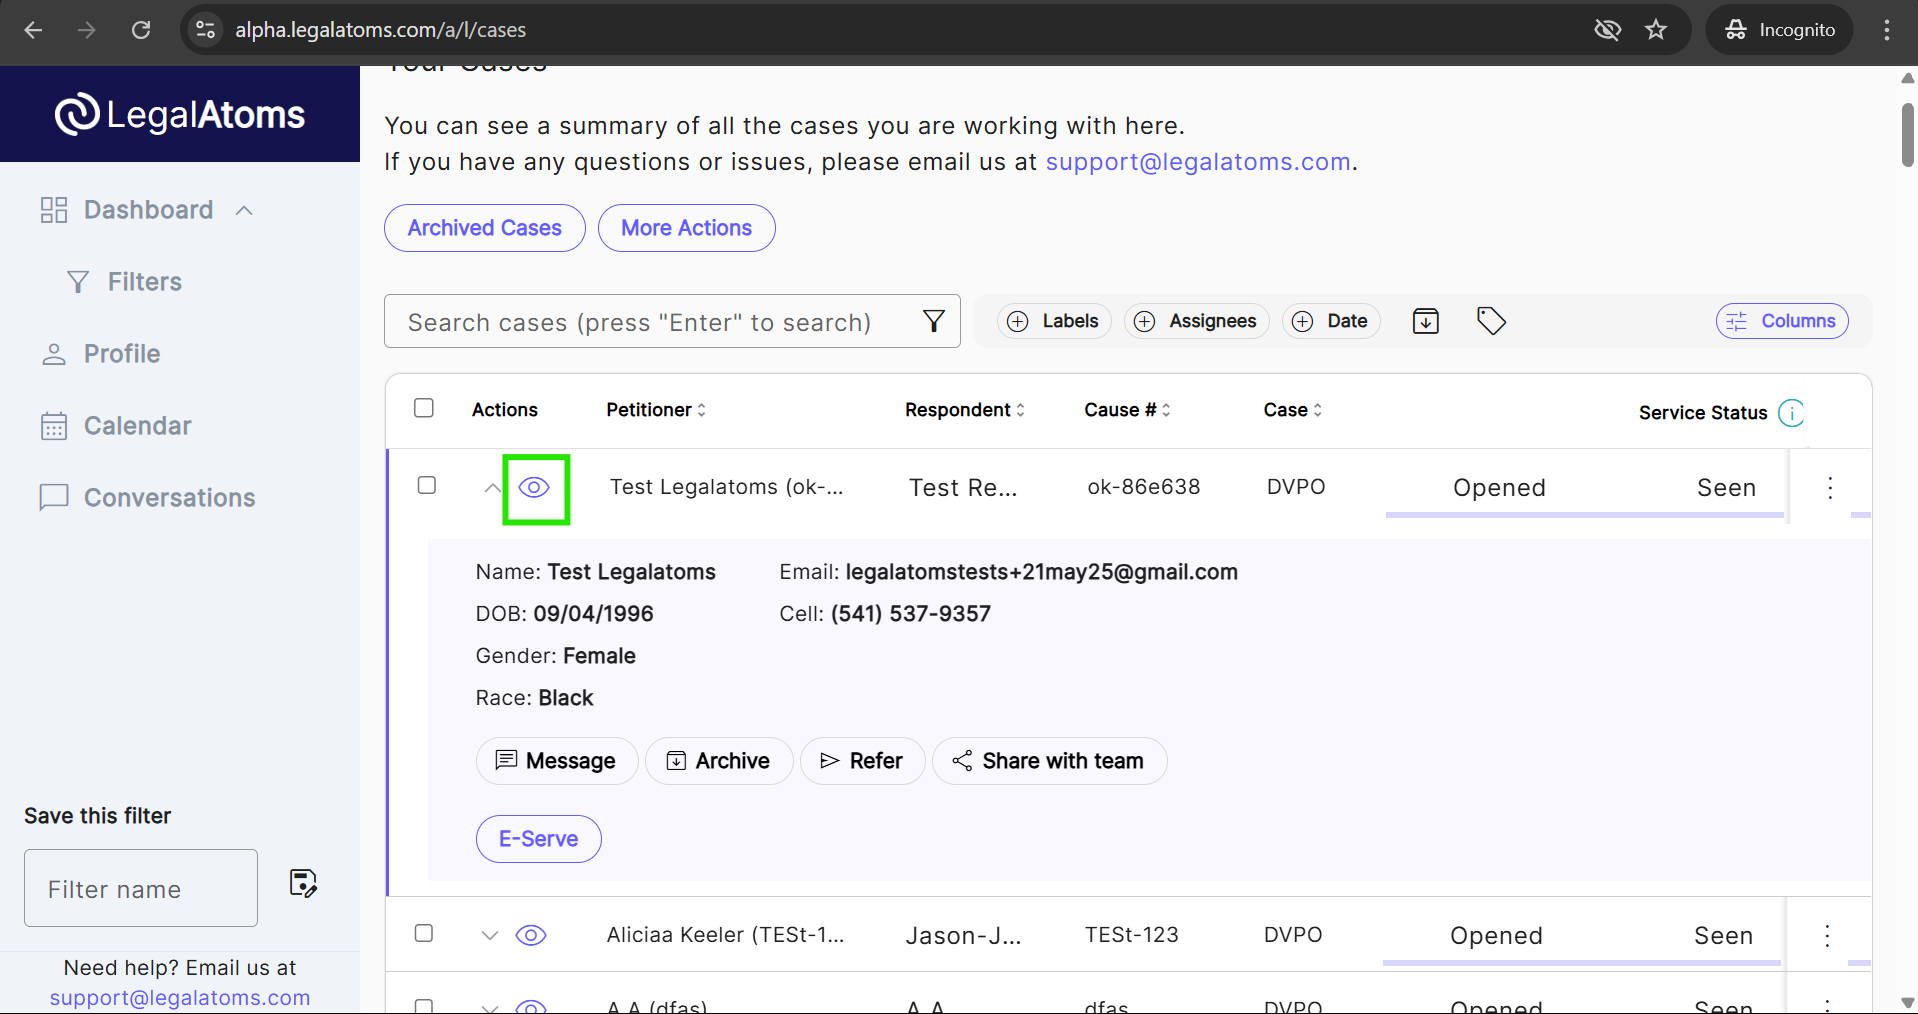
Respondent’s progress can be seen here on the main dashboard (reached by clicking “Cases” in the left menu”.
The progress bar moves from grey to blue in progressive three steps
- Opened: Respondent has opened and loaded the e-mail or text message
- Seen: The respondent clicked the button to view online page that details that they have been served, lists the court documents and a provides a place to sign.
- Completed: The respondent has signed and submitted the online page
3. Complete the Proof of Service
Click on the eye icon to get to the details view of a particular case
The Hearing section is expandable by default. If it’s not expanded, click the arrow icon to expand the ‘Hearing’ tile.

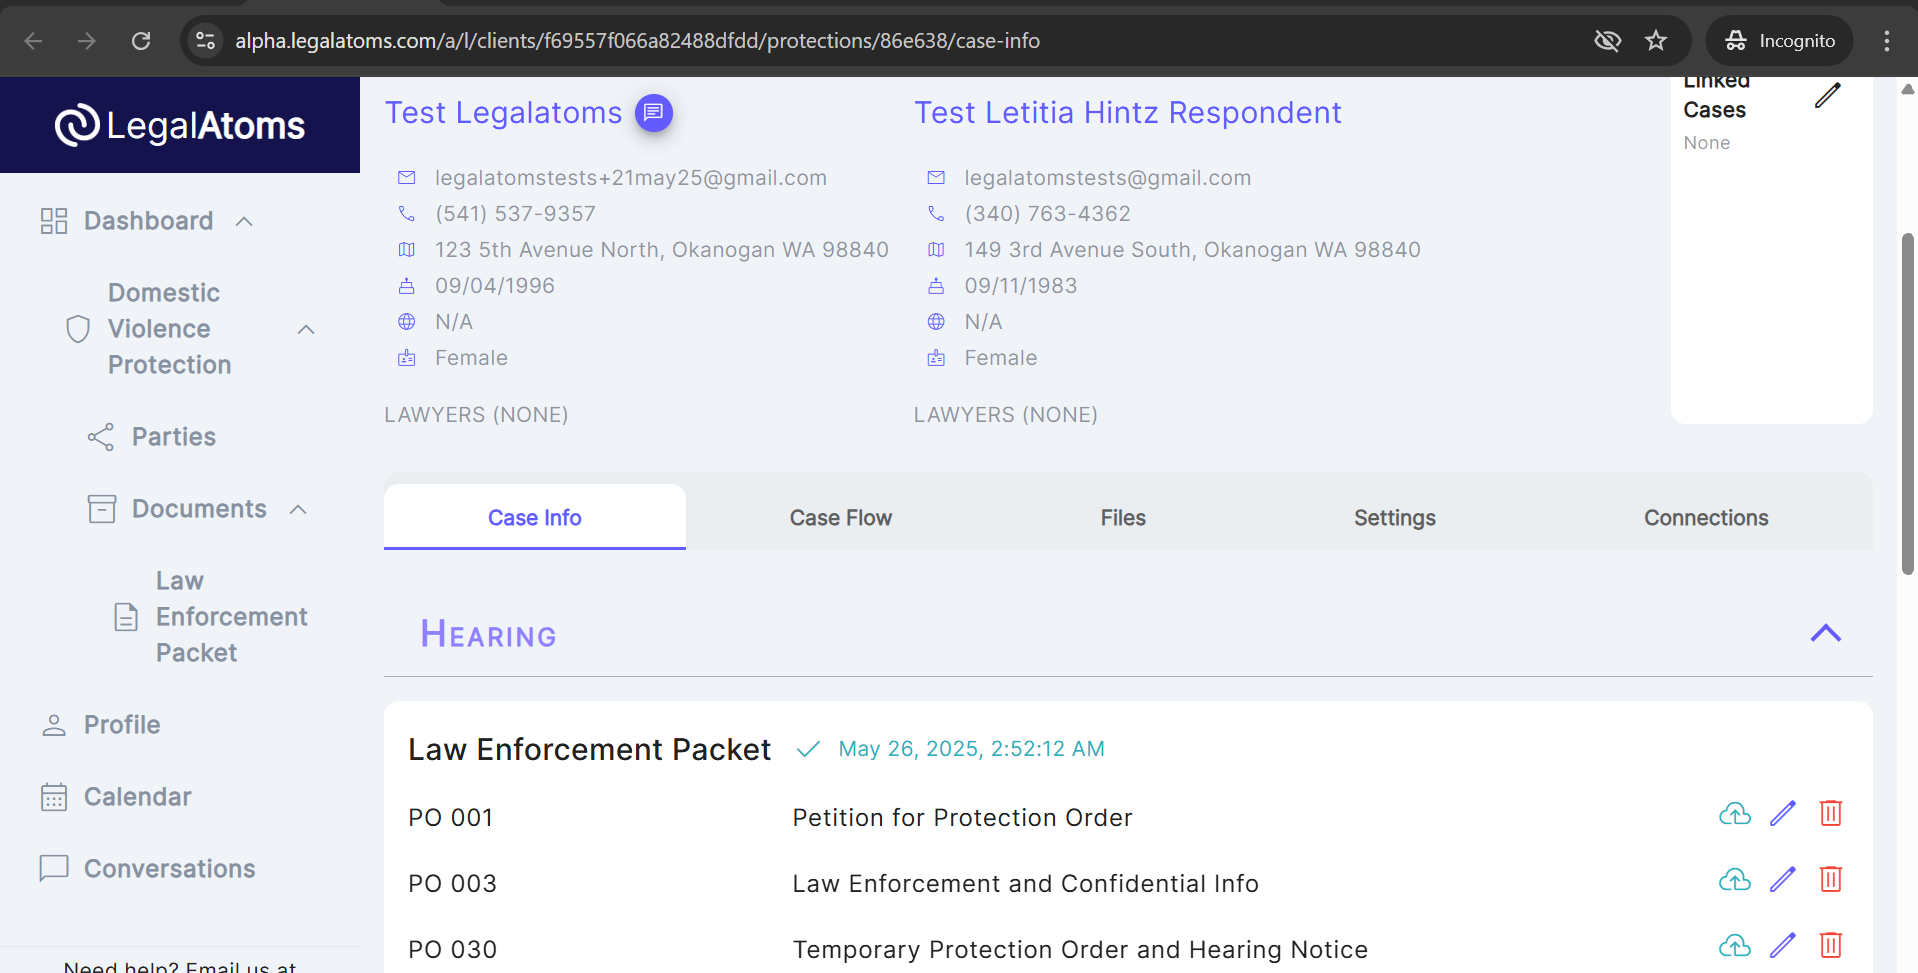
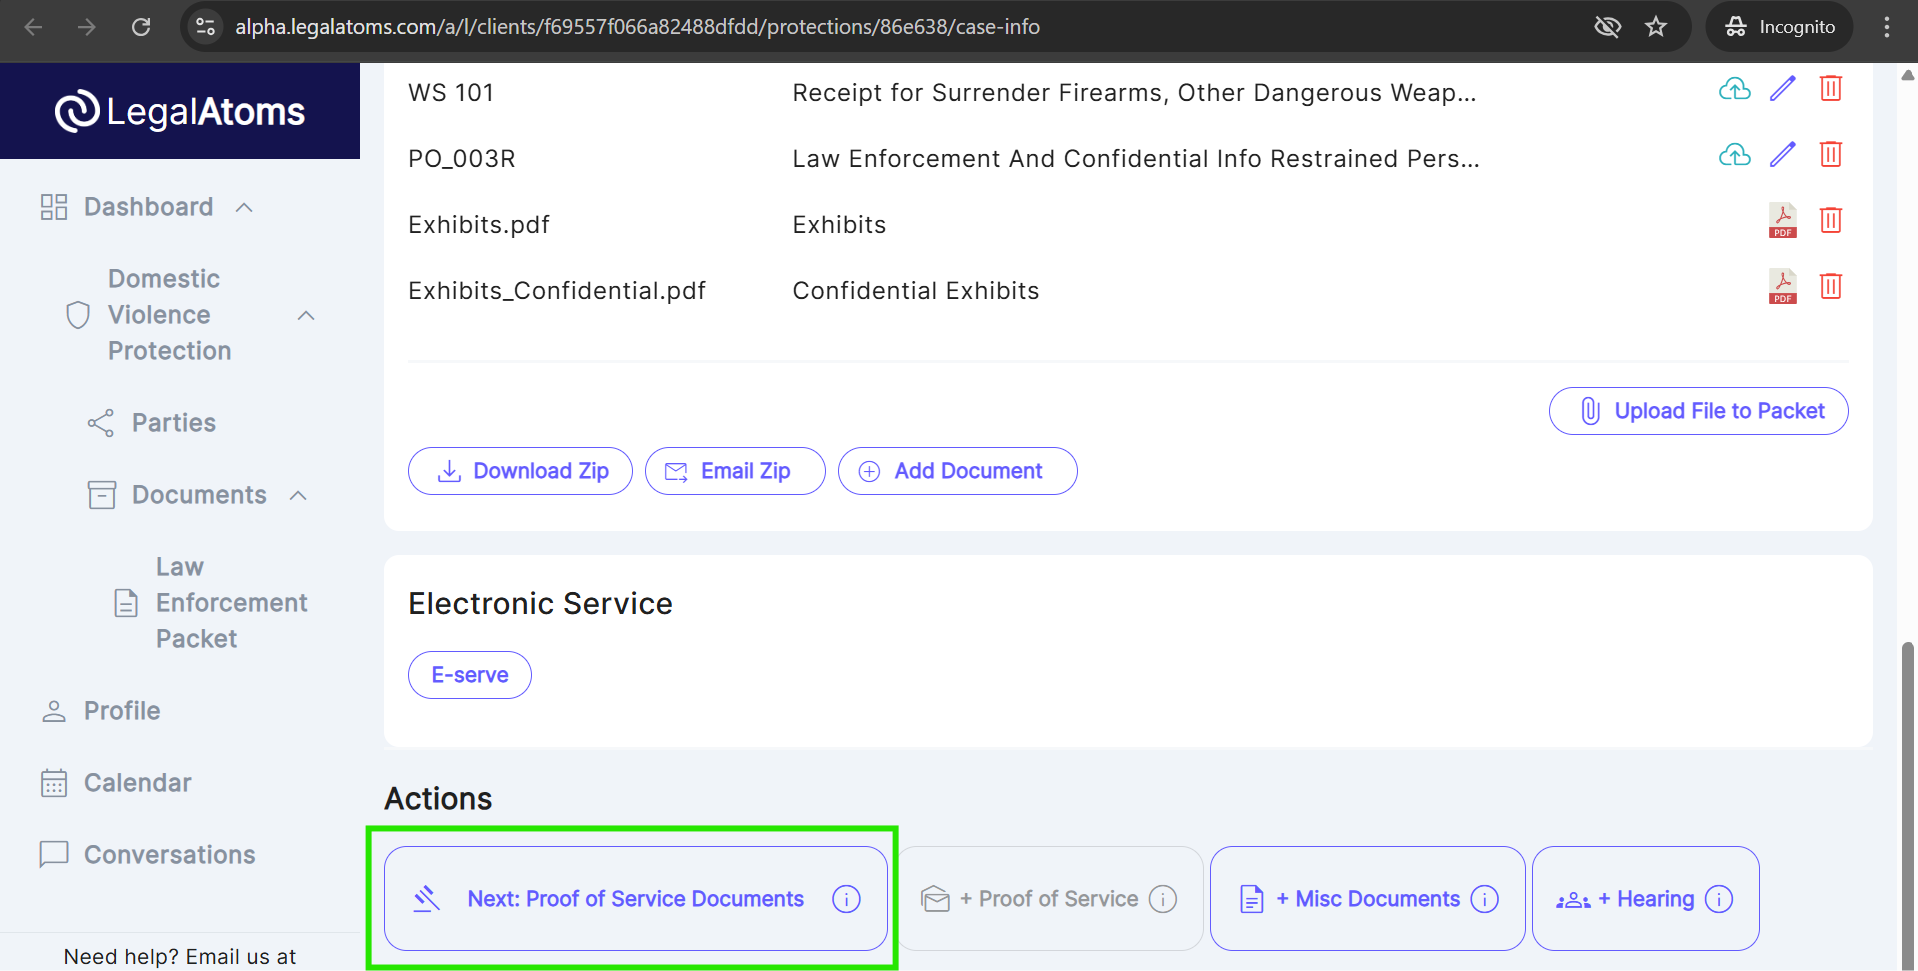
After completing the E-serve, click the ‘Next: Proof of Service Documents’ button to generate the POS document. The document will start generating automatically. Once it’s generated, click the pencil icon to select ‘Proof of Service’.

This opens the Proof of Service document on the right half of the screen

4. Click the “Edit” icon 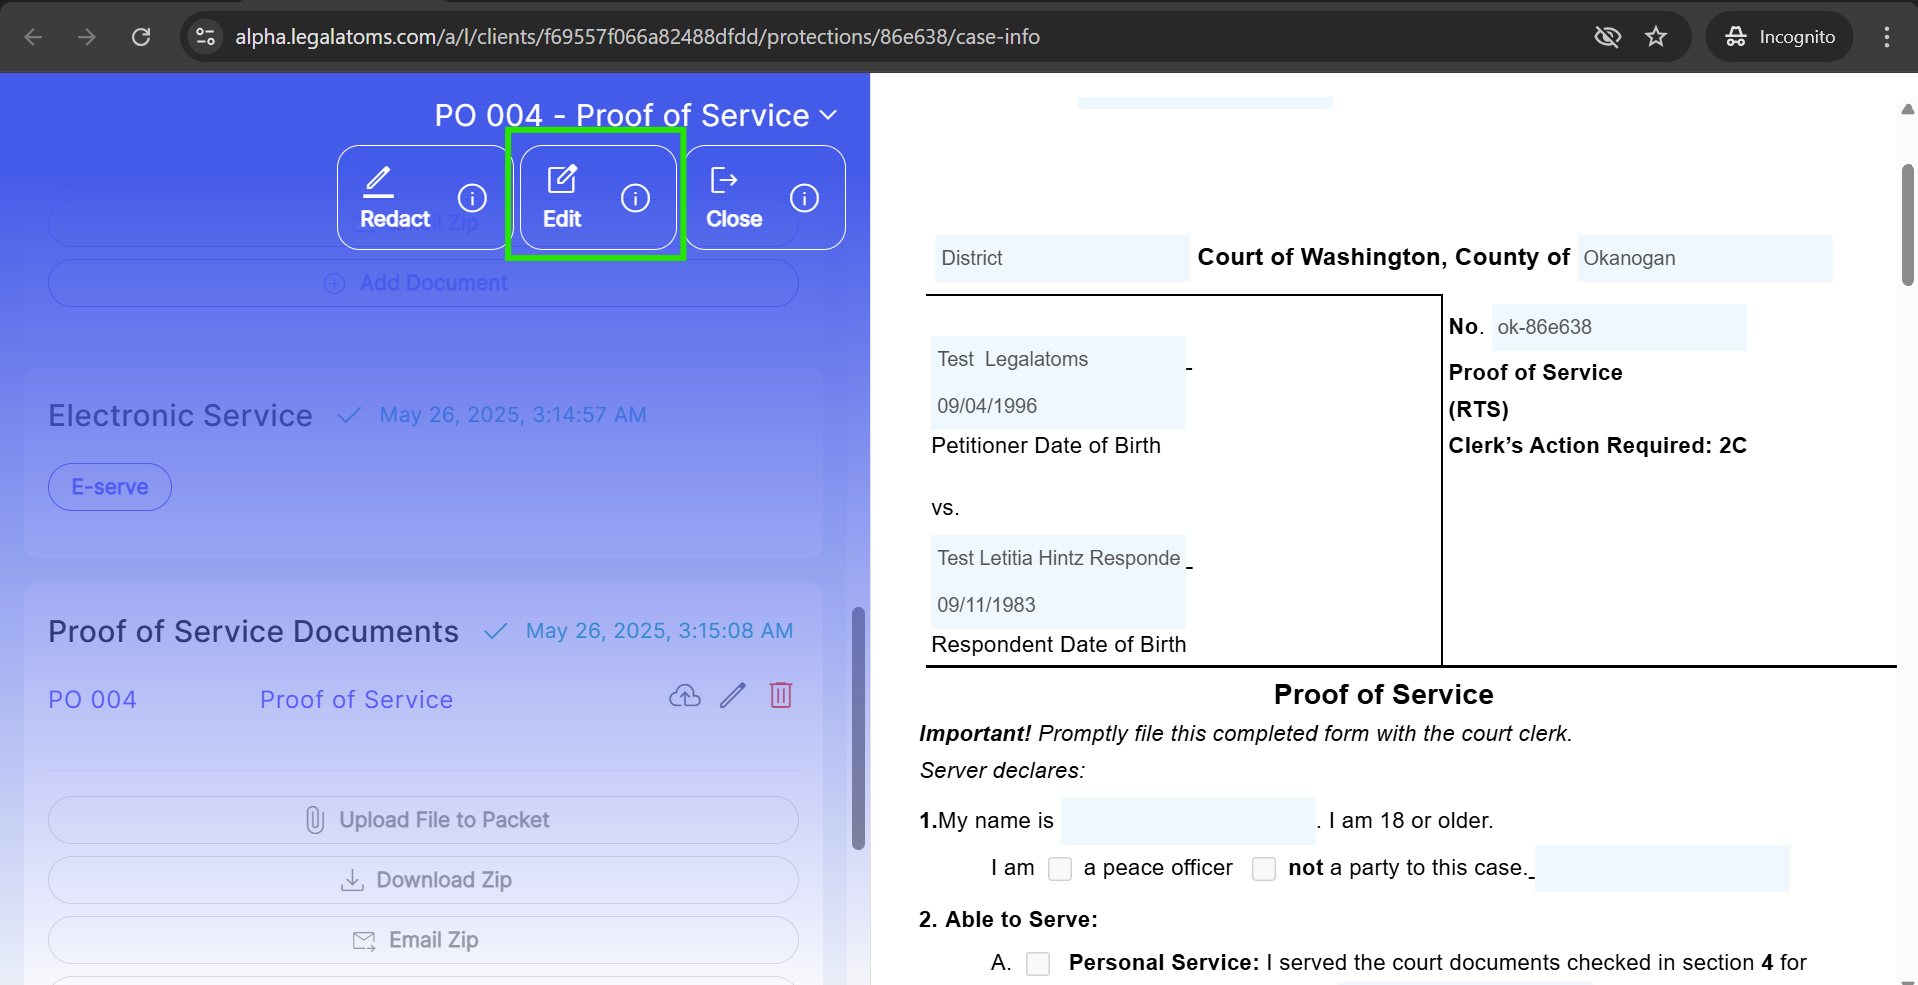
5. The sheriff can add their own signature, make additional modifications, and then close the document. The HTML changes will be auto save.
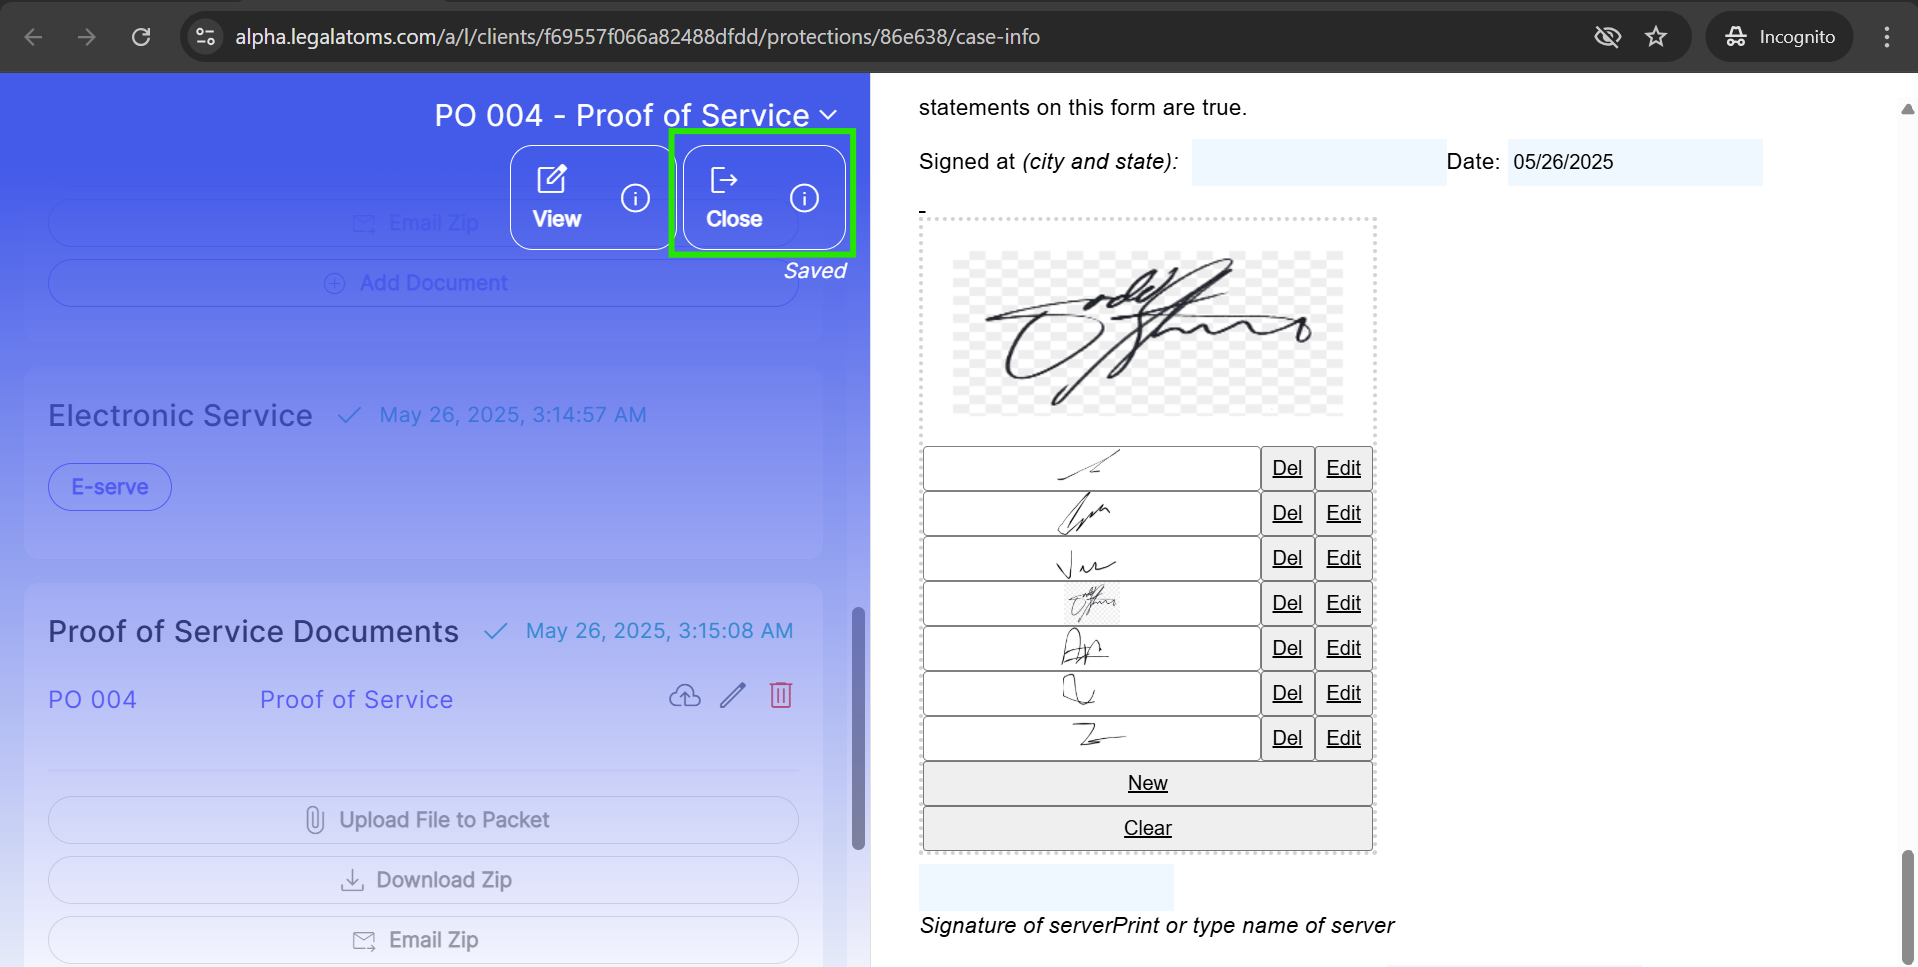
6. Click the ‘Download Zip’ button to ensure the HTML changes are reflected in the PDF document. If you don’t generate the document, it will begin generating automatically after the Notify.

7. Click the ‘Notify’ button to open a popup. The sheriff can add a message, and upon clicking ‘Notify’ again, the Proof of Service email will be sent to the recipients.
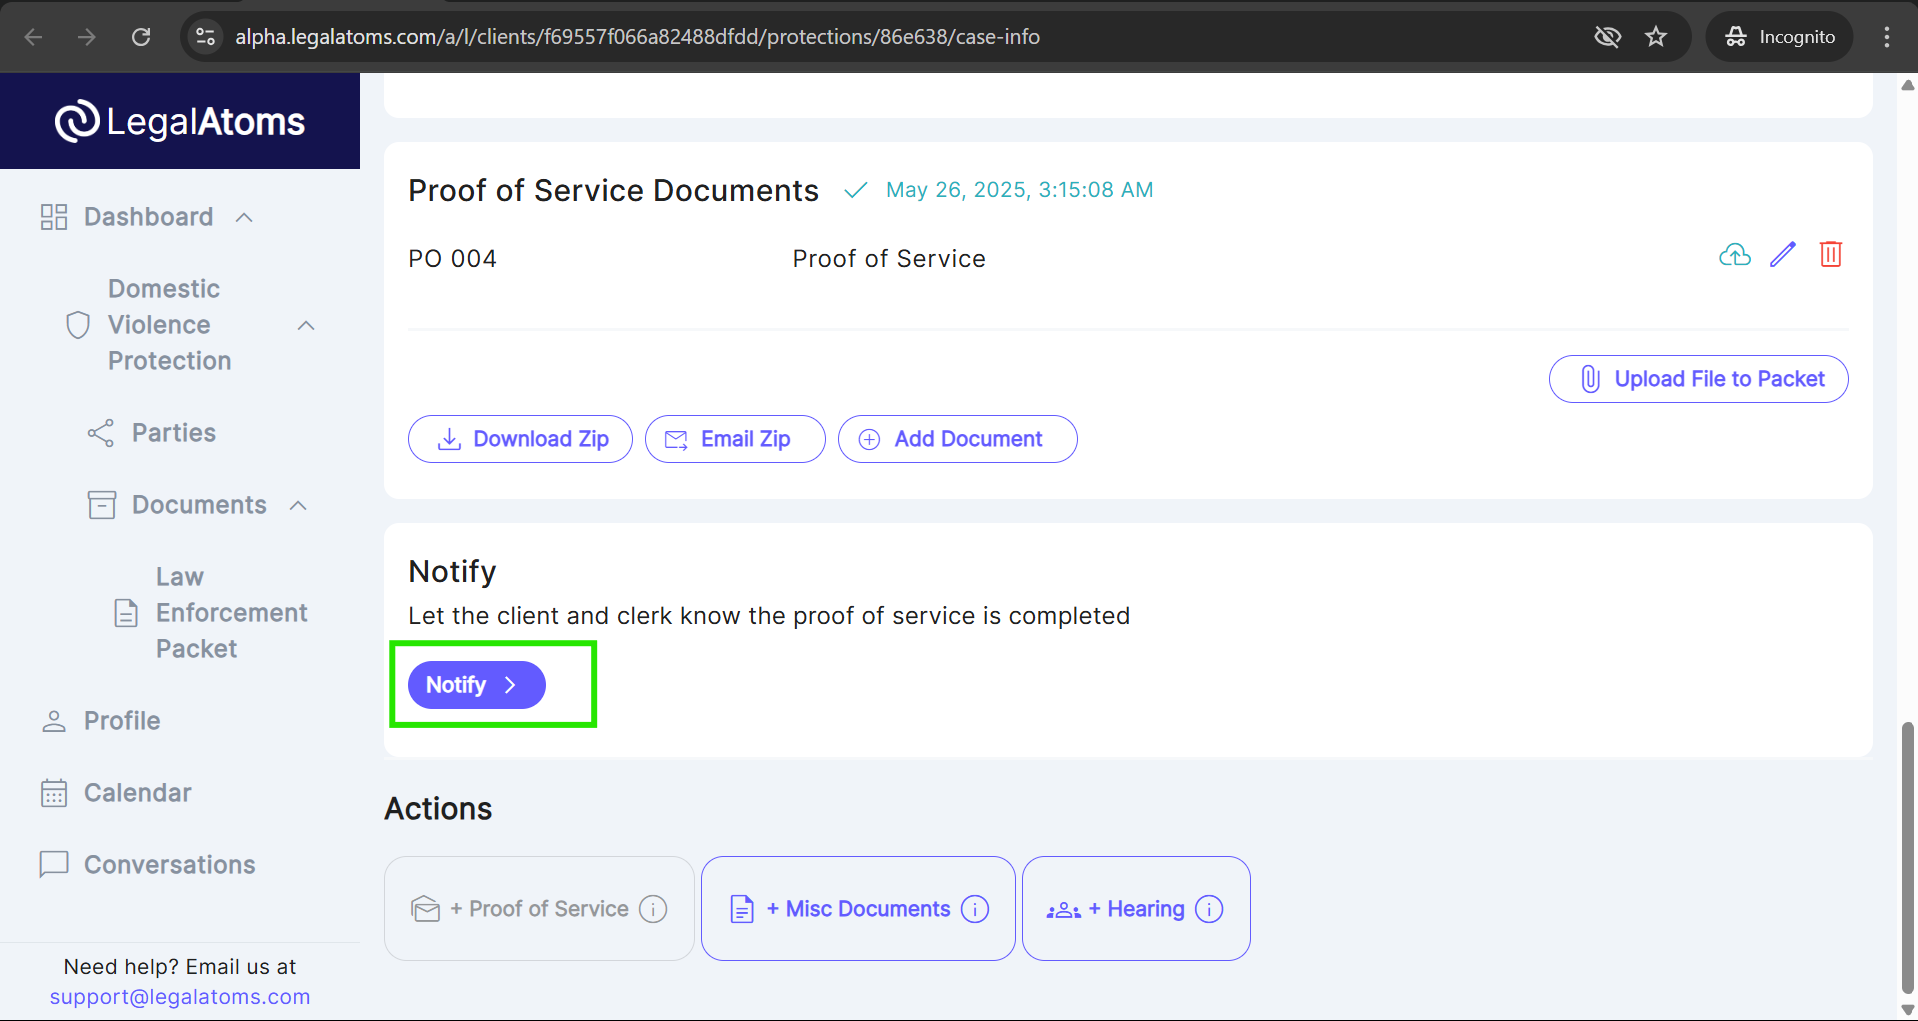

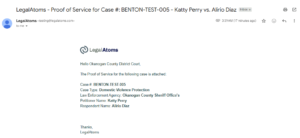
When the Sheriff clicks the Notify button, both the Petitioner and the Clerk receive email notifications confirming that the Proof of Service is completed.
Two emails are sent to each:
-
One email contains the case details and a ZIP file of documents.
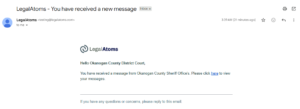
-
The second email contains a URL link. When the Petitioner or Clerk clicks this link, they are redirected to a chat conversation with the Sheriff, where the case details are displayed.