Sending proof of service to a court not using LegalAtoms
Recently updated on May 27th, 2025 at 06:17 am
Law Enforcement can request and send proof of service documents to a court.
Assuming you have received the service request outside of LegalAtoms i.e. via e-mail, fax, or a physical copy of the case documents
Create a Case in LegalAtoms using PDF files
Here you will upload the court forms, and also provide some information about the case such as
We can do More Actions in two ways
- Serve Civil Orders
- Serve Generic Order
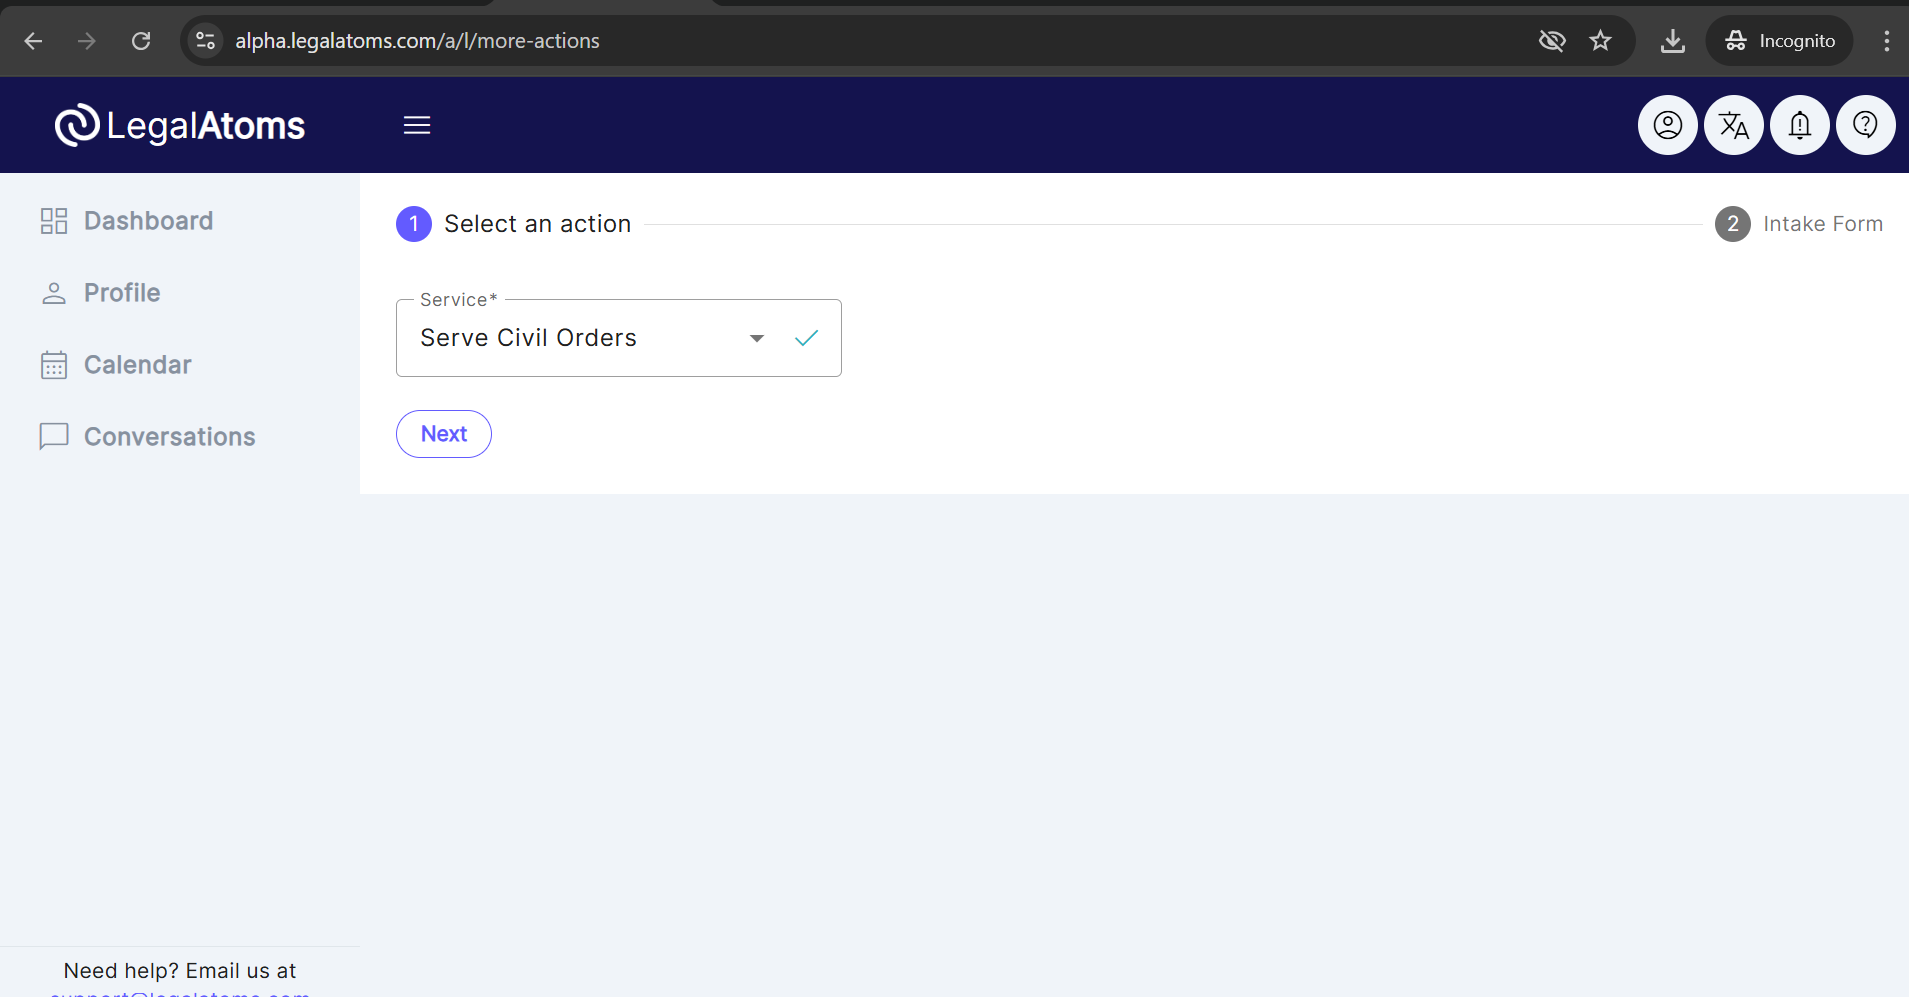
Serve Civil Orders
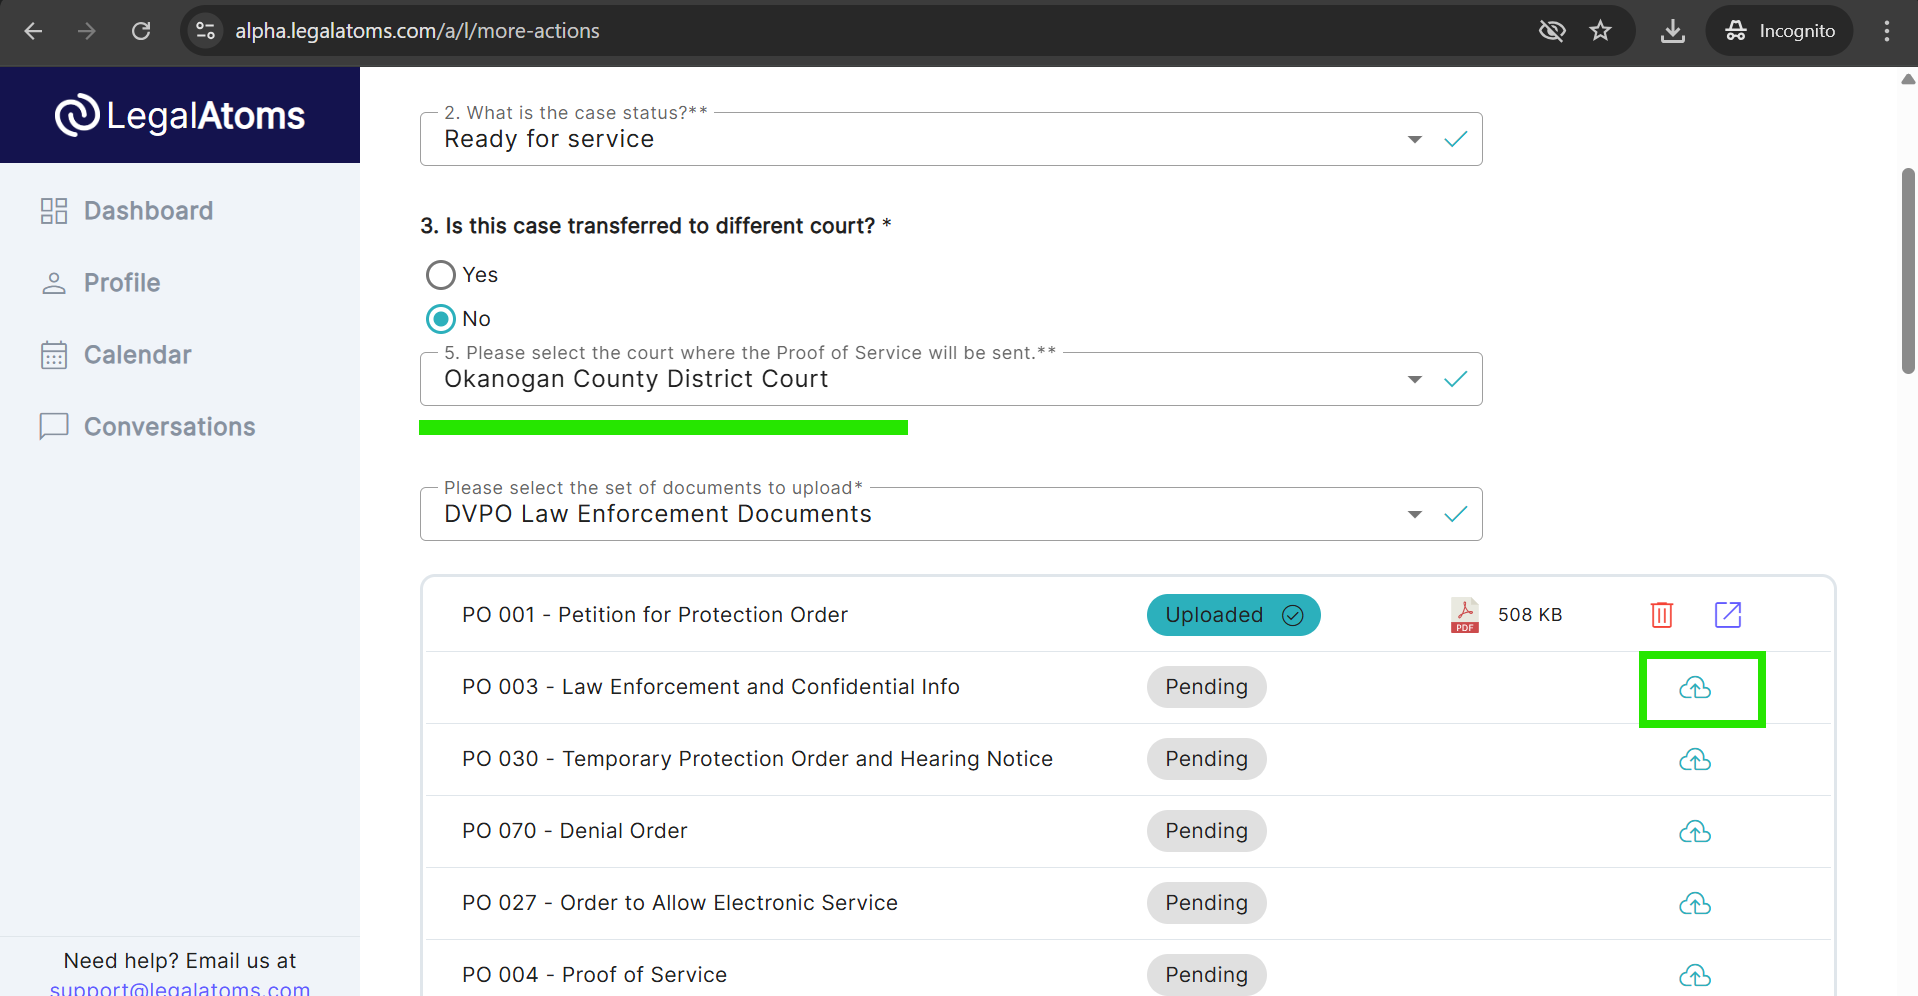
- Select Case transferred to a different court
- Select the court requesting service. The document list will automatically filter and appear based on the selected court.
- Important: This is used to generate the follow up e-mail notification to the court
- Each document needs to be individually uploaded. So if the court sent you a combined PDF you will have to split the PDF so each court form such as the Petition is in one separate PDF file
Serve Generic Order
1. Click More Actions and select “Serve Generic Order”

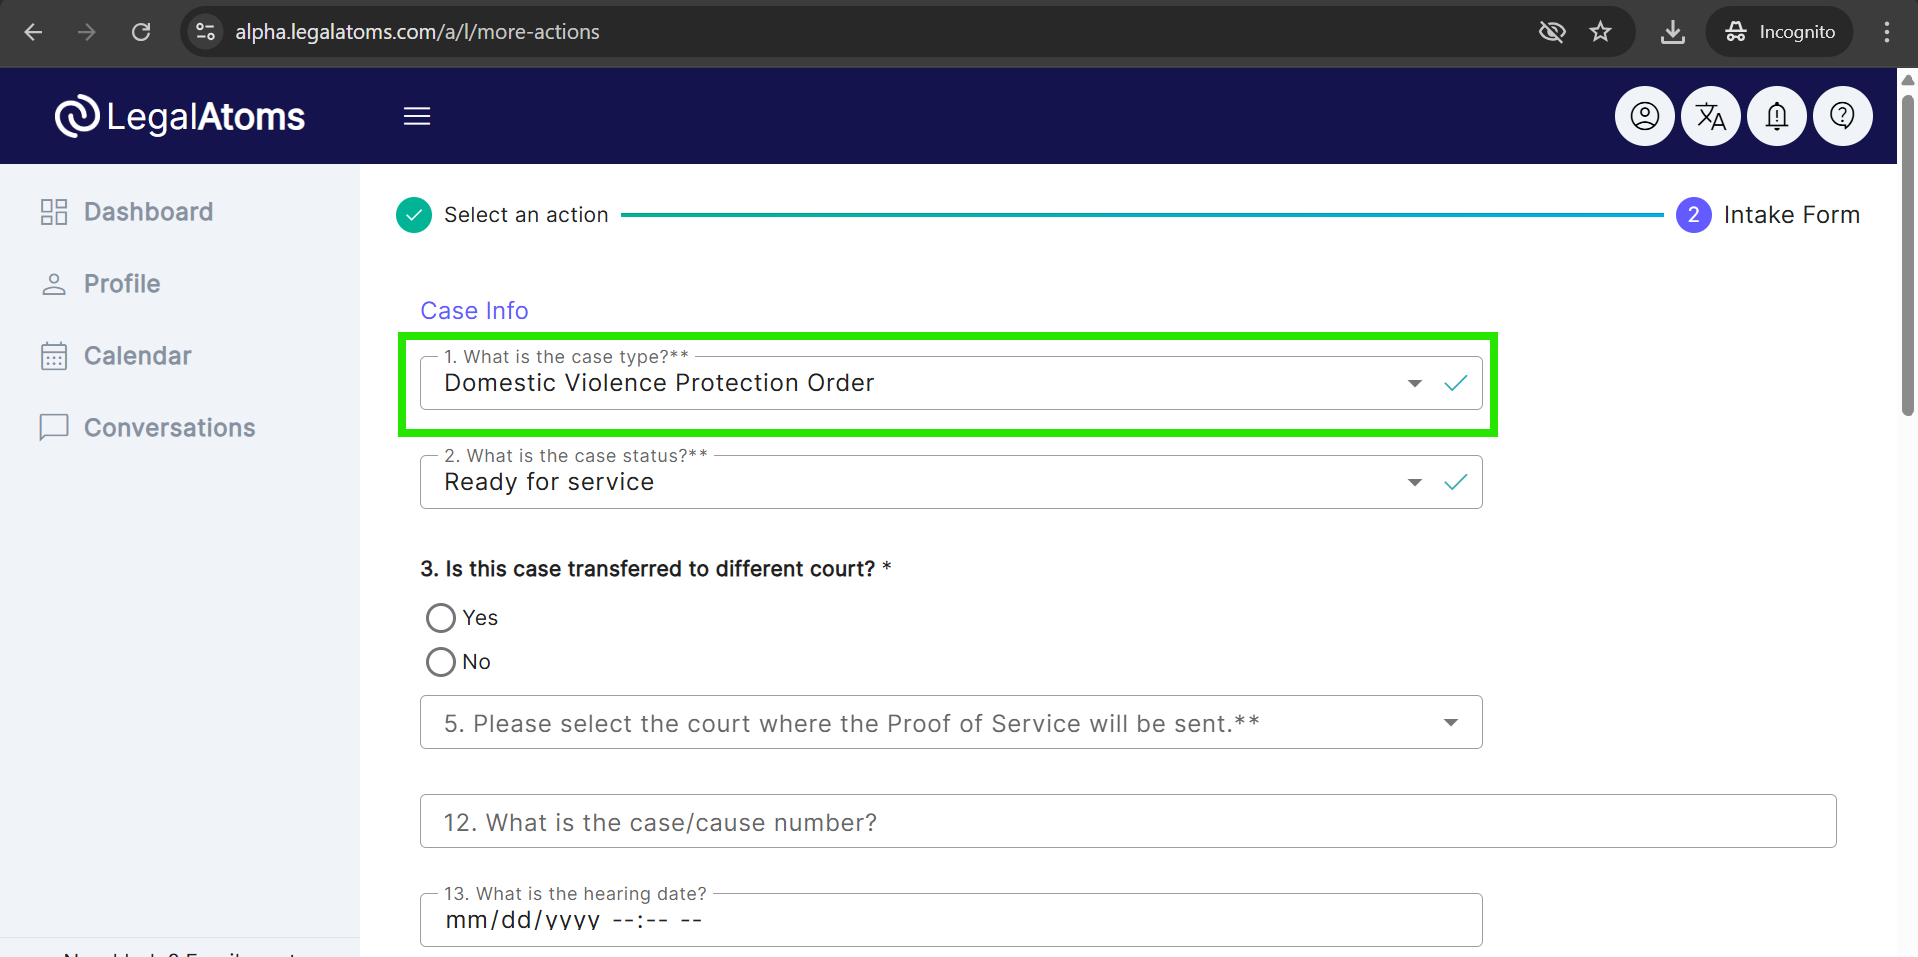
2. In the case type “Generic Court Order” is automatically selected
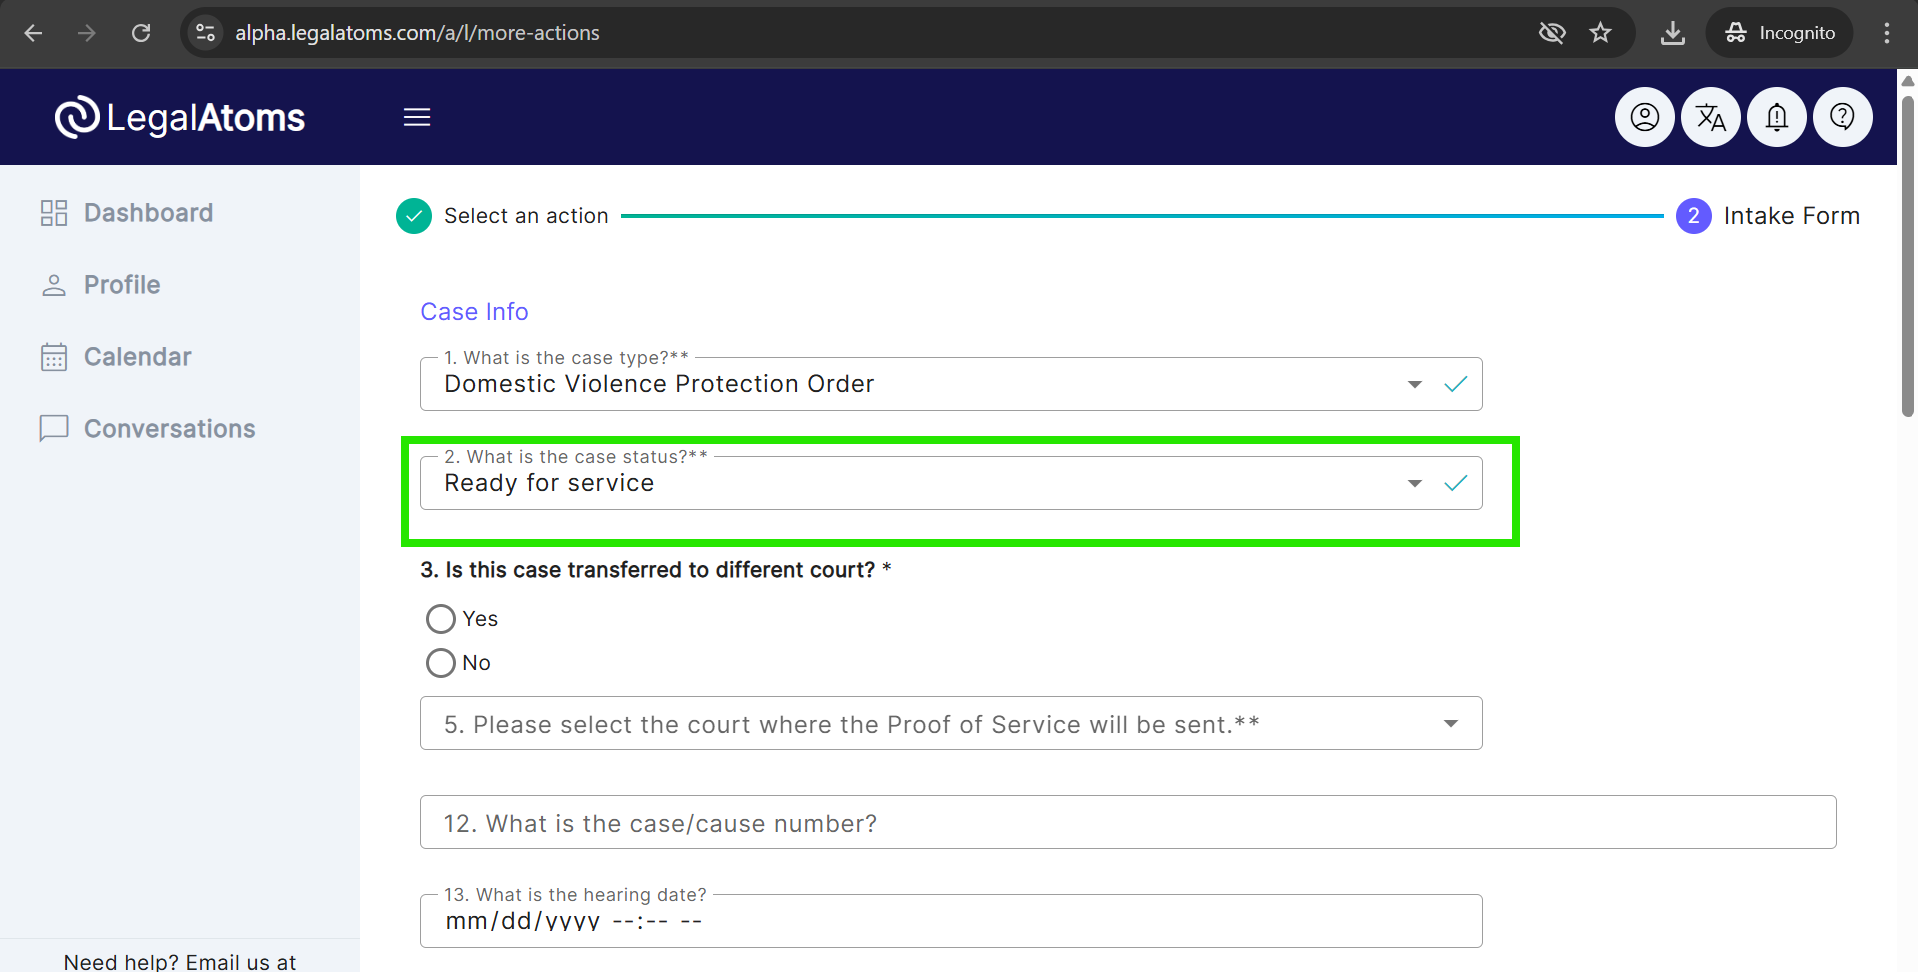
3. In the case status “Ready for service” is automatically selected — at the moment there will be only one option in the drop down
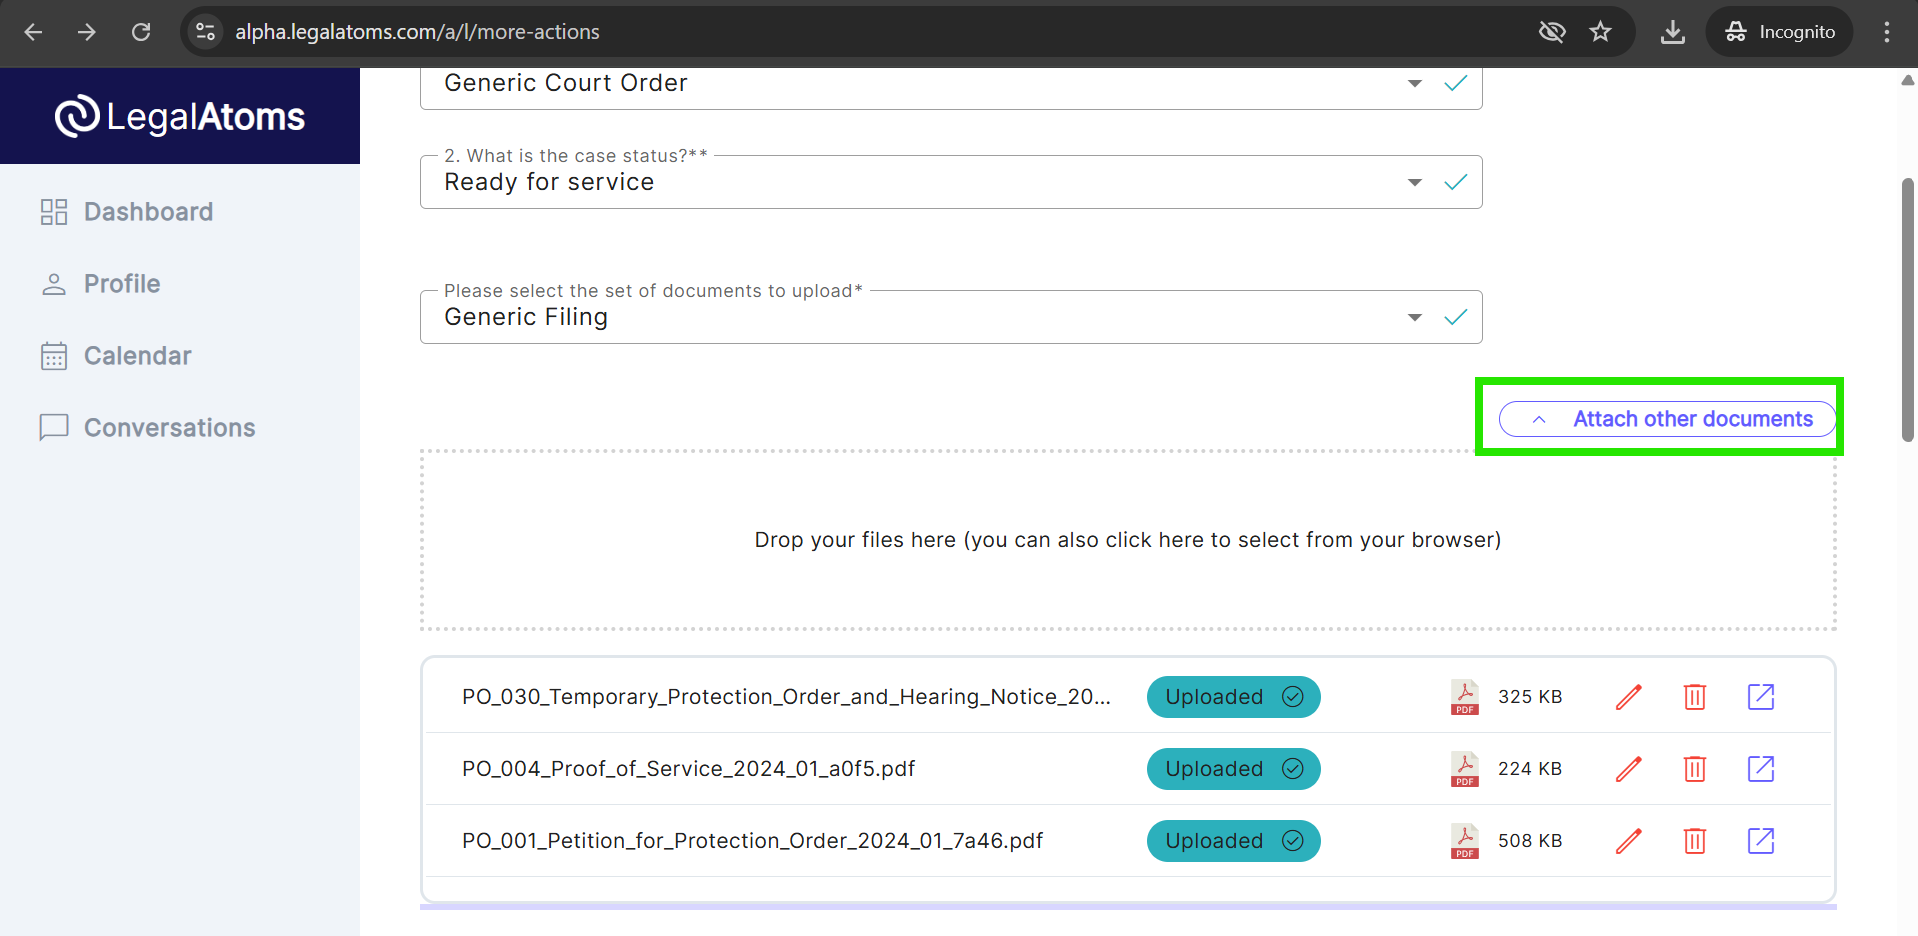
4. In the Document set “Generic Filing” is automatically selected

Select the set of documents to upload
The page contains a series of line items. This is the key step whereby you would click and upload documents. The documents to be uploaded must be in the PDF file format.
Notes
- If you have a document that doesn’t belong to any of the pre-specific slots, you can add it manually using Attach other documents button.
- You should upload all the documents in one go.
- Important: This is used to generate the follow up e-mail notification to the court
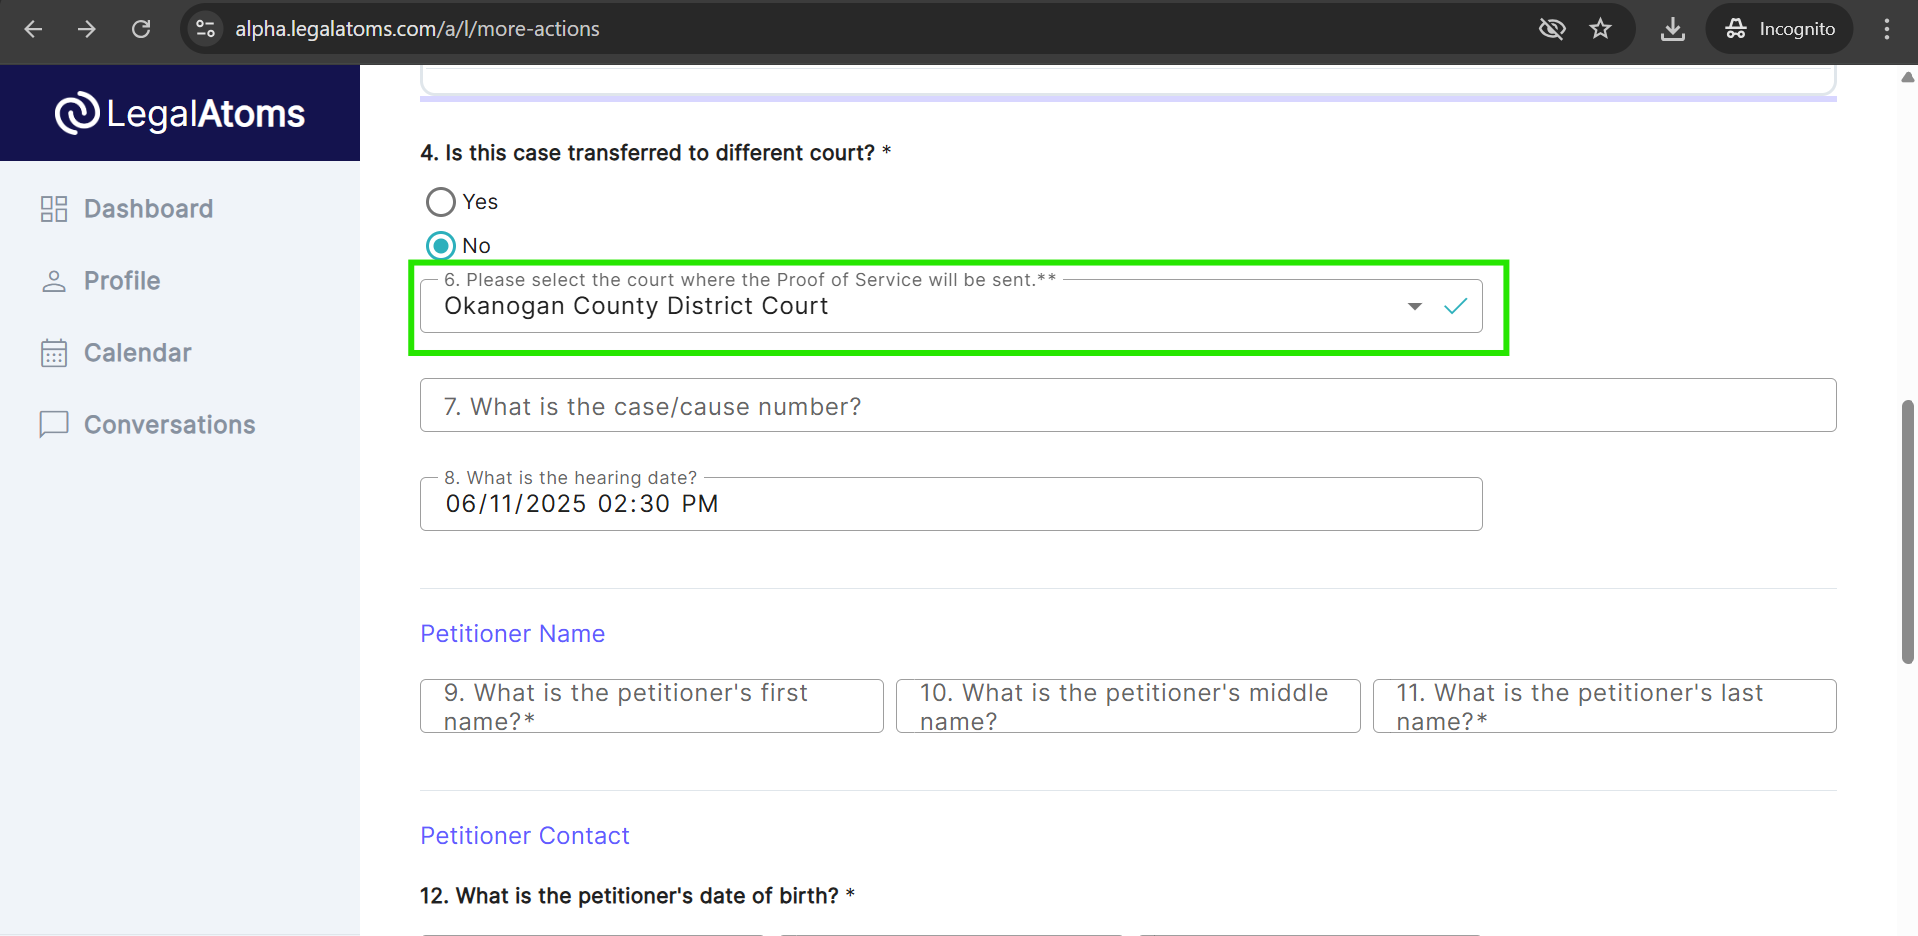
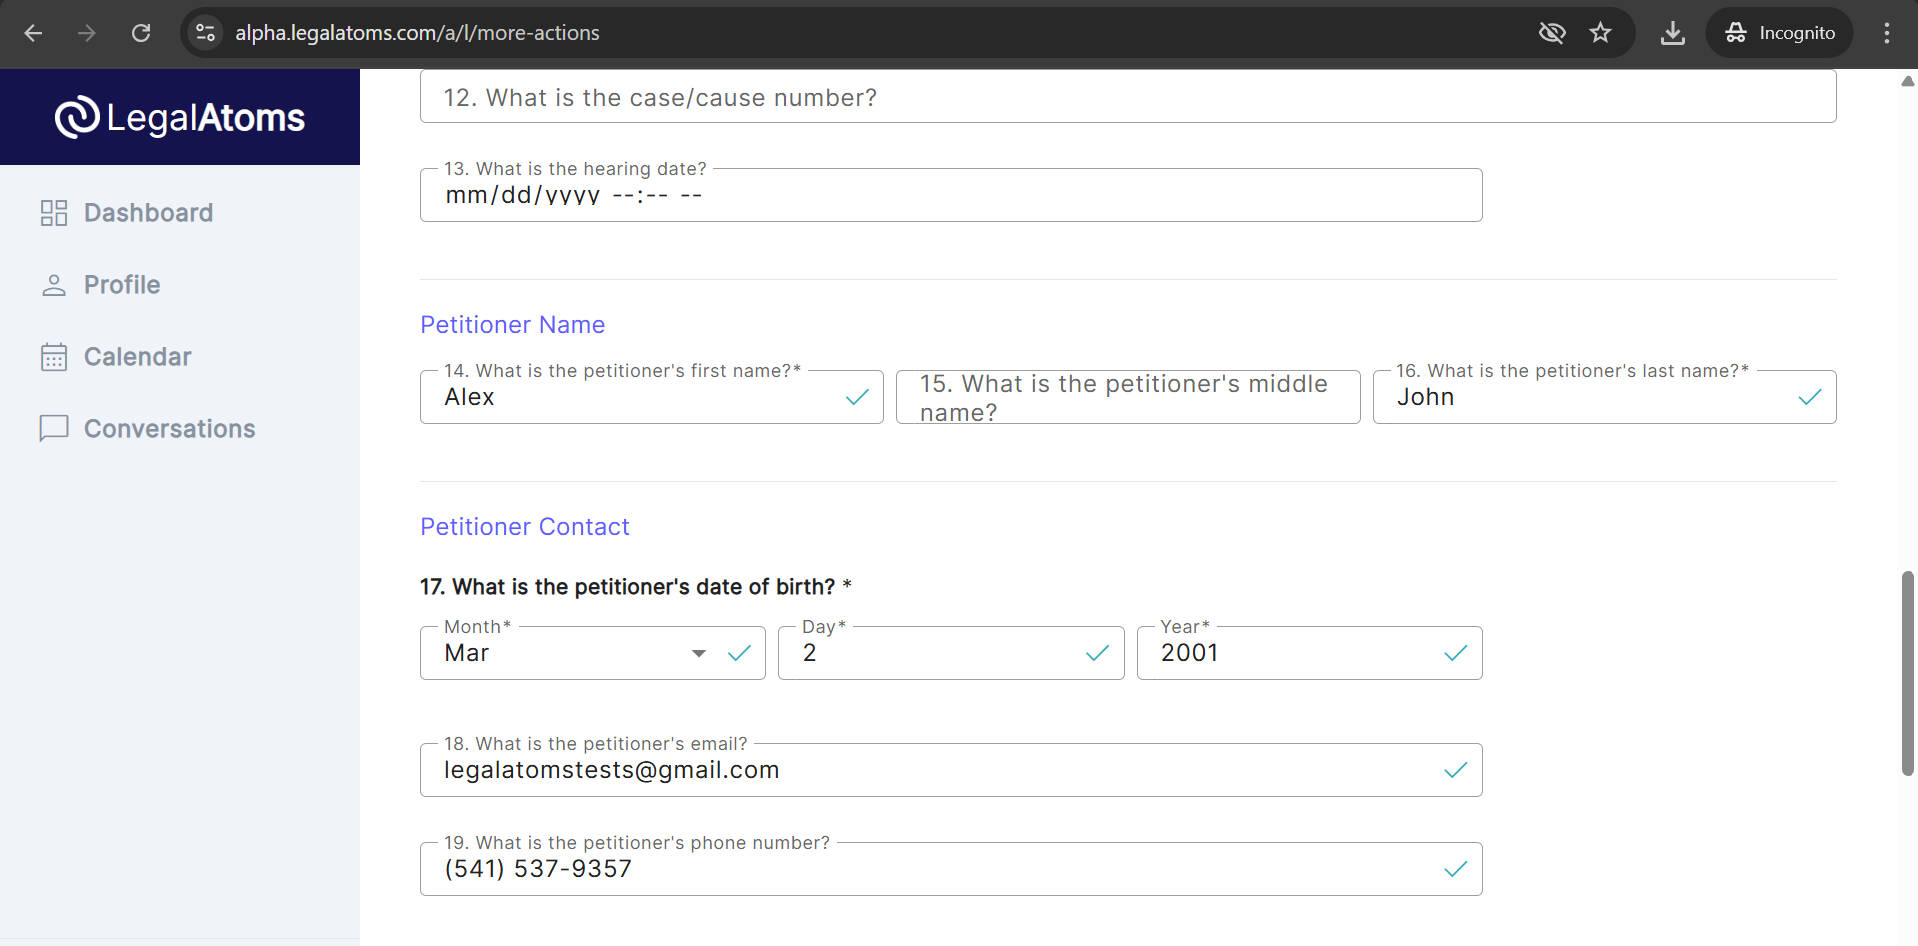
5. Fill out the Petitioner Info
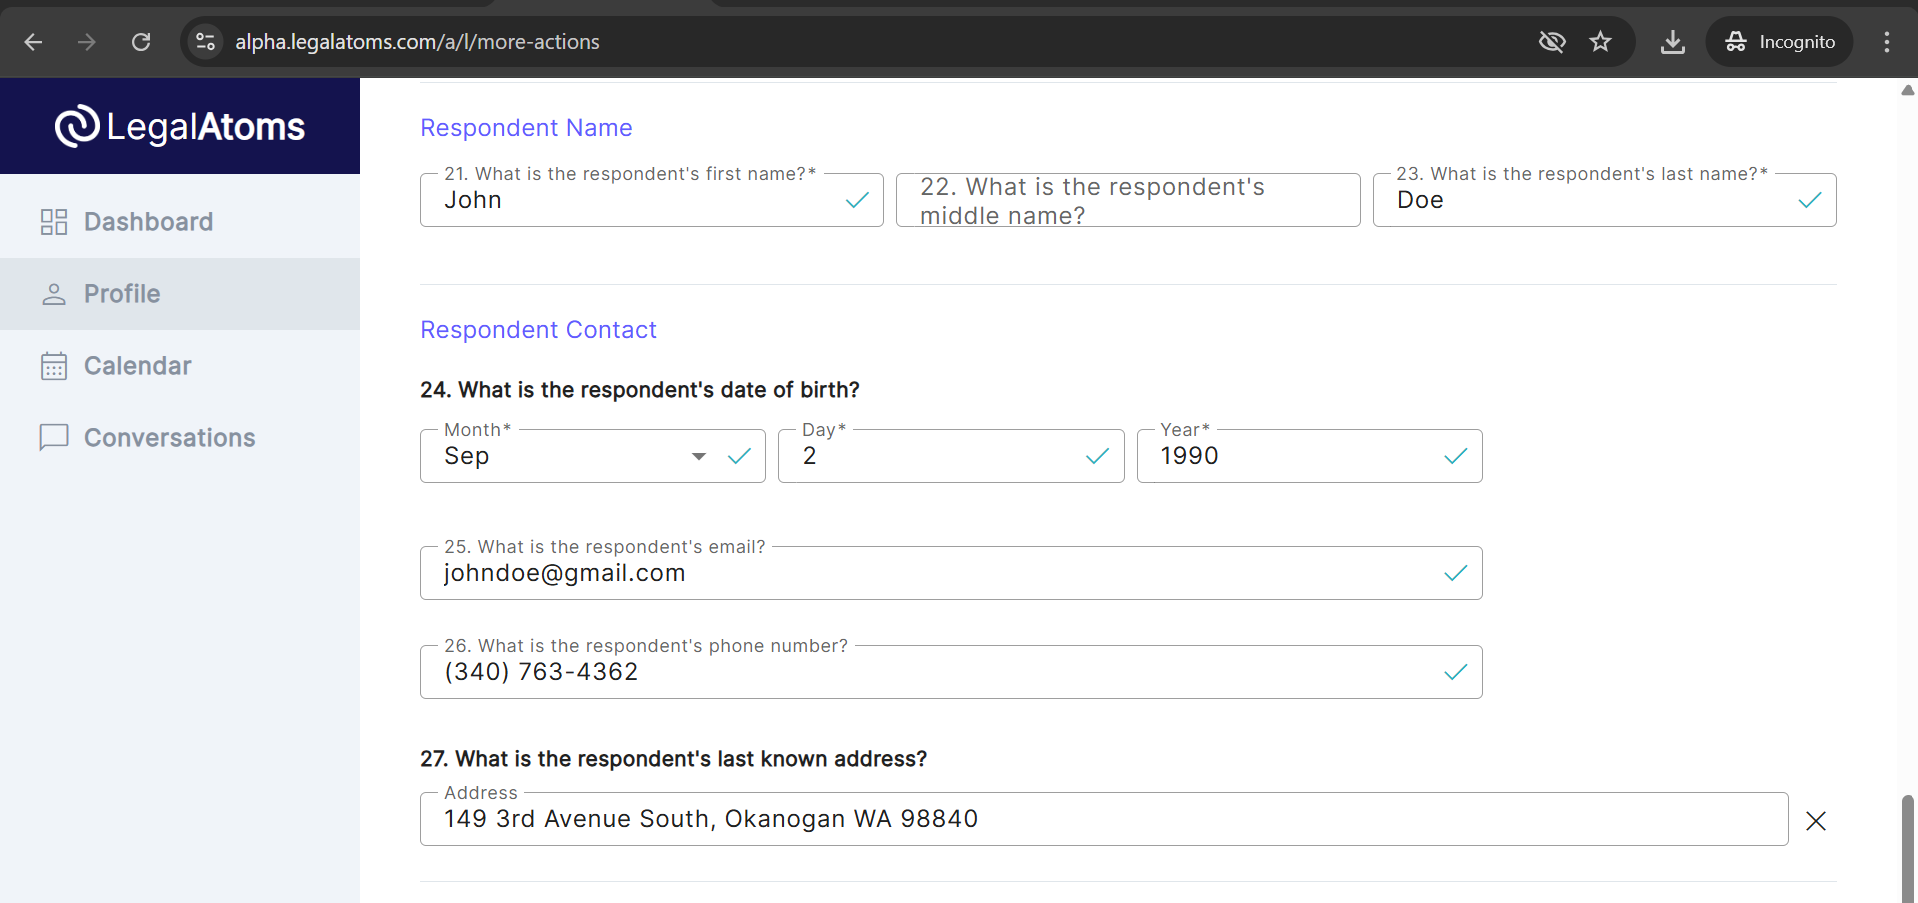
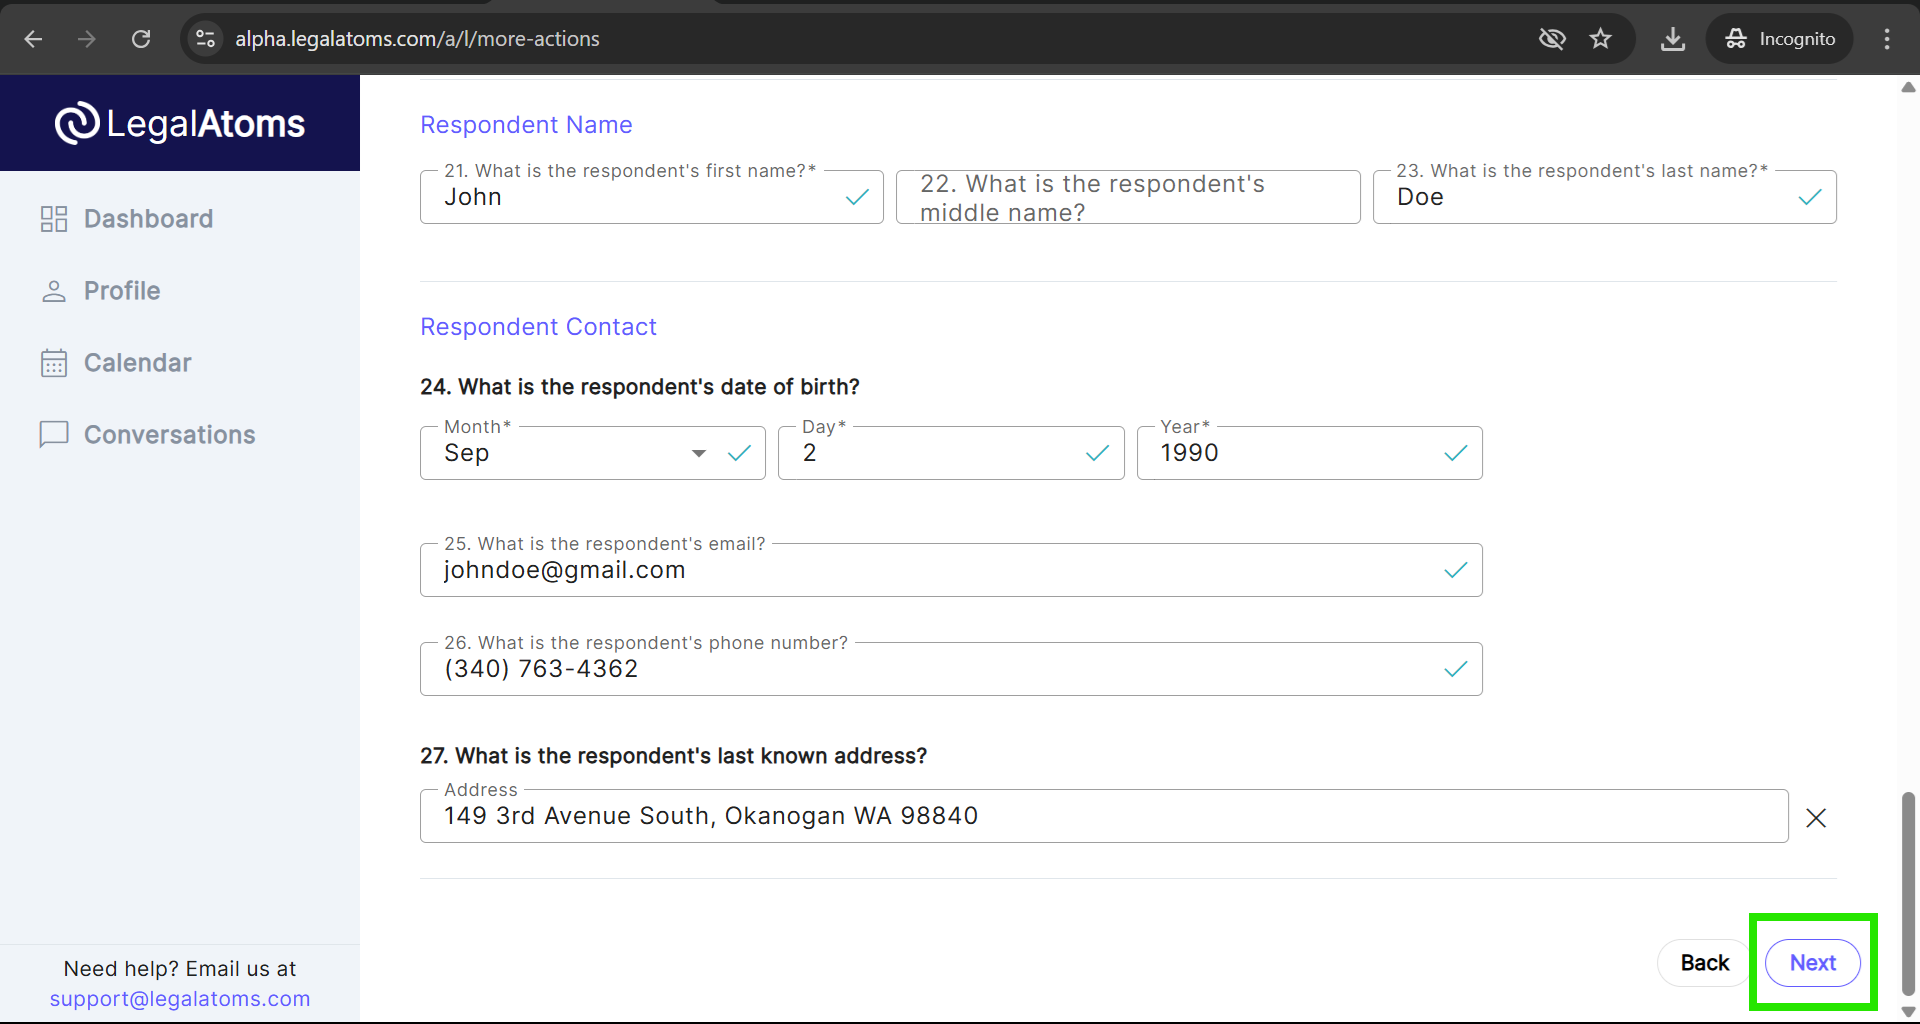
6. Fill out the Respondent Info
7. Click Next to create the case in your dashboard
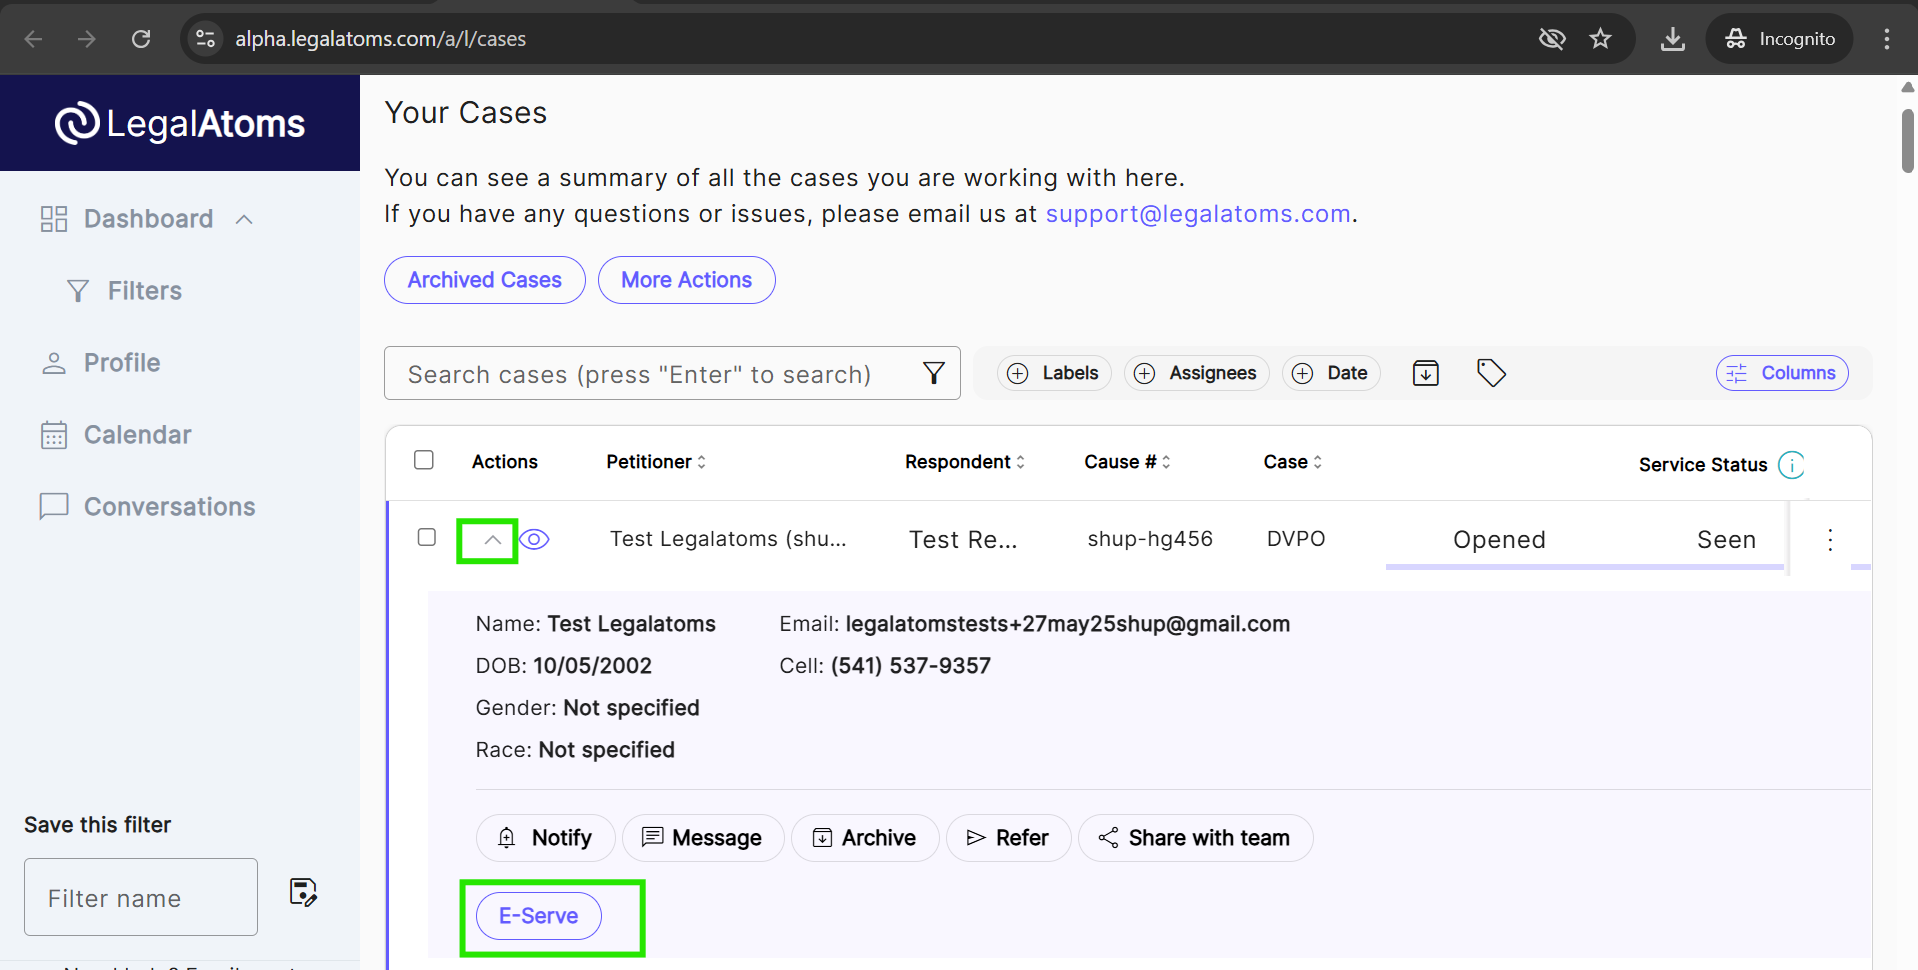
At this point the case will appear on your dashboard. Now you can proceed on E-serving the respondent, as a regular case which was electronically sent to you.
Serving Internationally
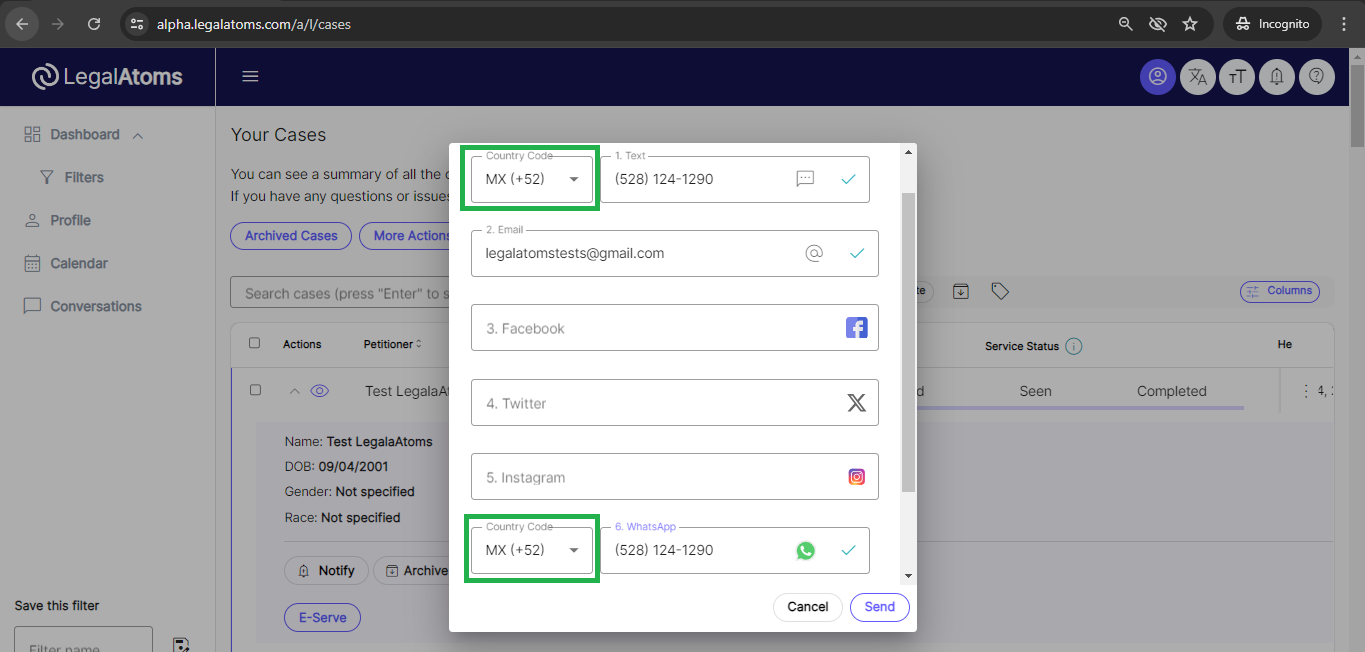
1. From the sheriff dashboard click on the Arrow Icon and then click on the E-serve button.
![]()
2. Choose the appropriate country code From the Country Code dropdown according to where you want to E-serve and enter the number. Fill out the required field and click on the send button. The respondent will receive Text, WhatsApp, and Email message.