Setting up profile as a clerk
Step 1: Visit to LegalAtoms
Navigate to https://app.legalatoms.com/
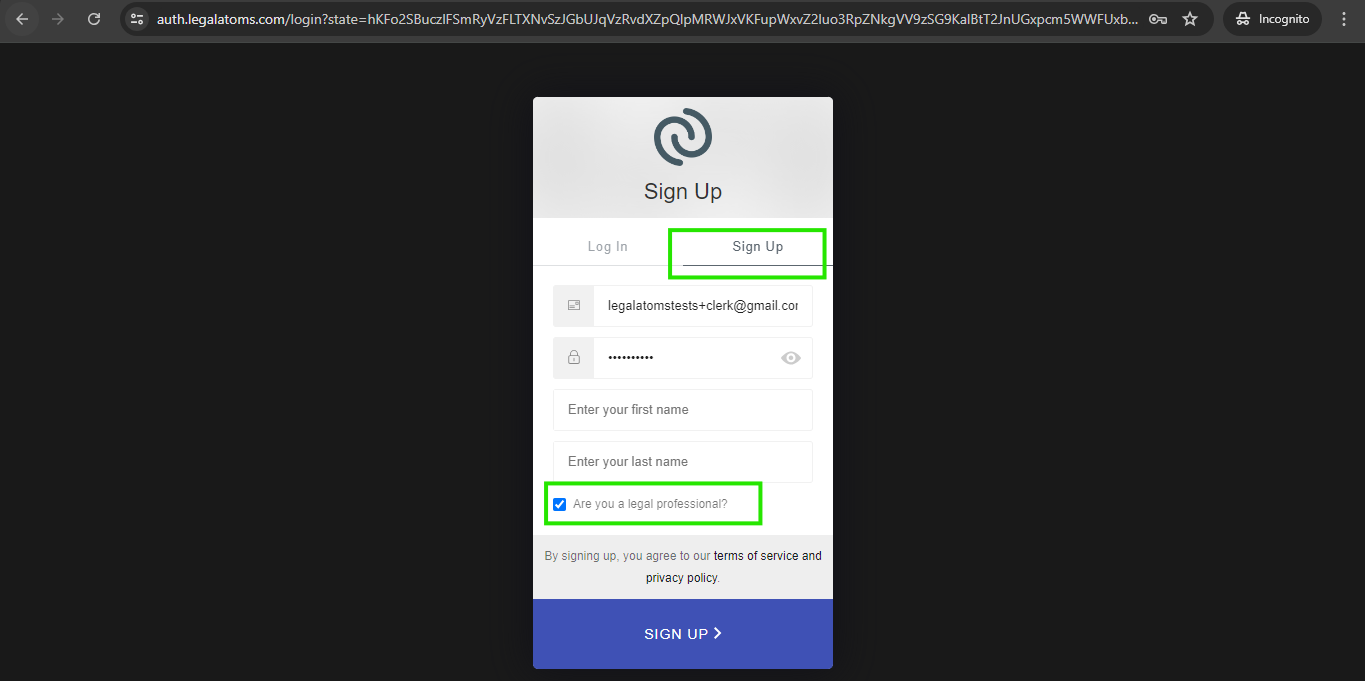
Register as a professional. Click on the Sign Up tab
Then enter the following fields
- Email: Note: This is where you want to receive your important account notifications. This email is not publicly visible. The email visible to the public is setup later
- Password:
- First Name:
- Last Name:
- Are you a legal Professional – this is key to setting up an account as a professional and not a client. Note: If you accidentally miss this, you can delete your account and start all over again
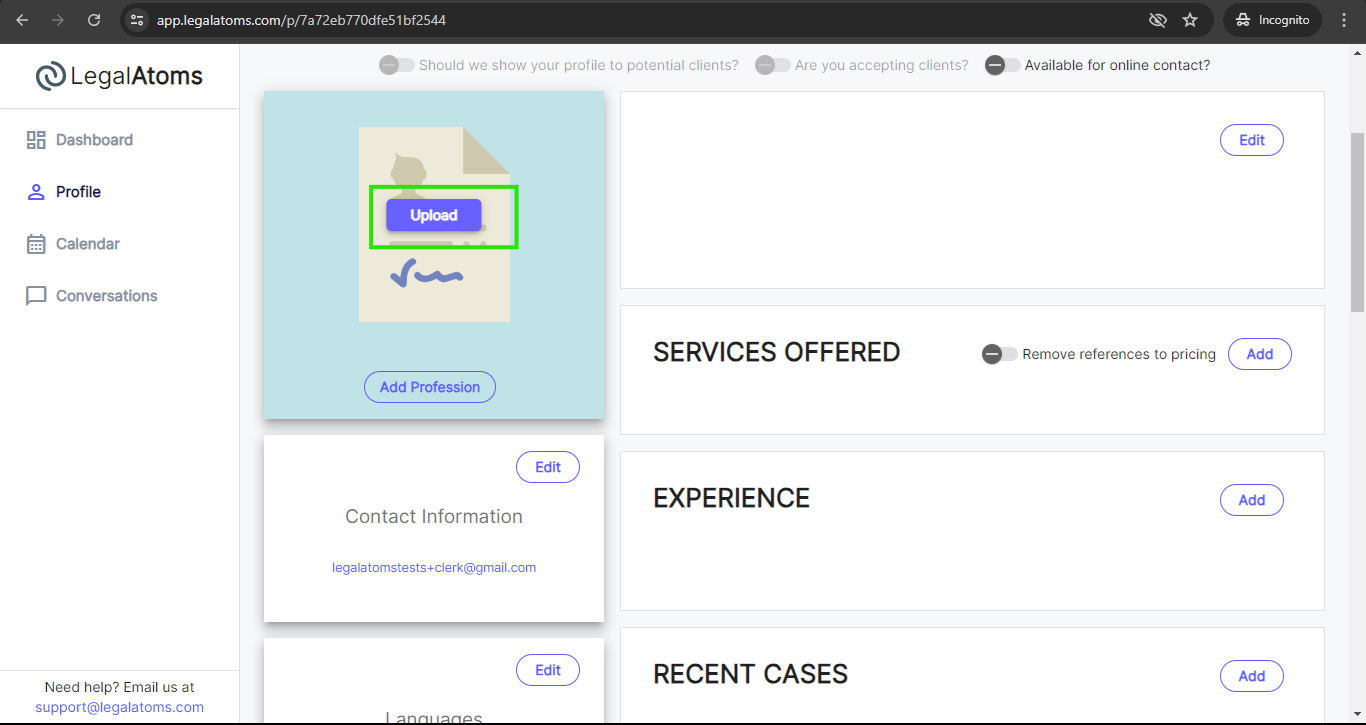
Step 2: Setup your profile beginning with a profile picture
For personal accounts: a profile picture is important for clerks as it helps people see the human and professional face
For Organization accounts: A logo or some branding image may be uploaded
A profile picture greatly increases the chance of being selected by the client. However, you are not required to have one in case you don’t feel comfortable releasing one for privacy.
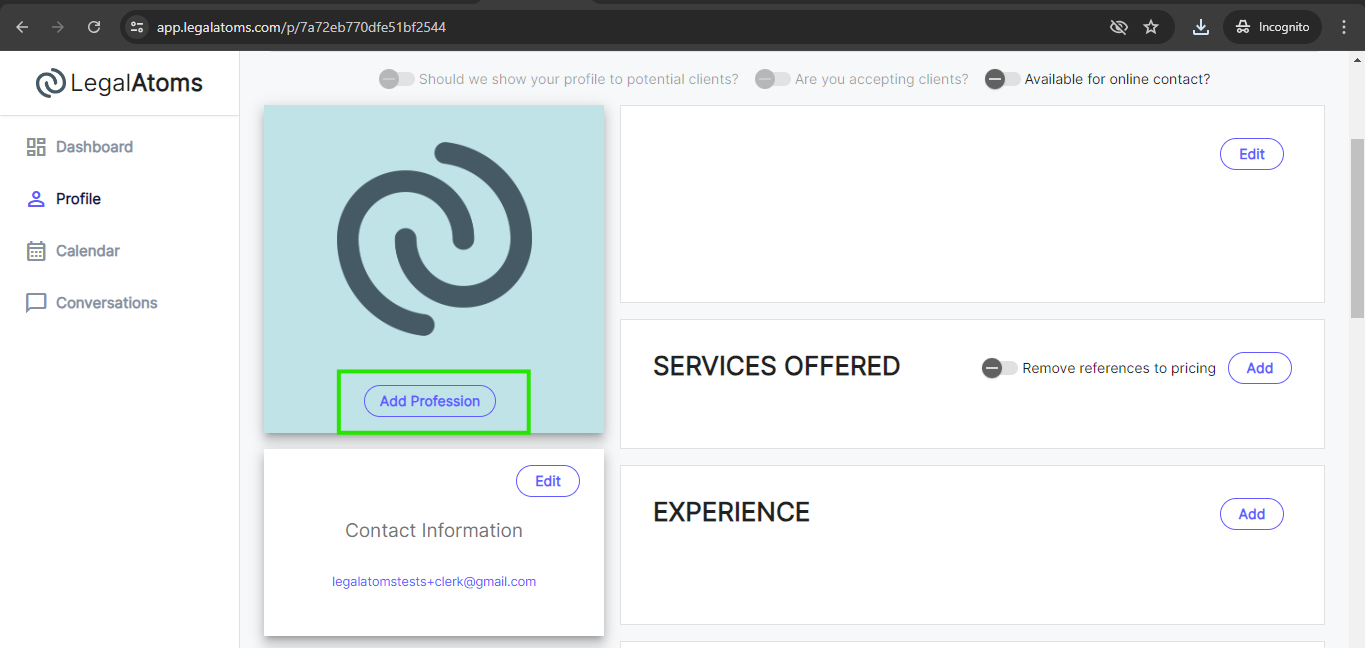
Step 3: Set Profession
You can set any profession. For setting up a clerk account you need to select a profession as a clerk.
- Clerk: Clerk of a court only
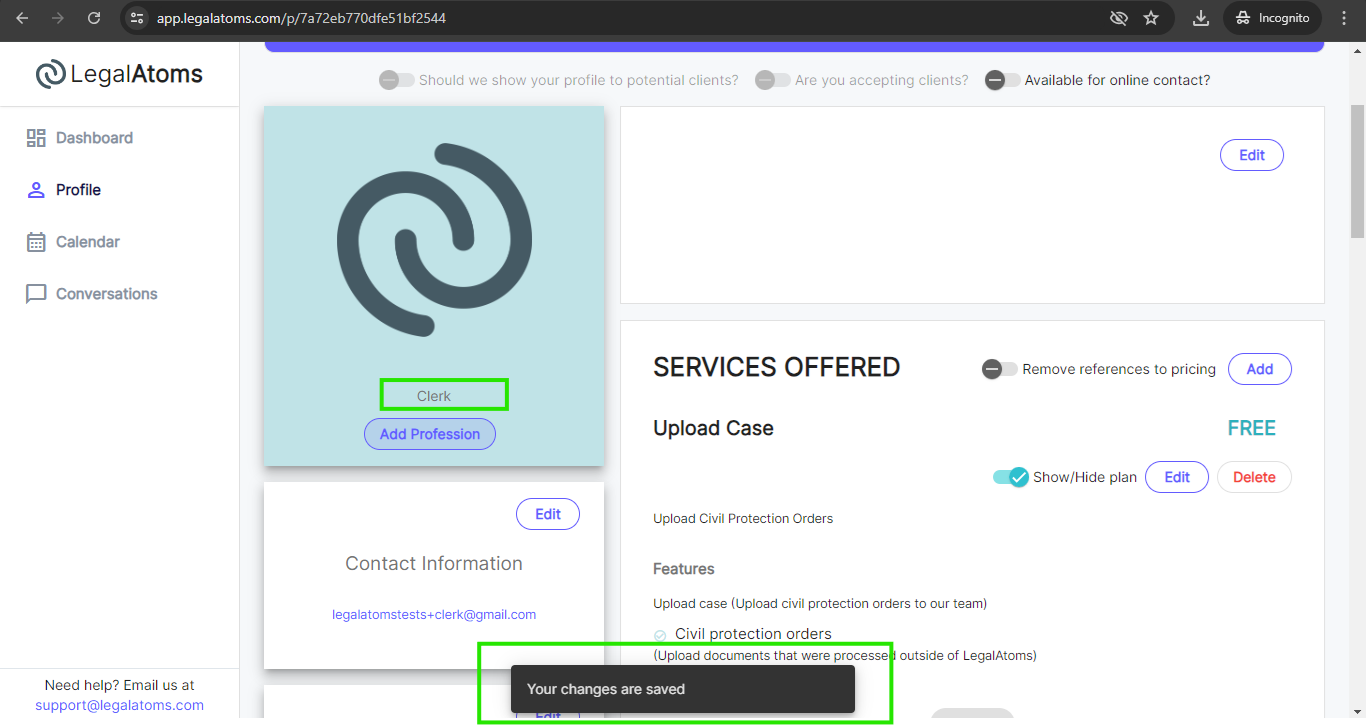
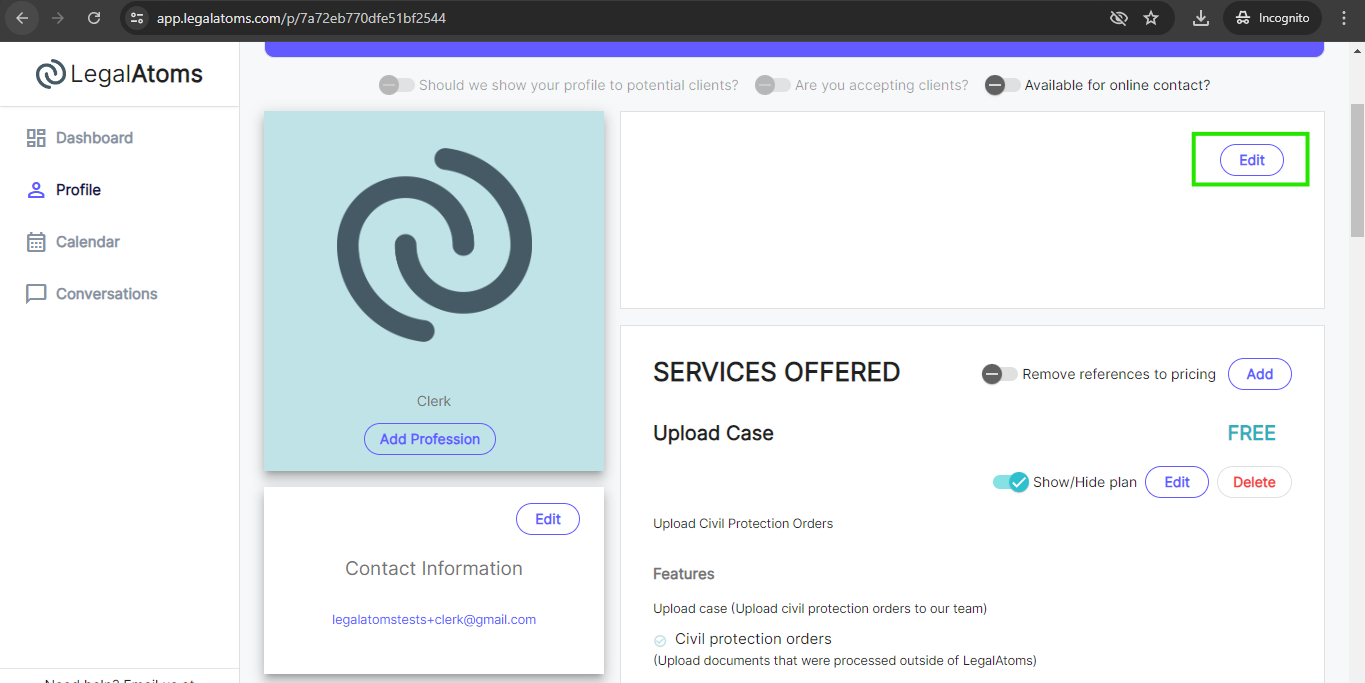
Step 4: Write a standard blurb
For clerk: this is not auto-populated when you select the Profession = clerk. You need to add by clicking on the Edit button.
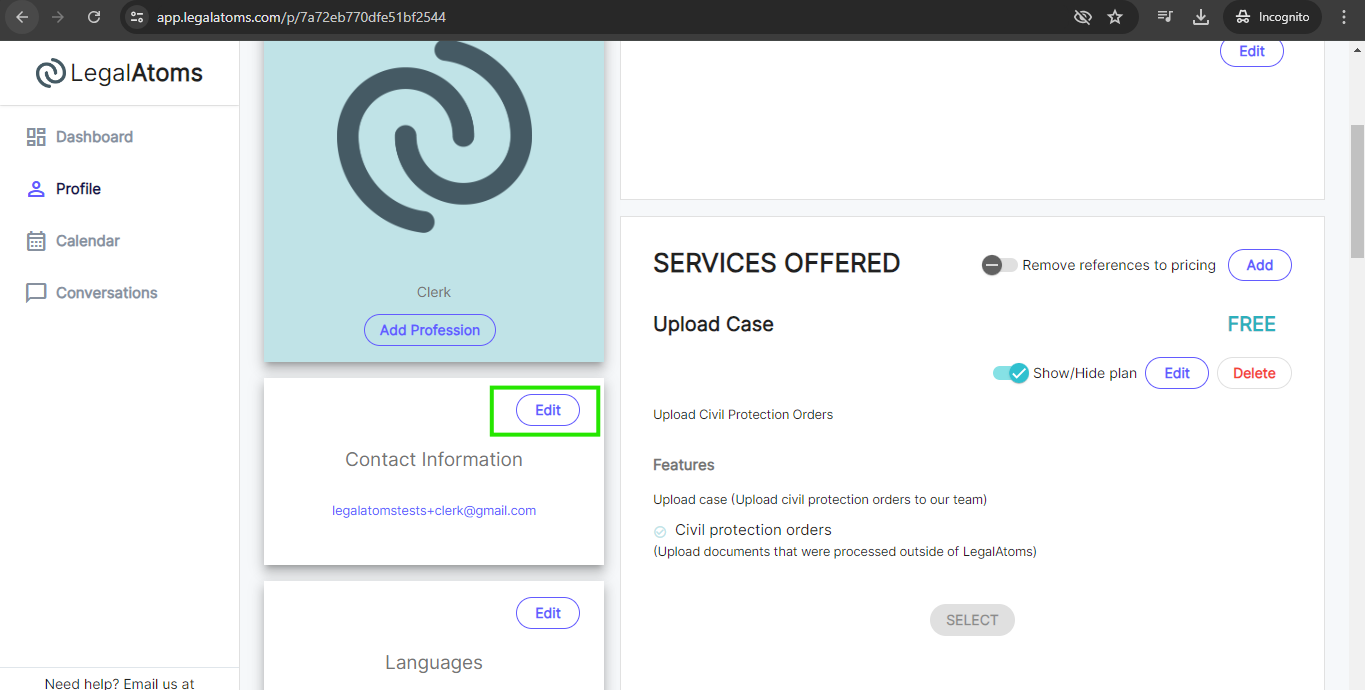
Step 5: Add Contact Information
In case you don’t have an office phone, then create a free Google Voice forwarding phone number to keep your personal phone number private
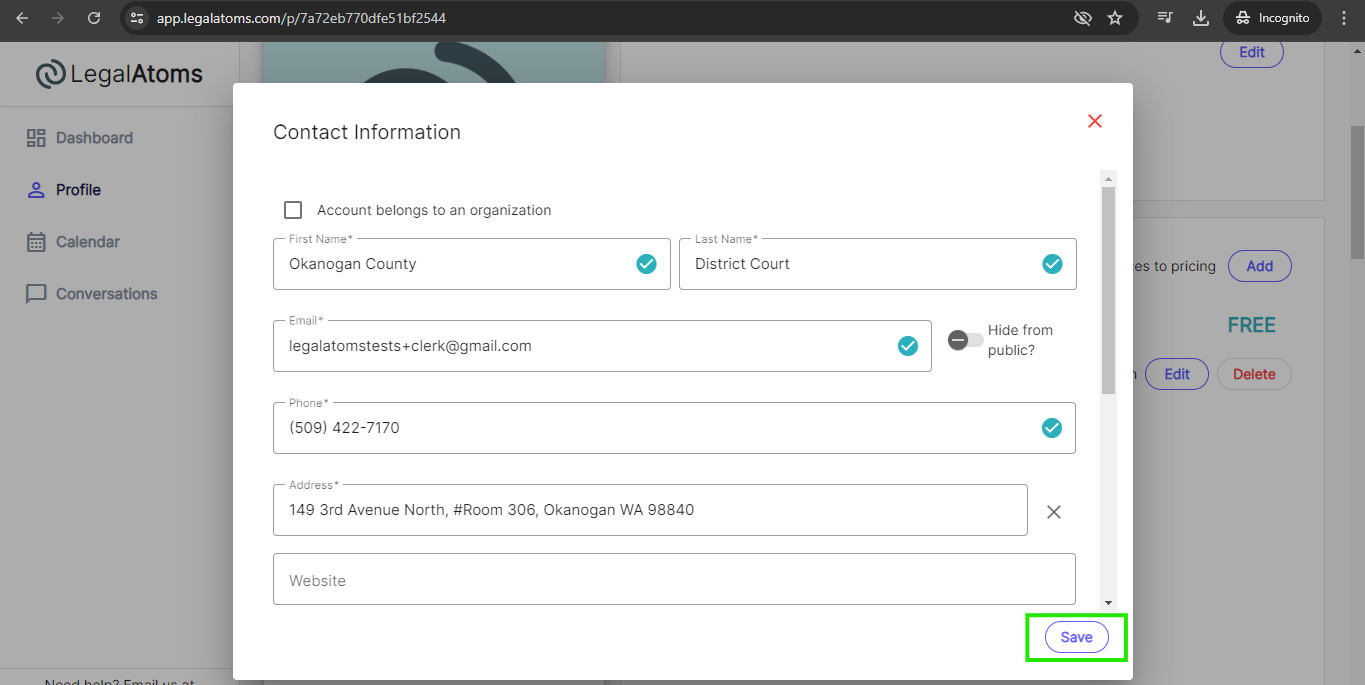
Click on the Edit button to add/update the contact information. Enter the following required fields and click on the Save button.
- First Name
- Last Name
- Phone number
- Address
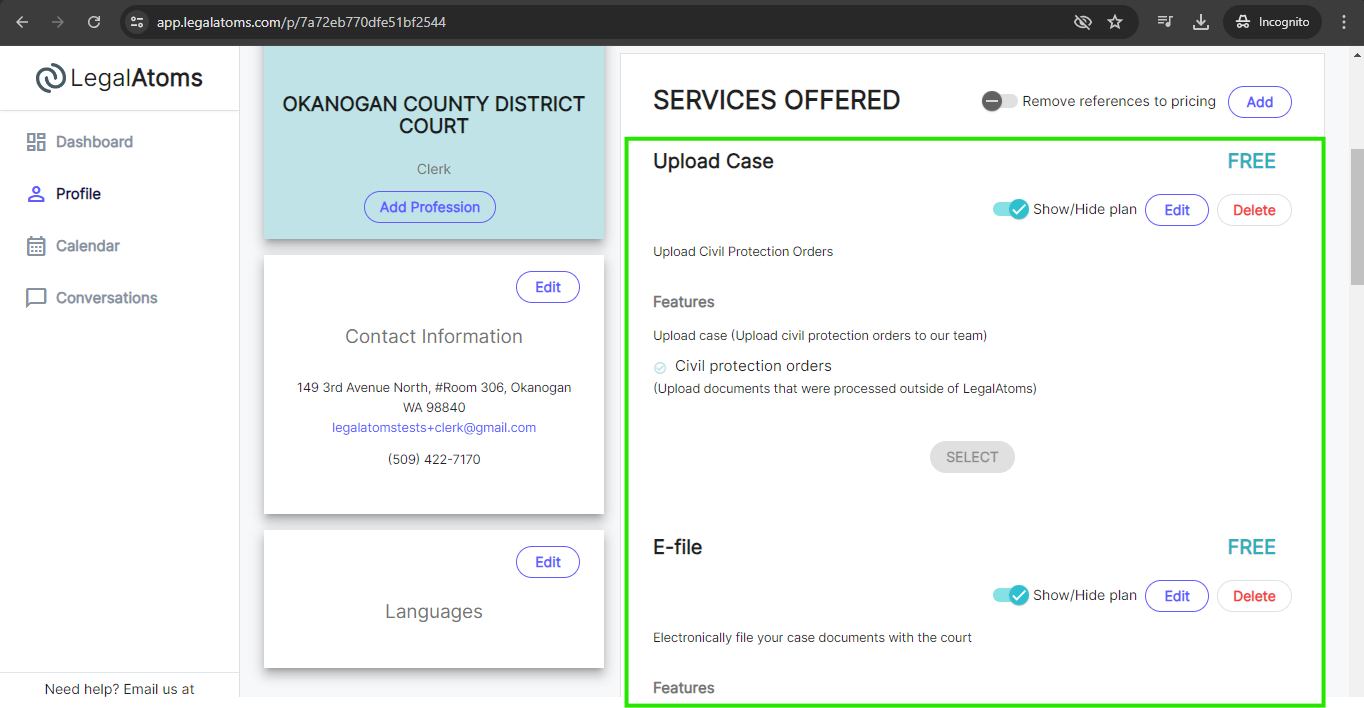
Step 6: Services
For Clerk: This section is auto-populated when you select “Profession = clerk.” and therefore you can skip it. Clerk can update the E-file plan according to your needs or you can also add your own customized plan by clicking on the Add Service offered button.
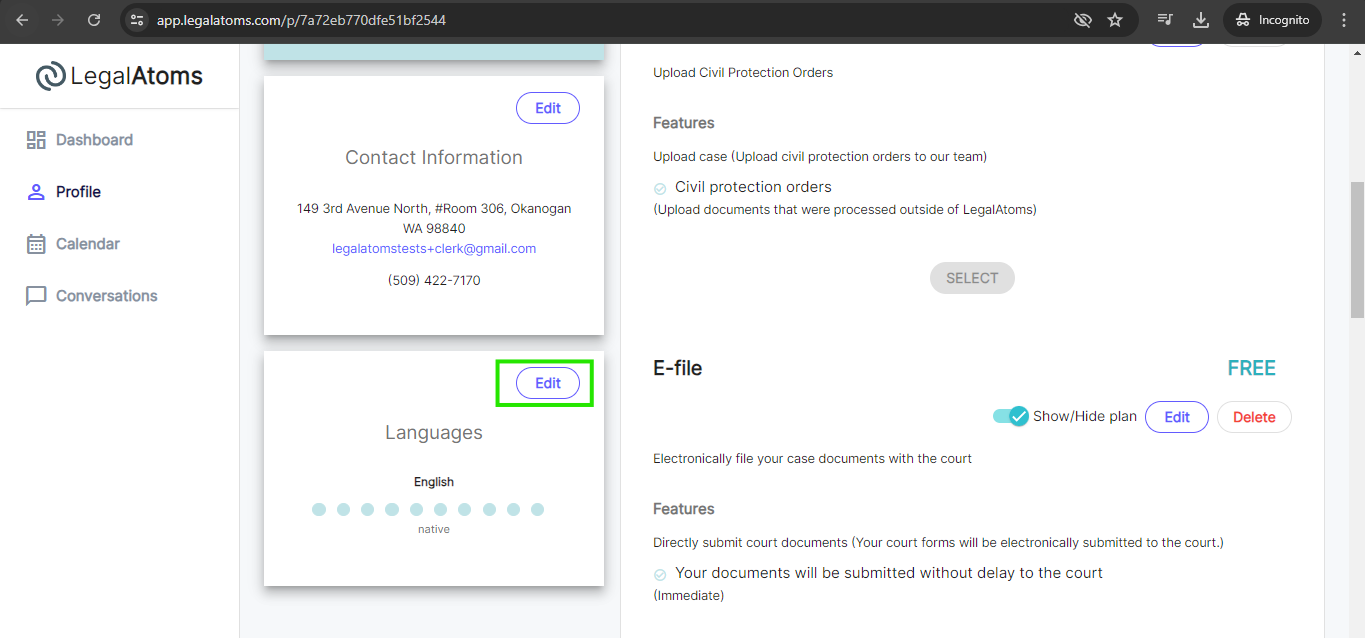
Step 7: Set Language
Add the languages you or your staff members are comfortable with.
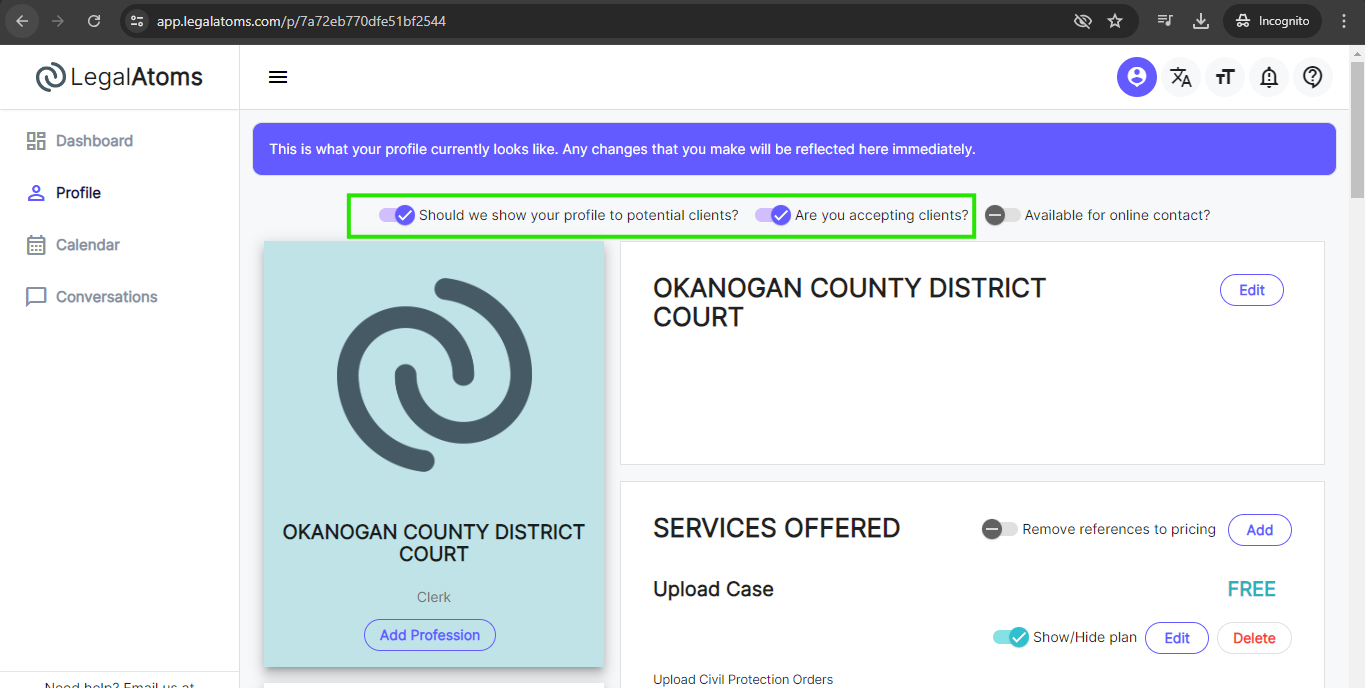
Step 8: Make your profile Public
There are two switches and both have to be turned on which are
- “Should we show your profile to professional clients?” : This switch just makes your profile visible to the public. It does not enable making service requests to you. Typically you will leave it on always.
- “Are you accepting clients:” This would allow clients to see you as an option available for assistance (i.e. you’re offering services), and allow them to send you requests for assistance.
Once a client sends you a request, you will receive an e-mail notification.