A Guide to Configuring Settings in LegalAtoms
The Settings in LegalAtoms is your central hub for customizing and managing various aspects of your account and practice. Proper configuration of the Settings ensures that you can leverage the full potential of LegalAtoms to enhance your legal practice. This guide will walk you through the key features and customization options available in the Settings.
Step 1: Accessing the Settings Tab
Navigate to https://test.legalatoms.com/
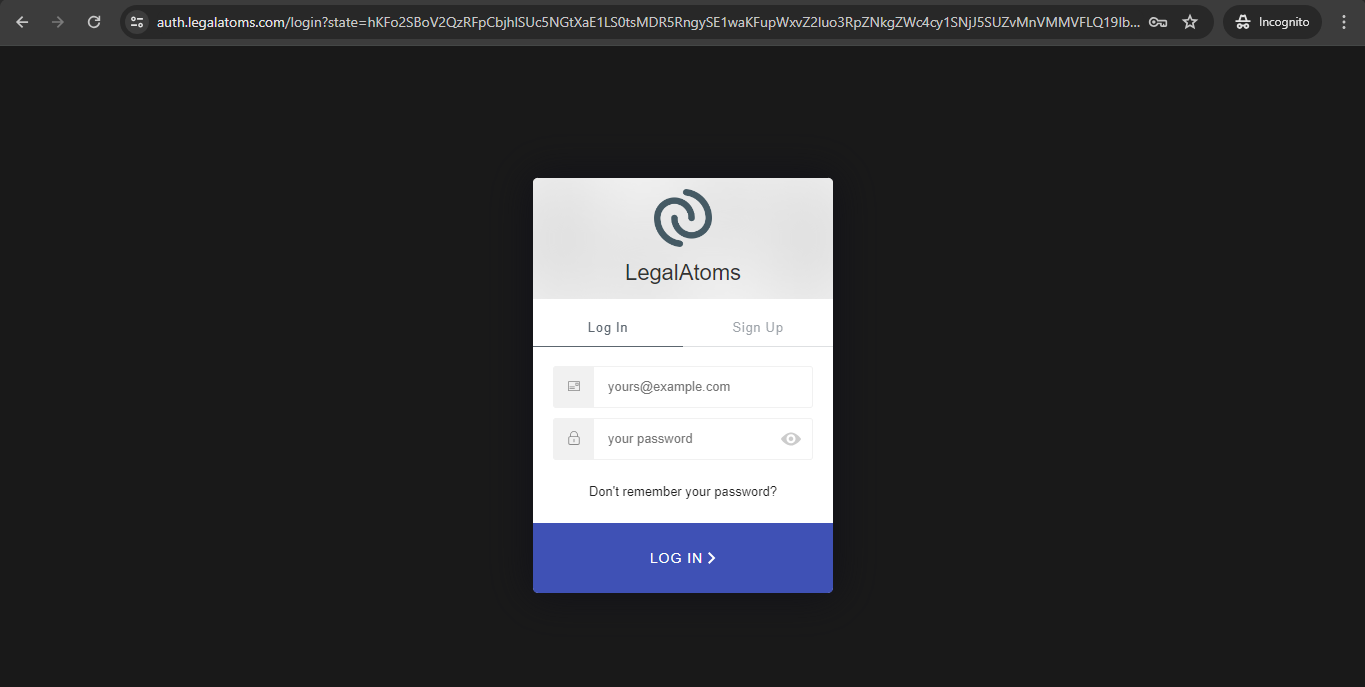
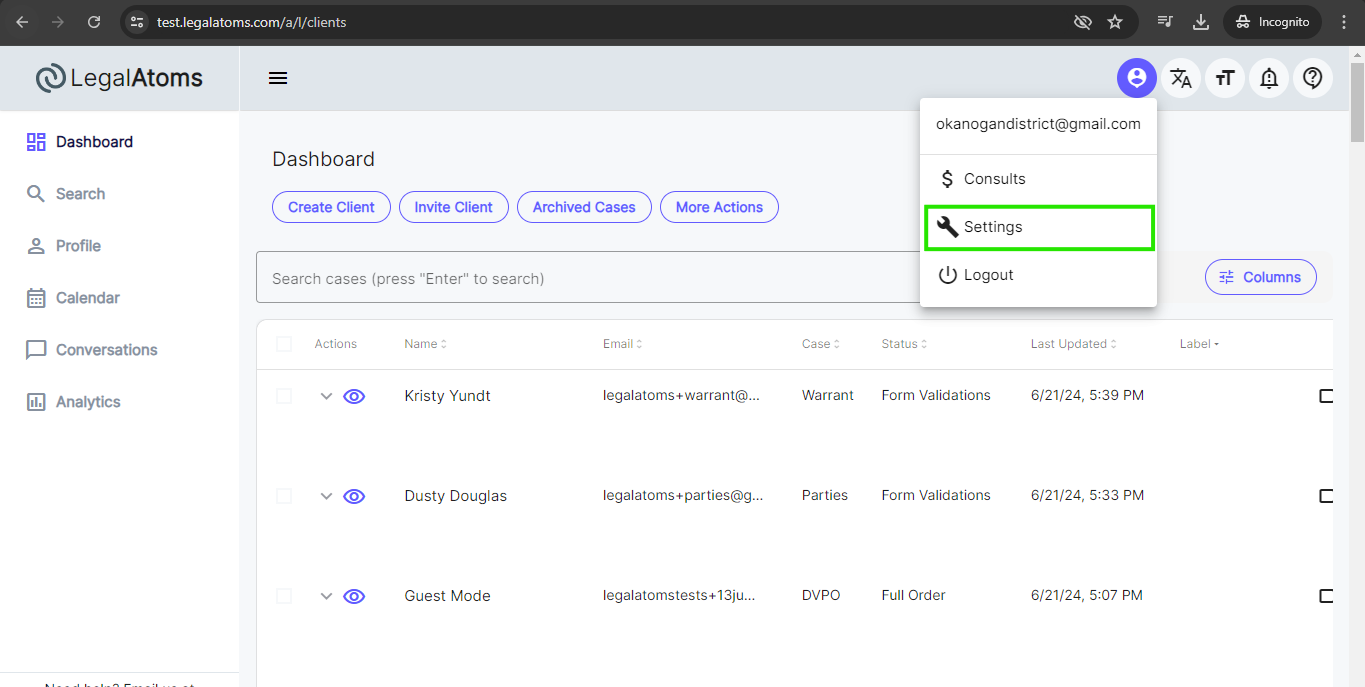
To access the Settings tab, log in to your LegalAtoms account and click on your profile icon at the top right corner of the screen. From the dropdown menu, select “Settings”.
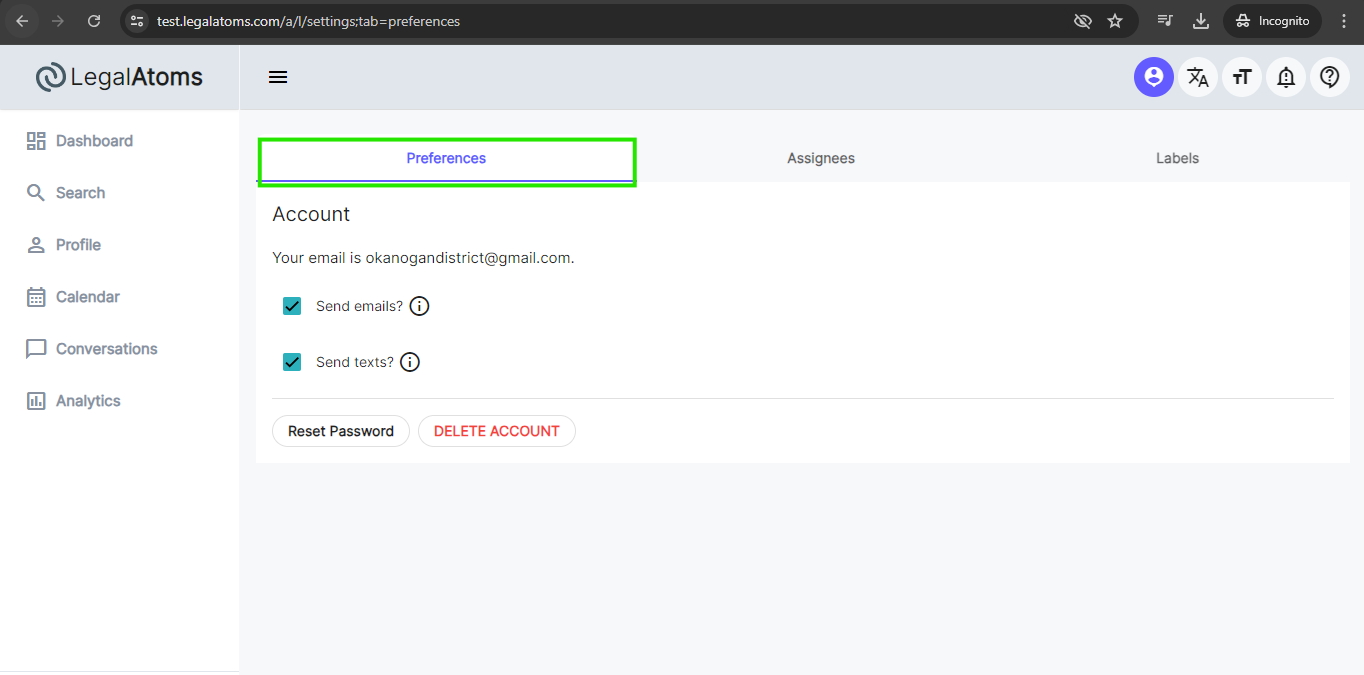
Step 2: Preferences
In the Preferences section, Customize how and when you receive notifications to stay informed without being overwhelmed.
- Send Emails?: Select which types of notifications you want to receive via email, such as new messages, appointment reminders, or task updates.
- Send text?: Enable SMS alerts for critical updates that require immediate attention.
- Reset Password: Update your password regularly to ensure it is strong and unique.
- Delete Account: Deleting your LegalAtoms account is a straightforward process, Deleting your account will permanently remove all your data from LegalAtoms, including client information, case details, documents, and communication history.
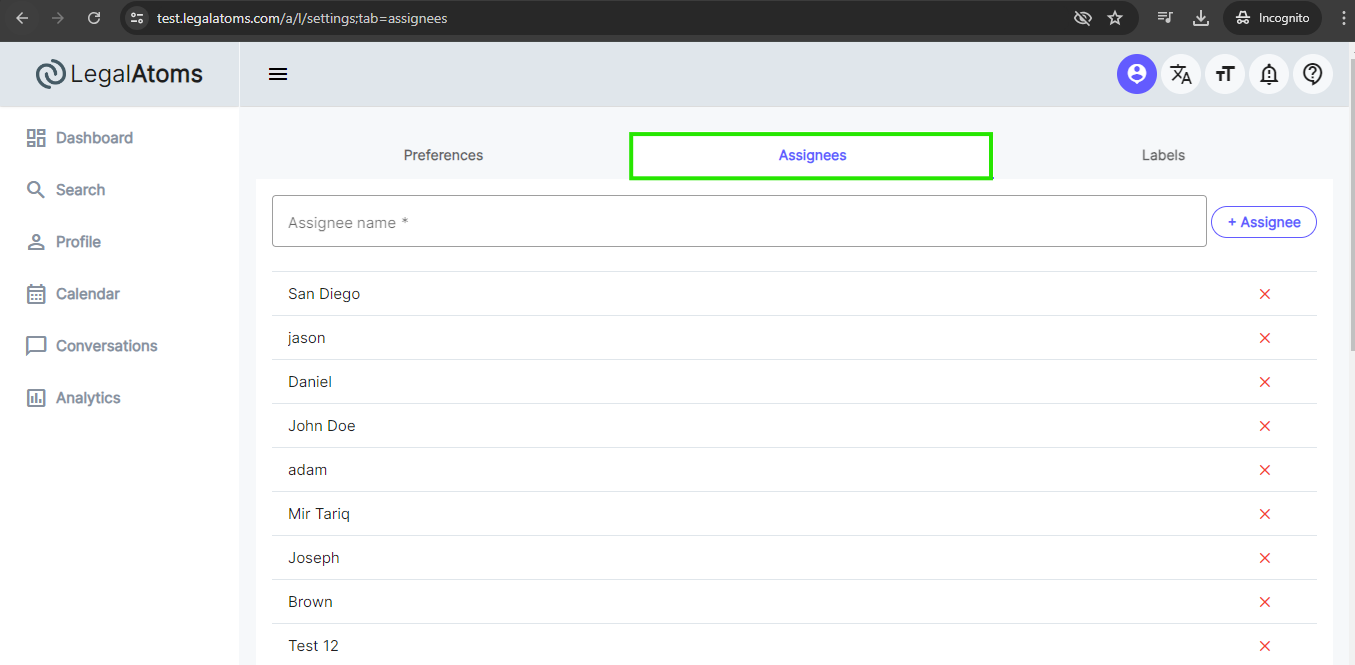
Step 3: Assignees
- From the Assignees tab professionals can add a new assignee by entering the assignee’s name after he click on the +Assignee button.
- A Professional can delete the assignee by clicking on the cross (X) icon.
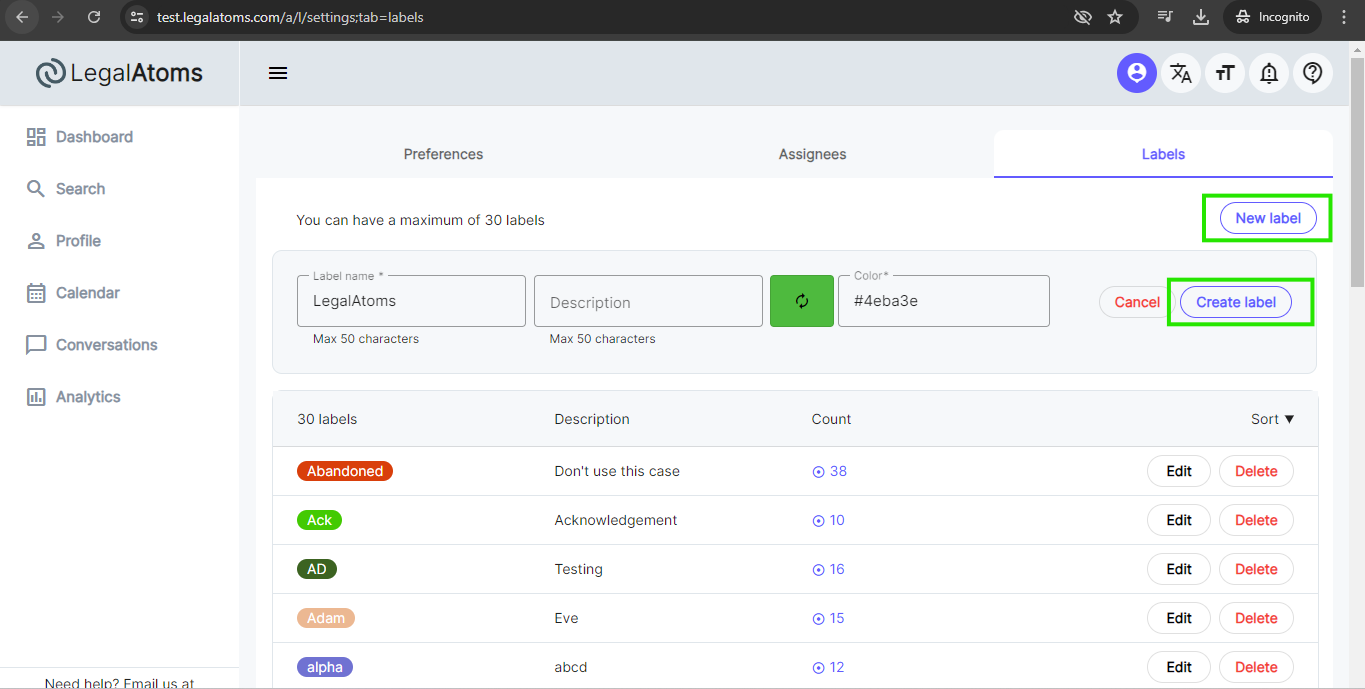
Step 4: Labels
In LegalAtoms, the “Labels” feature serves as an essential tool for organizing, categorizing, and managing various aspects of your legal practice.
- The professional can create a label by clicking on the New Label button. Enter the label name and click on the Create label button.
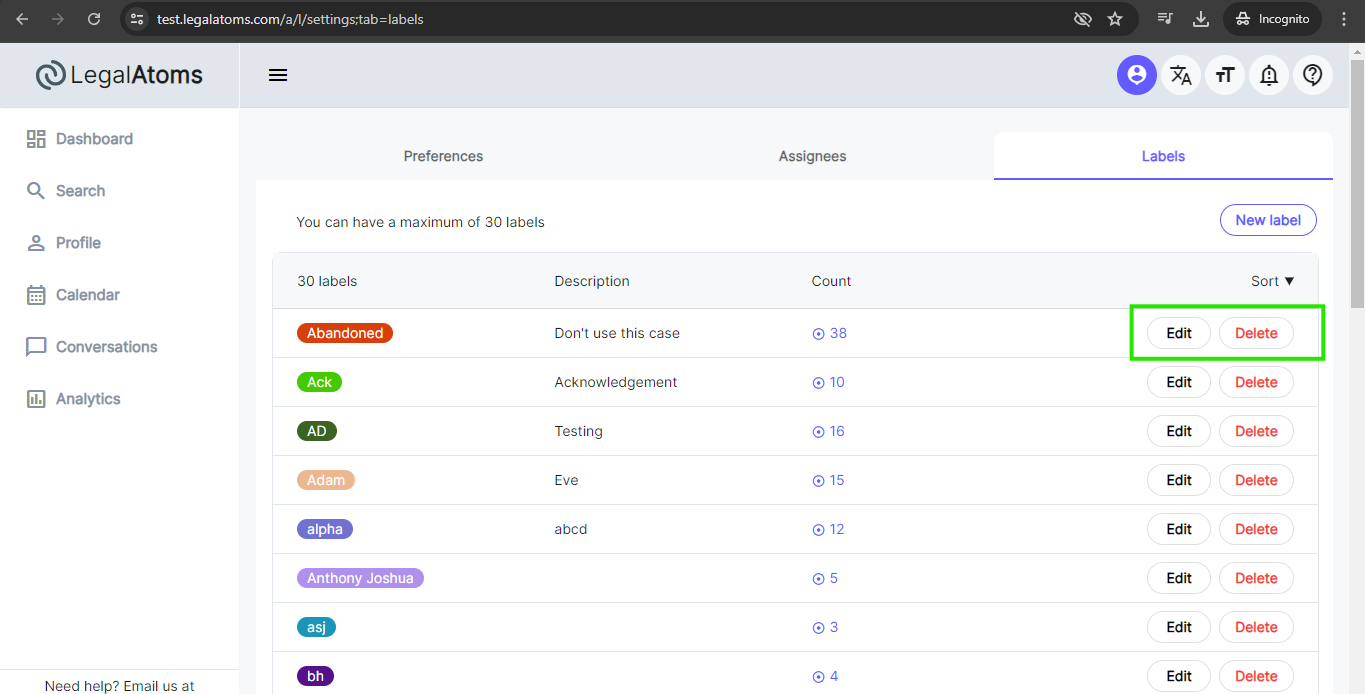
- The professional can Edit/Delete the label
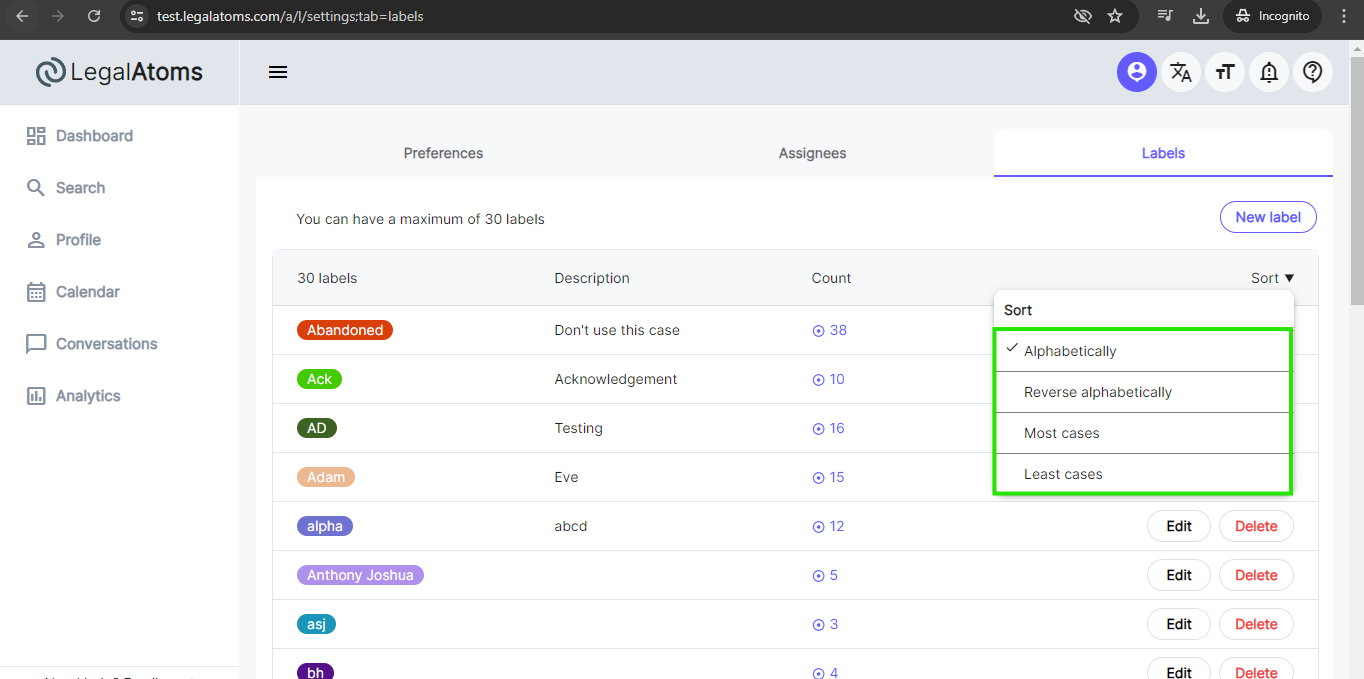
- Professional can sort labels in different ways as Alphabetically, Reverse alphabetically, Most cases, and Least cases.