Allow clerk to change the cause number within the page
The purpose of this enhancement is to improve the user experience by allowing direct inline updates or changes of the cause number within the page to reflect the newly assigned cause number in the document. This will eliminate the need for users to navigate away from the page, instead enabling changes within the current interface through an intuitive inline editing mechanism. Key functions like save and discard will be included.
Steps to Change the Cause Number
Step 1: Login to LegalAtoms
Navigate to https://app.legalatoms.com/
You will see the login screen where you can enter your credentials and hit login to access your account.
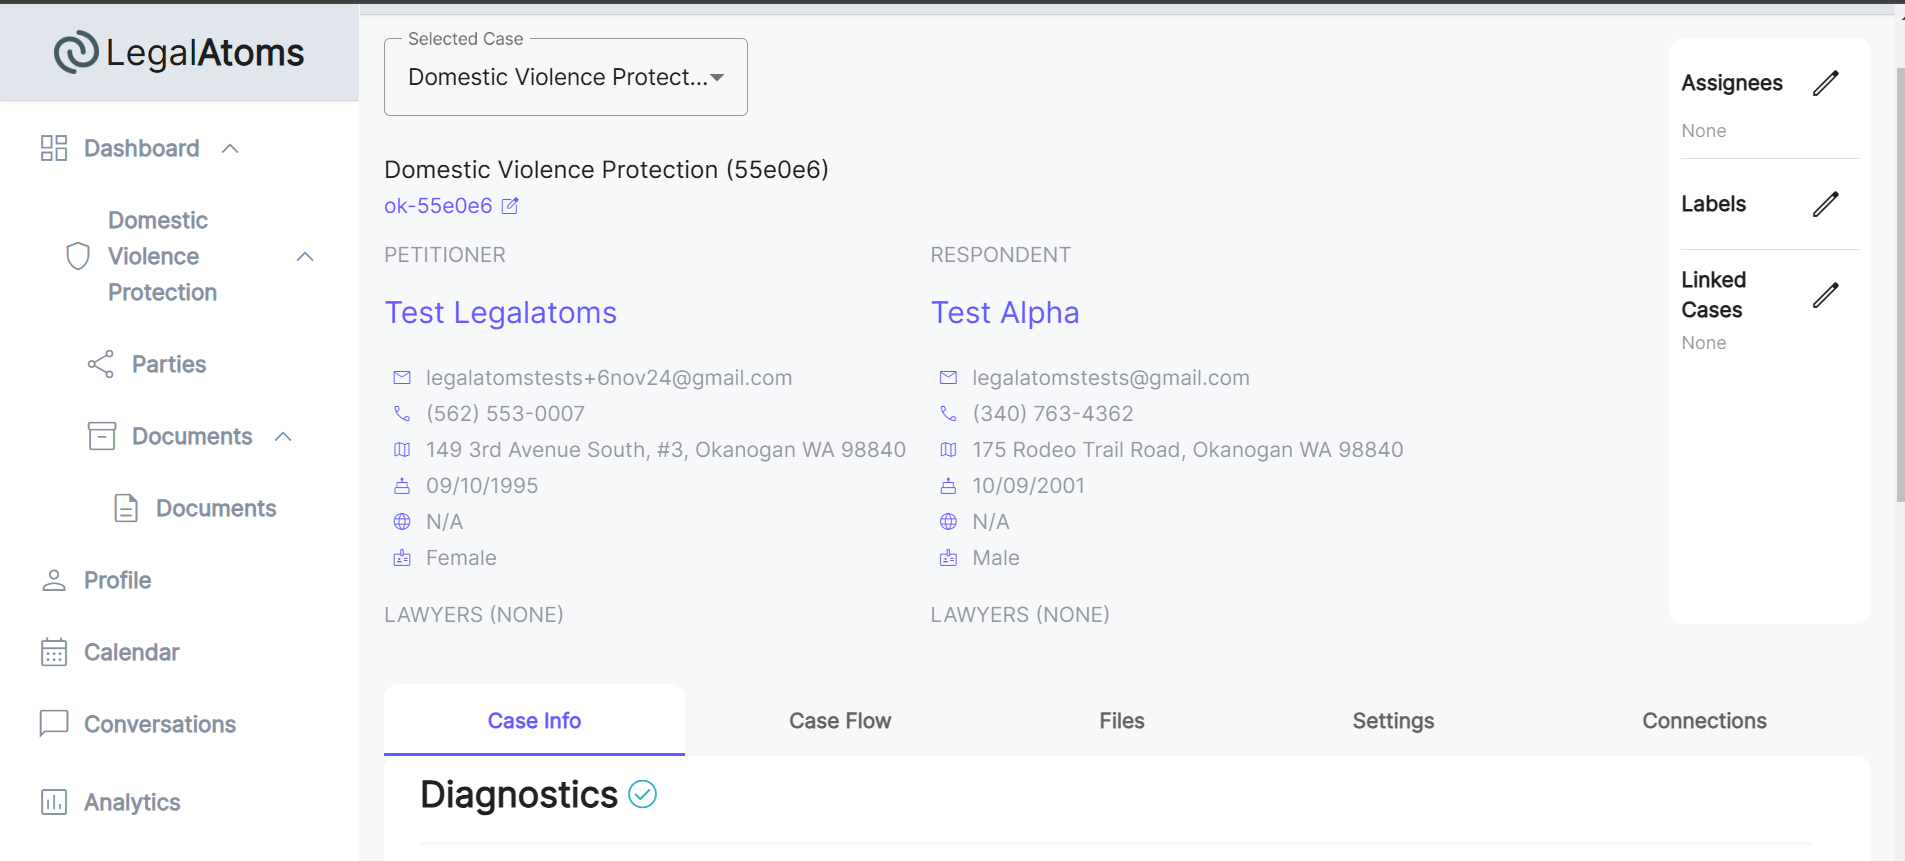
Step 2: Navigate to the Case Info Page
From your dashboard, locate and select the specific case where you need to update the cause number. This will open the case info page.
![]()
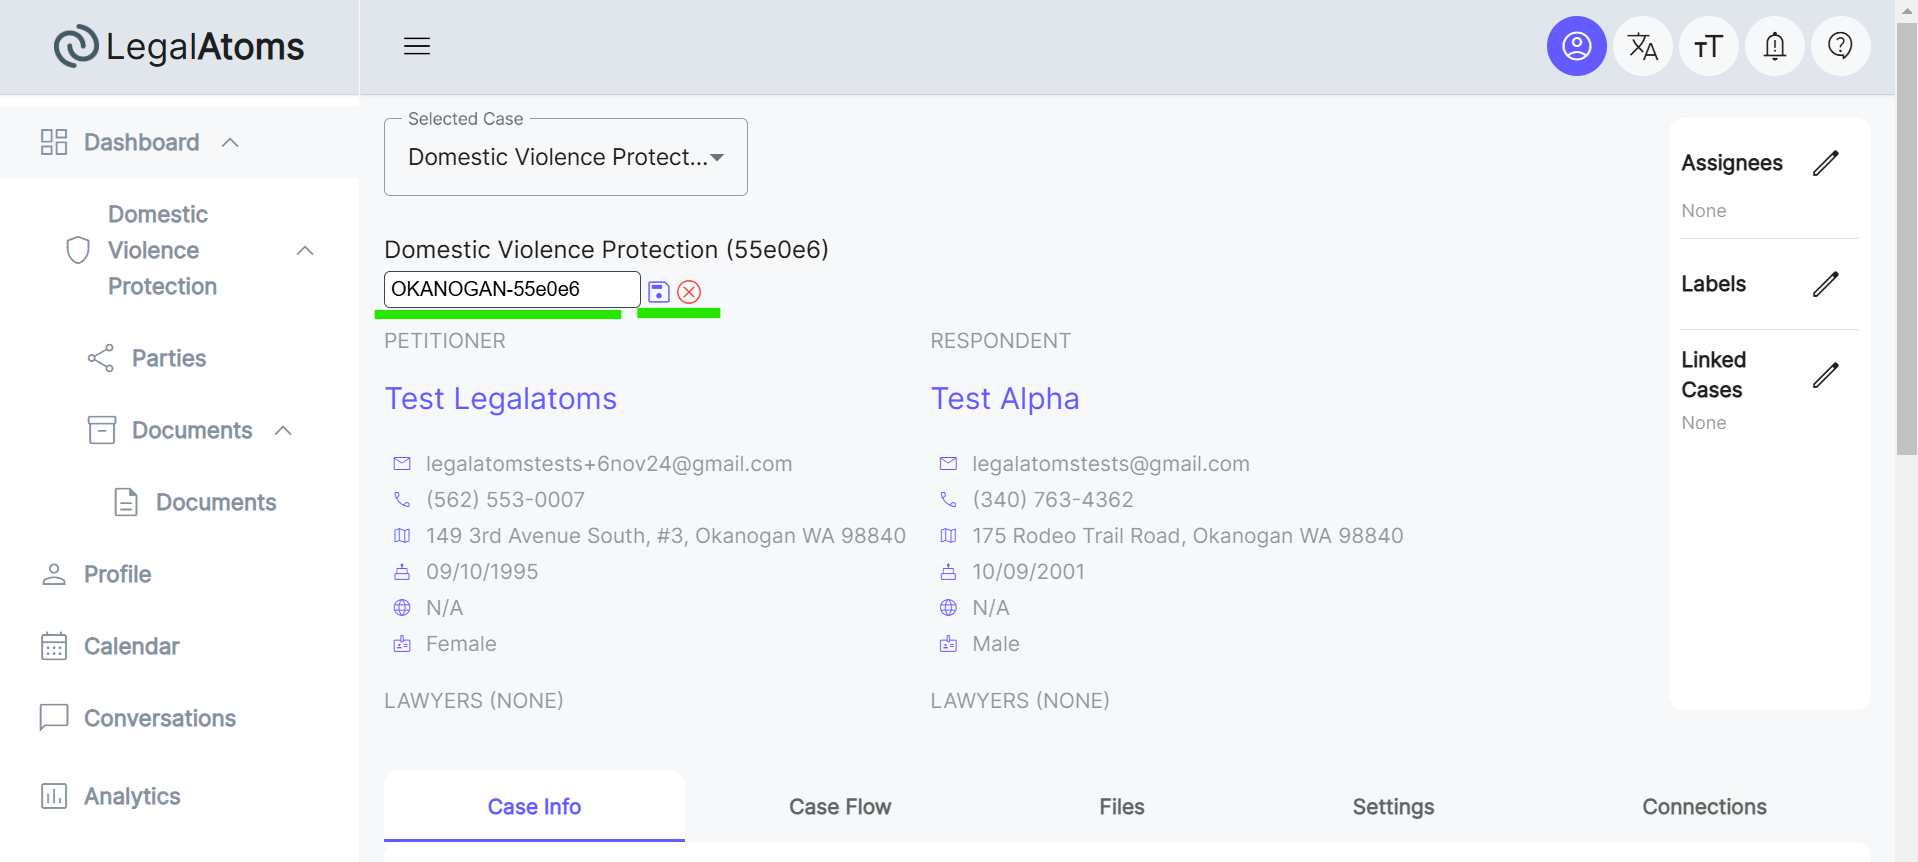
Step 3: Change the cause number
At this stage, the clerk rejects the case without assigning a cause number. Legalatoms provides functionality for the clerk to later add or update the cause number for cases previously not assigned.
- An edit icon (e.g. a pencil) appears next to the cause number. Locate the “Edit” icon that appears at the top of the header.
- Click on it to add or update the cause number.
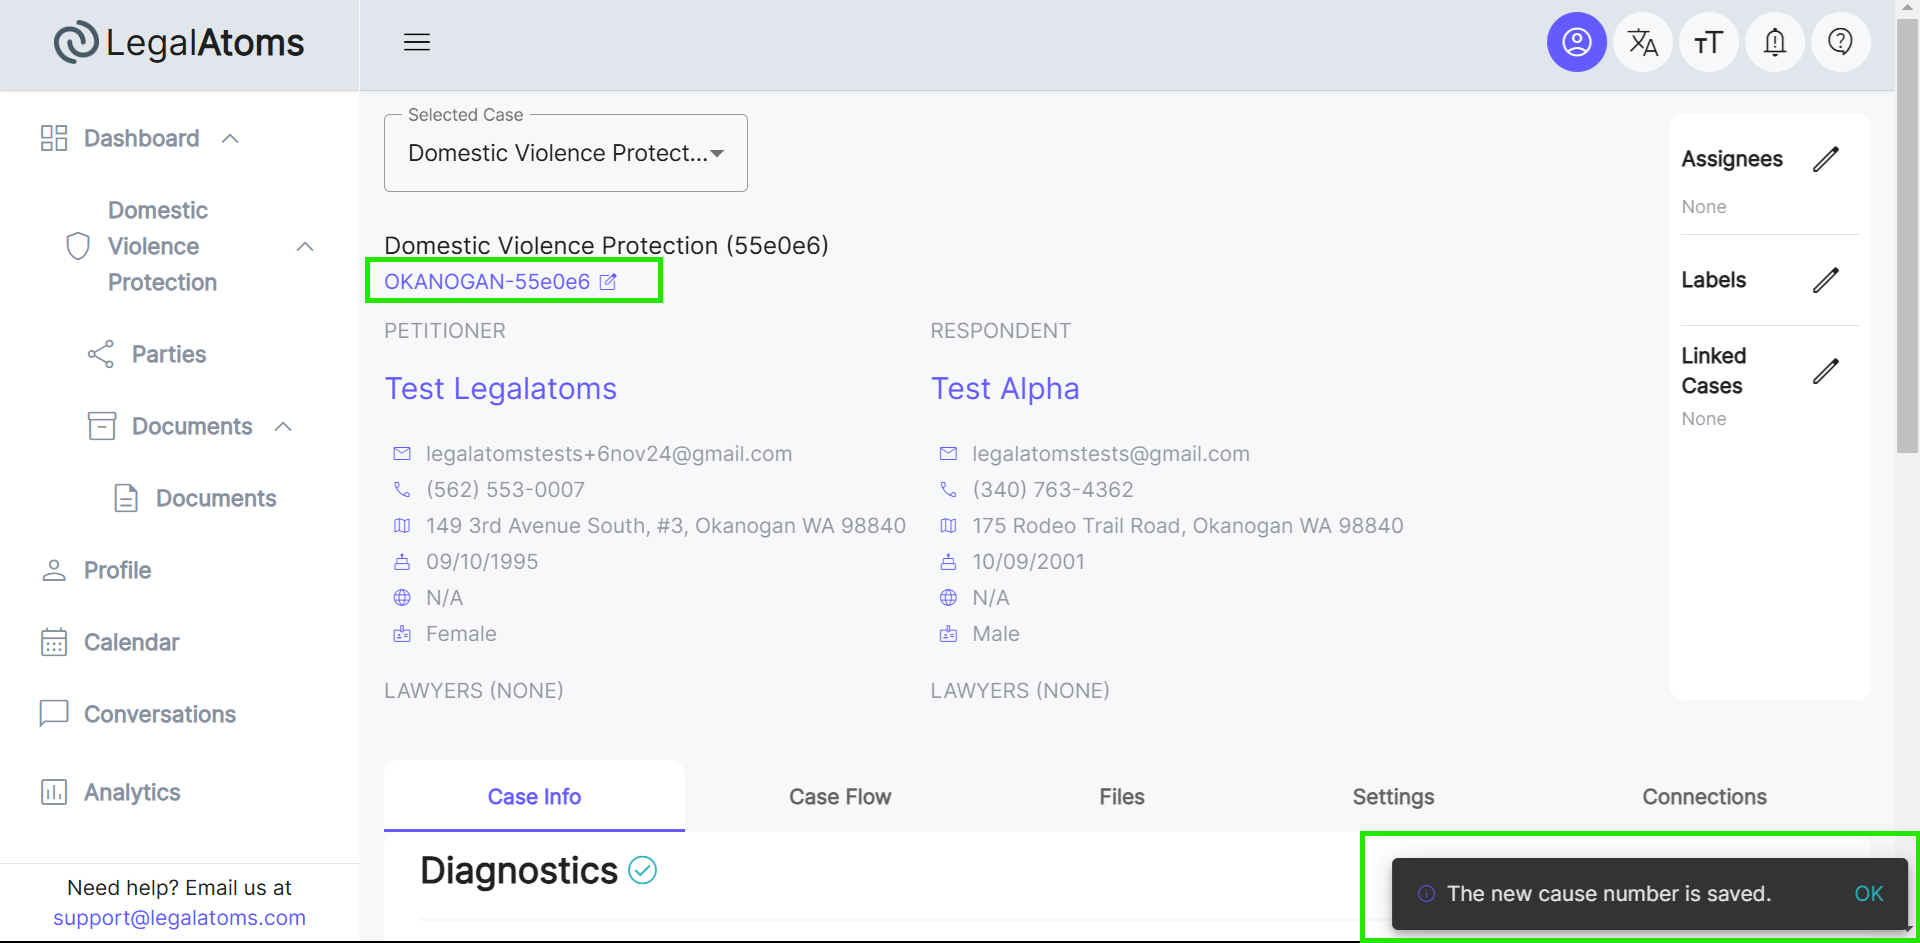
- After entering the new case or cause number, click on the “Save” icon to confirm the change.
- The updated cause number will now be displayed in the document.
![]()