Eviction Filing Guide for Landlords
This page provides a step-by-step guide for landlords using LegalAtoms to file and manage an eviction case in Florida State. LegalAtoms streamlines the legal process by helping you generate court documents, understand your rights and obligations, and track your case status.
Part 1: Overview
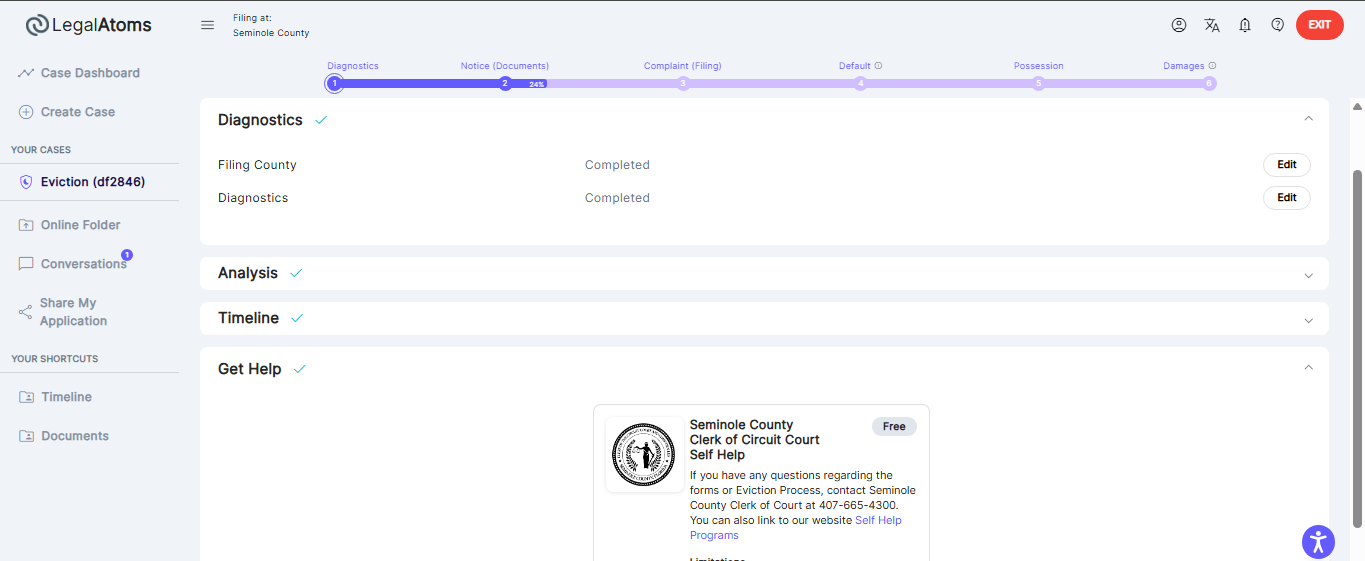
Step 1 – Start Your Case and Check Eligibility
To start your case, you will first enter your ZIP code or select your county from the list. After this, the system will guide you through a few important questions to better understand your situation. You will be asked whether the eviction filing is based on non-payment of rent—select “Yes” if the eviction is due to unpaid rent, or “No” if it’s for another reason. Next, you will choose the type of relief you are seeking. This could be for the tenant to vacate the property, for unpaid rent or other damages, or for both. Finally, you will identify your role in the case by selecting whether you are the property owner, the property manager, an attorney representing the owner or manager, or none of the above.

After you answer the questions above, the system will automatically analyze the information you have provided. If your case is eligible, you will see a message confirming that you qualify to file for an eviction. The system will also display the court where your case may be filed, along with its address and contact information. At this stage, you can review the process and decide if you want to proceed with your eviction case.
Step 2 – Complete the “About the Situation” Form (Notice Stage)
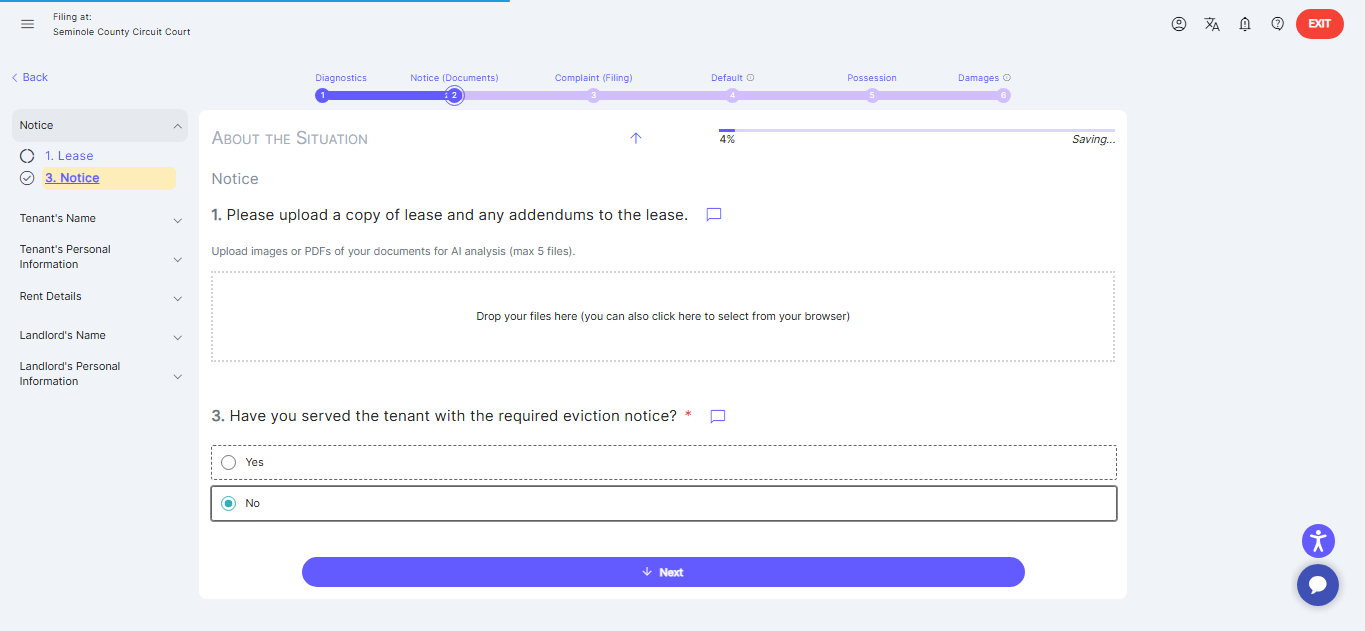
Next, proceed to the stage called the Notice Stage and carefully fill out the form titled “About the Situation.” In this section, you will provide detailed information about yourself as the landlord and about the tenant. You’ll also enter details related to the rental arrangement, such as the monthly rent and payment history, as well as the specifics of the notice—such as the type of notice served.
In this form, you can also upload documents related to the lease and any addendums. It is especially important to answer the question, “Have you served the tenant with the required eviction notice?” accurately. If you select No, LegalAtoms will generate the necessary notice documents for you after you complete the questionnaire. However, if you select Yes, LegalAtoms will not generate the notice documents, and you will be directed to proceed to the next stage.
Notice is NO
 Documents are generated
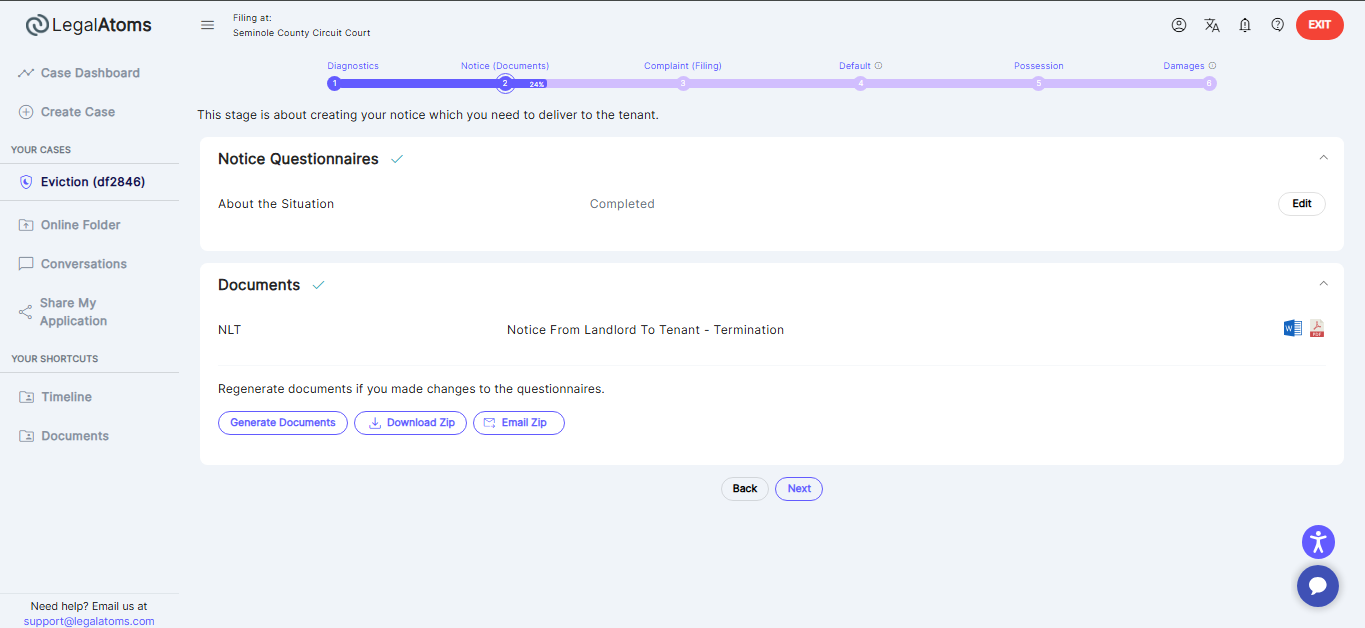
Notice is answered Yes
Documents is not generated.

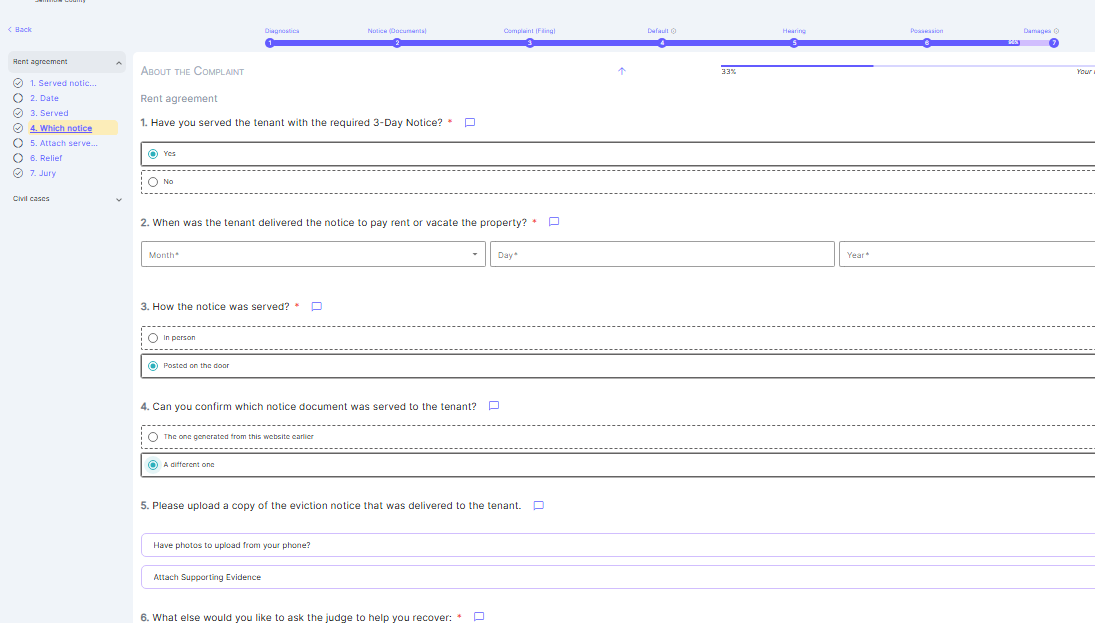
Step 3 – Complaint Questionnaire – Serve and Confirm the Notice
Moving forward, the next stage is called the Complaint Stage. Here, you will need to complete the “About the Complaint” questionnaire by answering all questions accurately. This section focuses on whether you have served the tenant with the required 3-day notice. If you select Yes, you will be asked to provide additional details such as the date the notice was served, how it was delivered, and which notice was given—specifically, whether it was the one generated in the Notice Stage through this system, or a different notice.
If you used a different notice, you must upload that document here, as it will be included in the Complaint document that is filed with the court.
If you select the notice that was generated earlier through this website, it will be automatically attached to the Complaint document.
Once the Complaint questionnaire is completed, the required documents will be generated, and the Filing section will be enabled. The number of documents may vary depending on the number of tenants, as a separate Eviction Summons (Residential) will be generated for each tenant. The number of tenants is based on the information you provided earlier in the “About the Situation” section during the Notice Stage.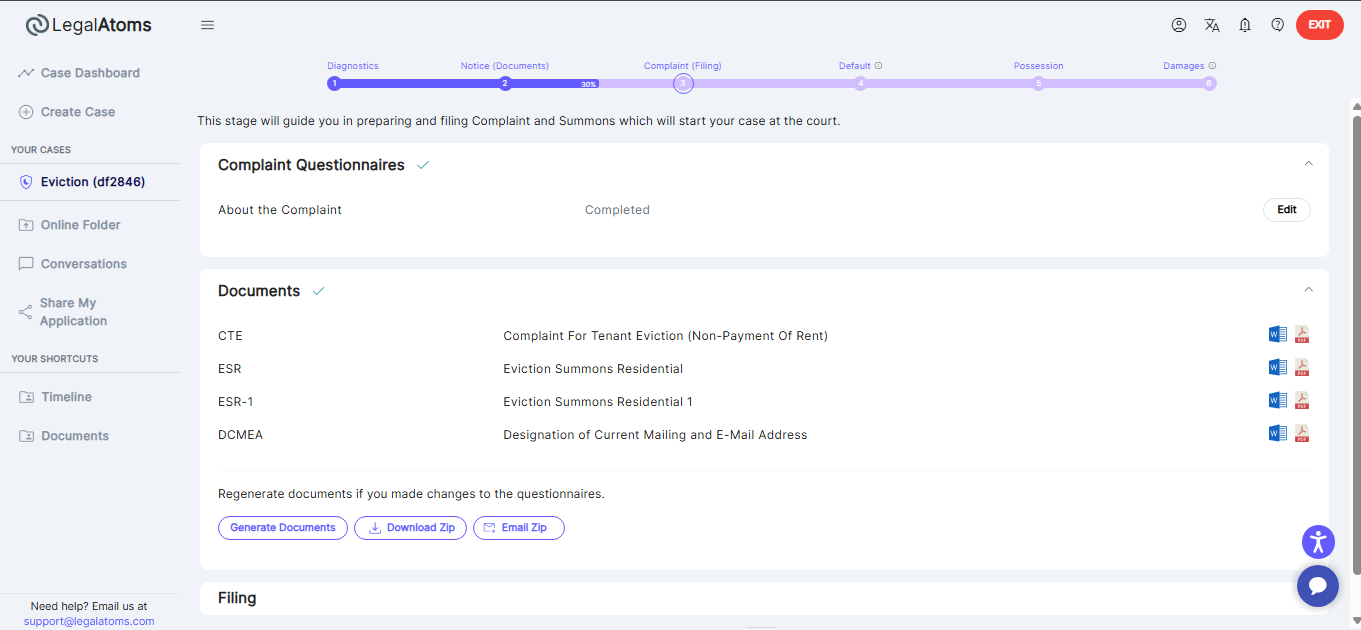
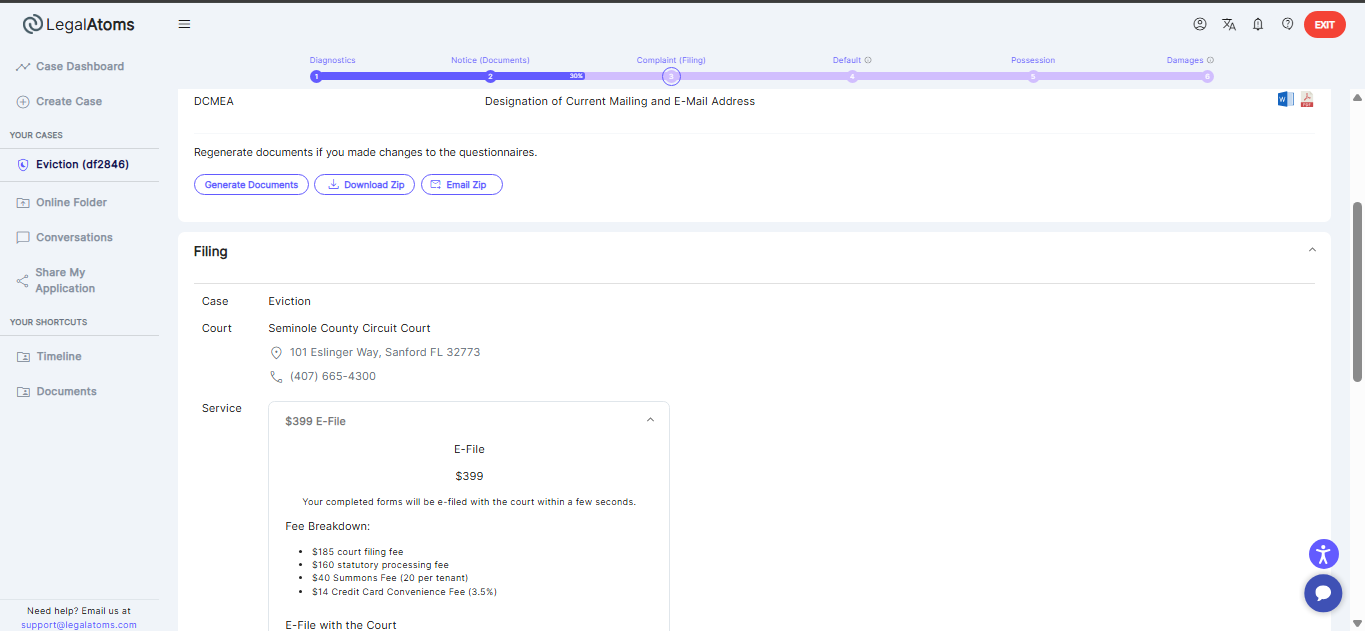
Step 4 – Complaint Filing Overview – Fees, Plan & Payment
After the Documents section is completed, the Filing section will become visible. Here, you will see a filing plan that outlines the total amount the landlord needs to pay. This amount may vary based on the number of tenants and the type of relief requested.
The plan will also display a detailed breakdown of all included fees, such as court filing fees and summons fees. Additionally, frequently asked questions (FAQs) related to filing and payments are provided for your reference.
In the Payment section, you will need to enter your card details to submit the required fees.
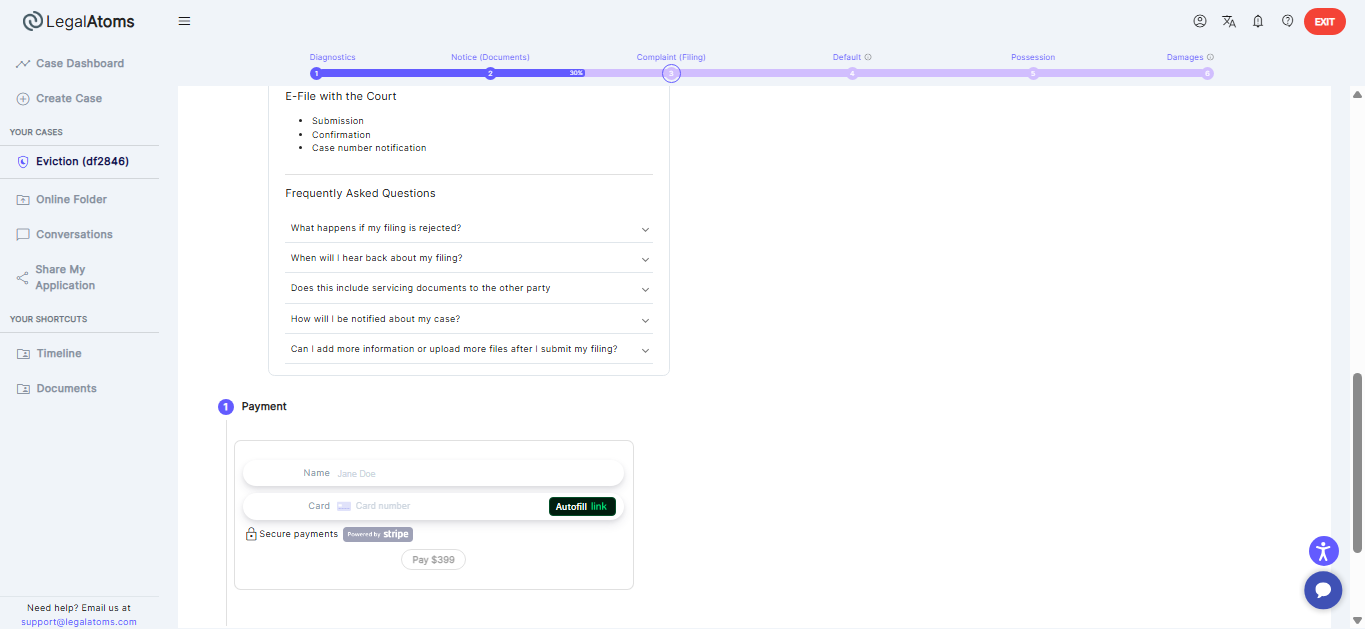
After entering your card details, click the Pay button to proceed. Once the payment is processed, the page will automatically reload, and a Submit button will appear. Click the Submit button to officially file your case. At this point, you will be assigned a Filing ID, and a Next button will become visible. Click Next to continue to the next stage of the process.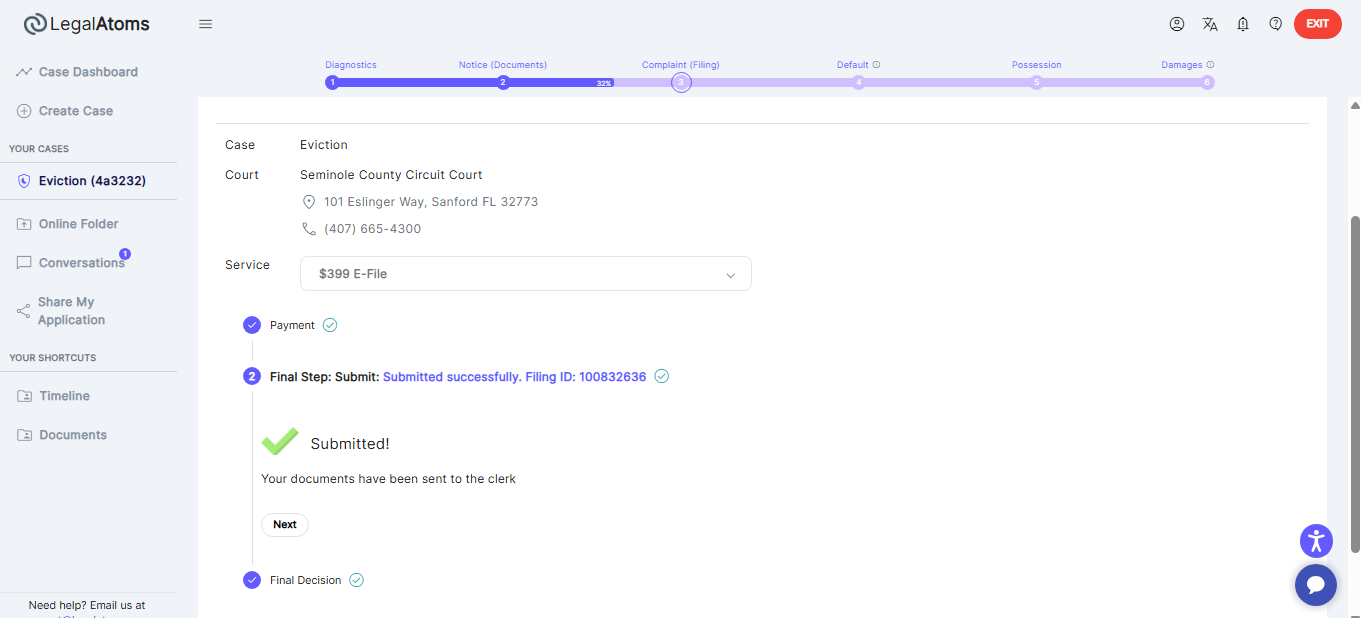
You will then be taken to the Next Steps section, where you can view the remaining procedures in the eviction process, including what to expect after filing and any follow-up actions required.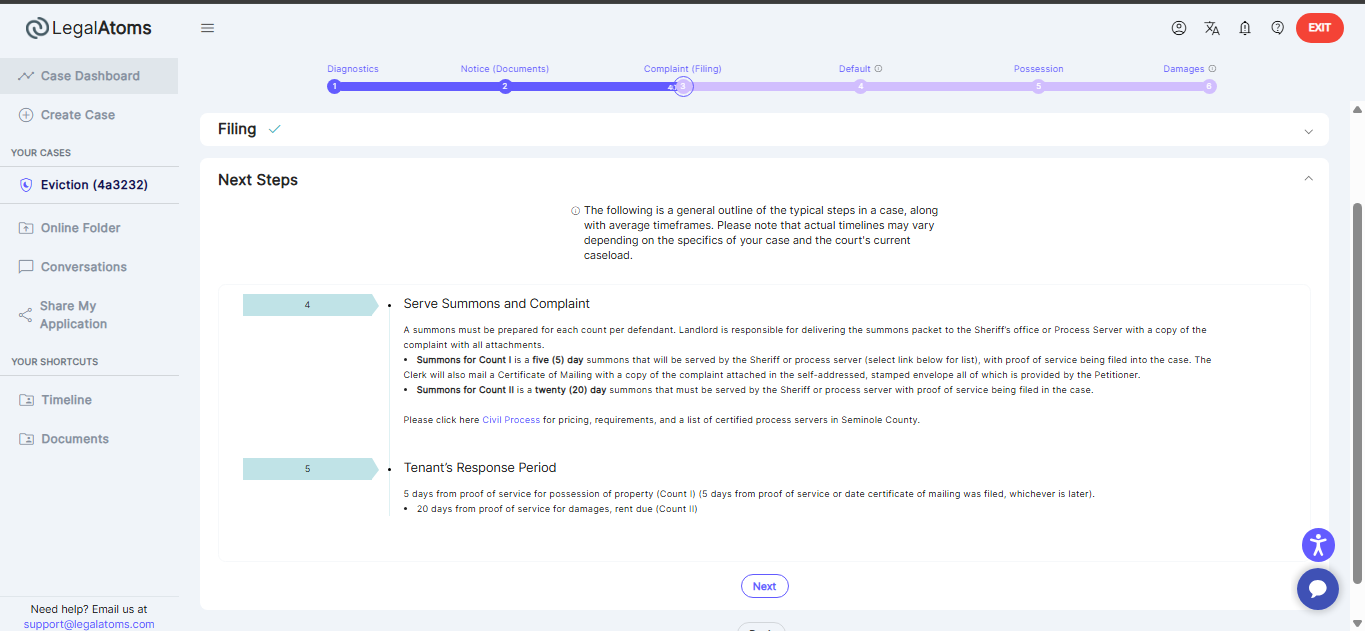
Step 5 – Default Stage Questionnaire and Hearing Stage
After filing, you will wait for the tenant’s response within the specified time period, which is outlined in the Next Steps section or the official timelines. Once this period has passed, you will proceed to the next stage called the Default Stage.
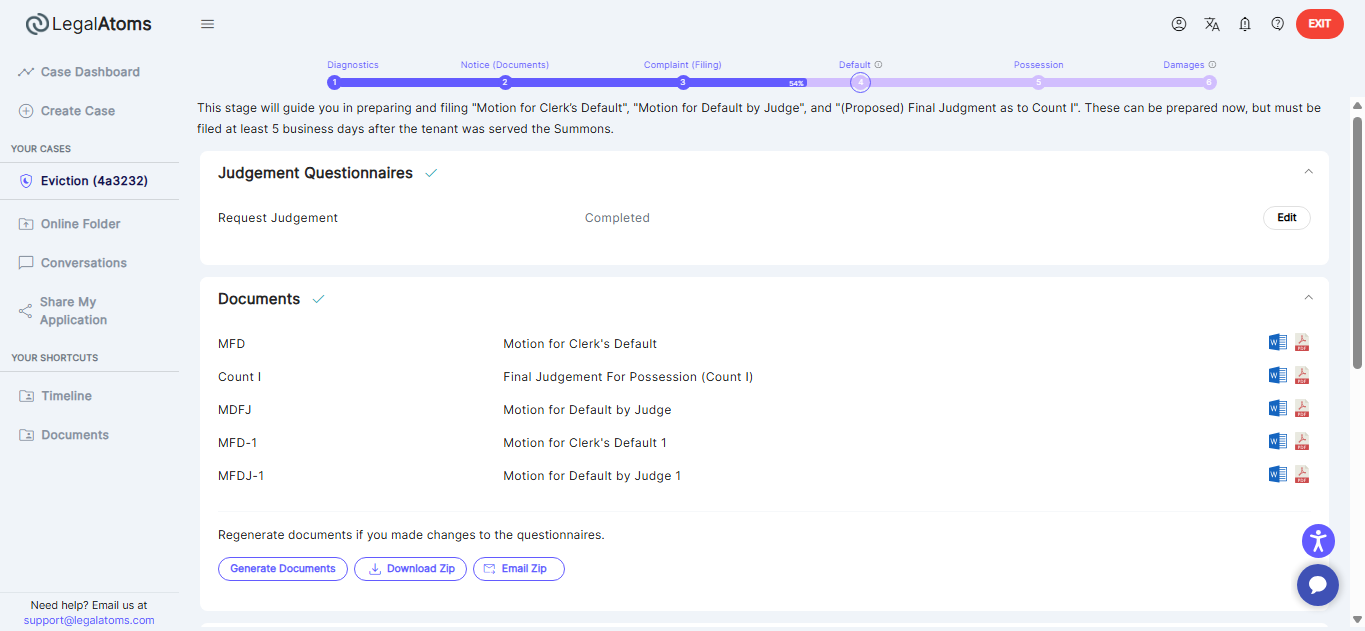
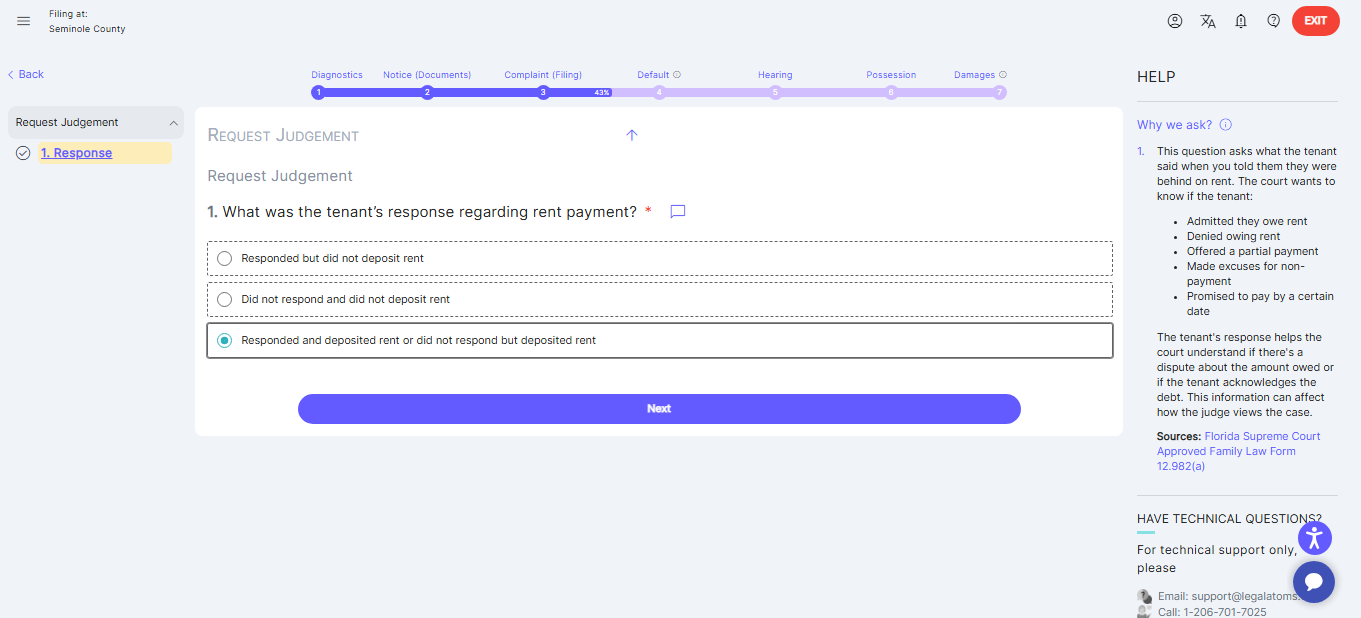
In this stage, you will complete the Request Judgment questionnaire. Here, you will select the appropriate response based on the tenant’s actions.
In the questionnaire, you must select the appropriate option that matches your situation. If you select either of the first two options:
-
Responded but did not deposit rent
-
Did not respond and did not deposit rent
the necessary documents will be generated, and the filing section will be enabled. In this case, you will not be required to pay any fees. Simply click the Submit button to proceed to the next stage, called Possession.
If you select the third option in the questionnaire:
-
Responded and deposited rent or did not respond but deposited rent
a new stage called Hearing will be enabled. Additionally, the document generation and filing sections will be available for this option within the Default Stage.

The new Hearing stage will now be enabled, and you can proceed to it after submitting the filing in this stage.
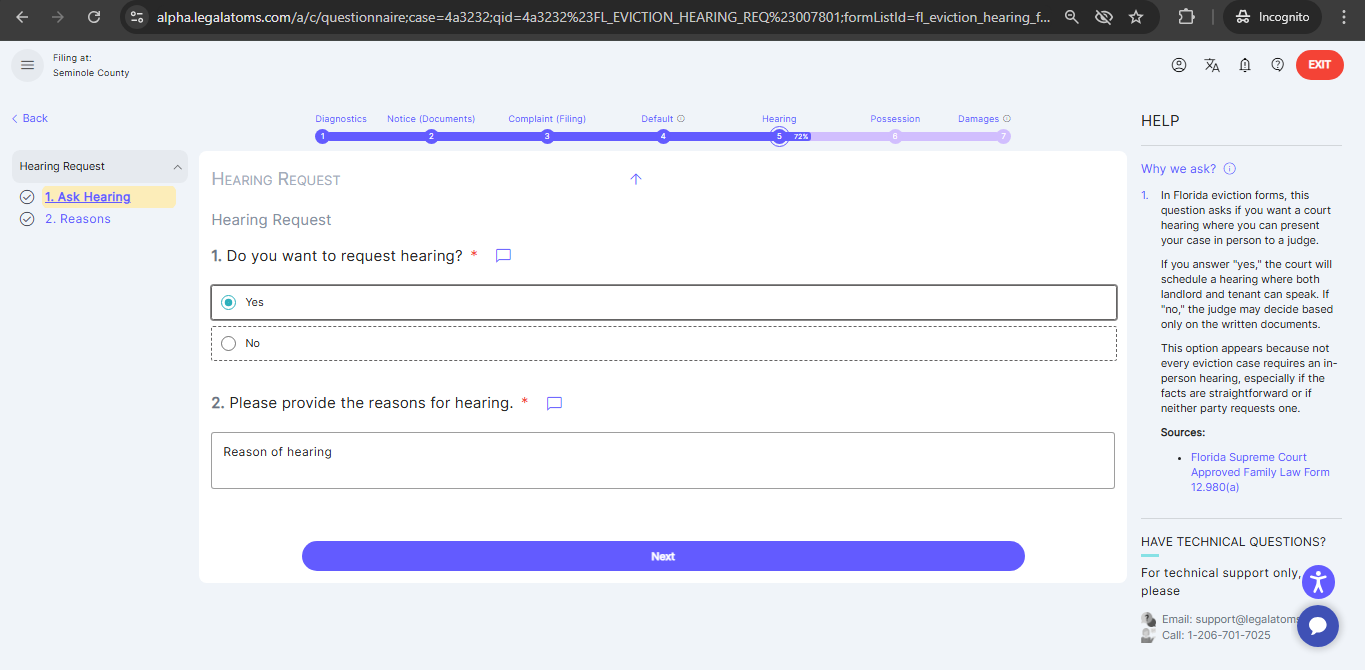
In the new Hearing stage, you will be asked: “Do you want to request a hearing?” with options Yes or No. If you select Yes, the necessary hearing documents will be generated. Afterward, you can proceed by submitting the case in the filing section. At this stage, no payment of fees is required.

Step 6 – Possession Stage
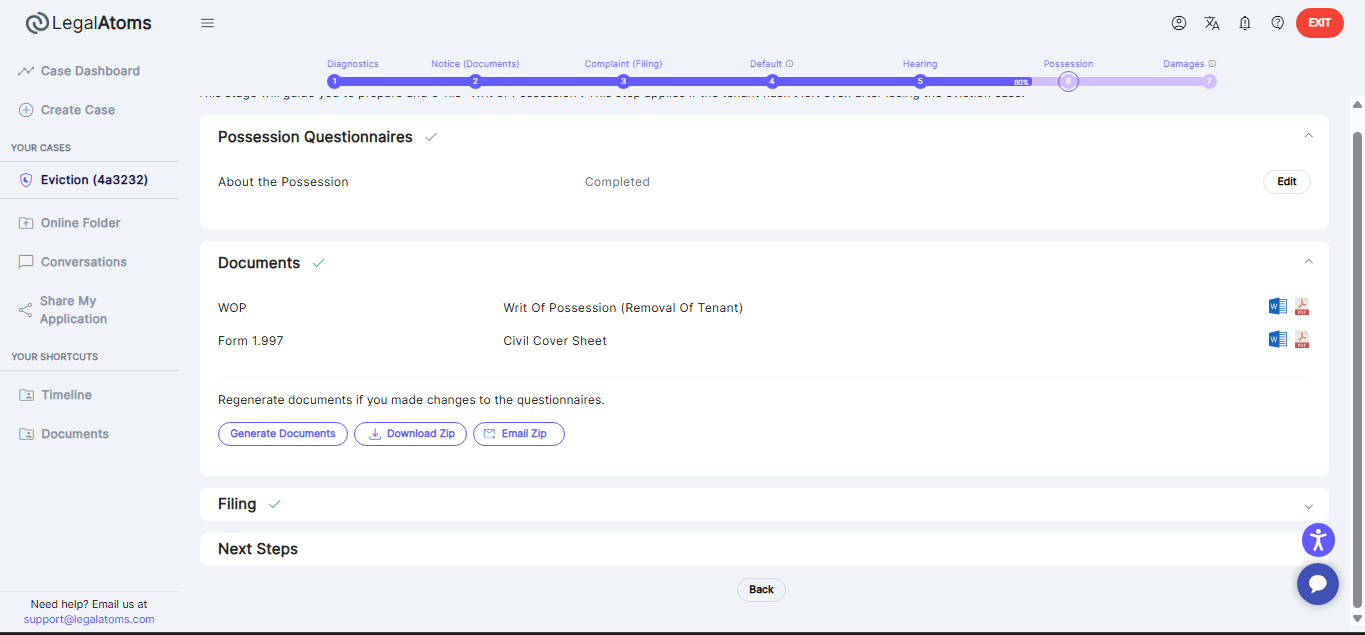
Now, move to the next stage called Possession. Here, you need to complete the form titled “About the Possession” and select the appropriate statement indicating whether the tenant has vacated the property or not.
If No is selected, the necessary documents will be generated, and the Filing section along with the Next Steps section will be displayed.
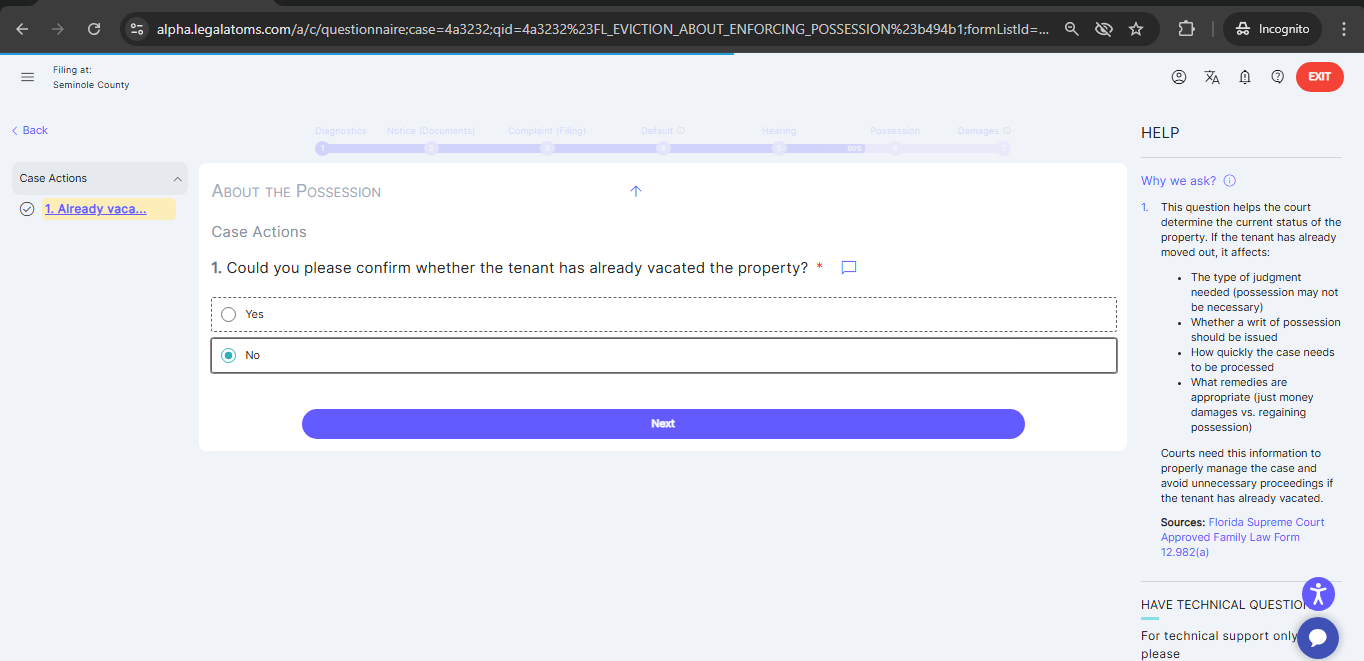
If Yes is selected, you will see the Next Steps section and can proceed directly to the next stage.

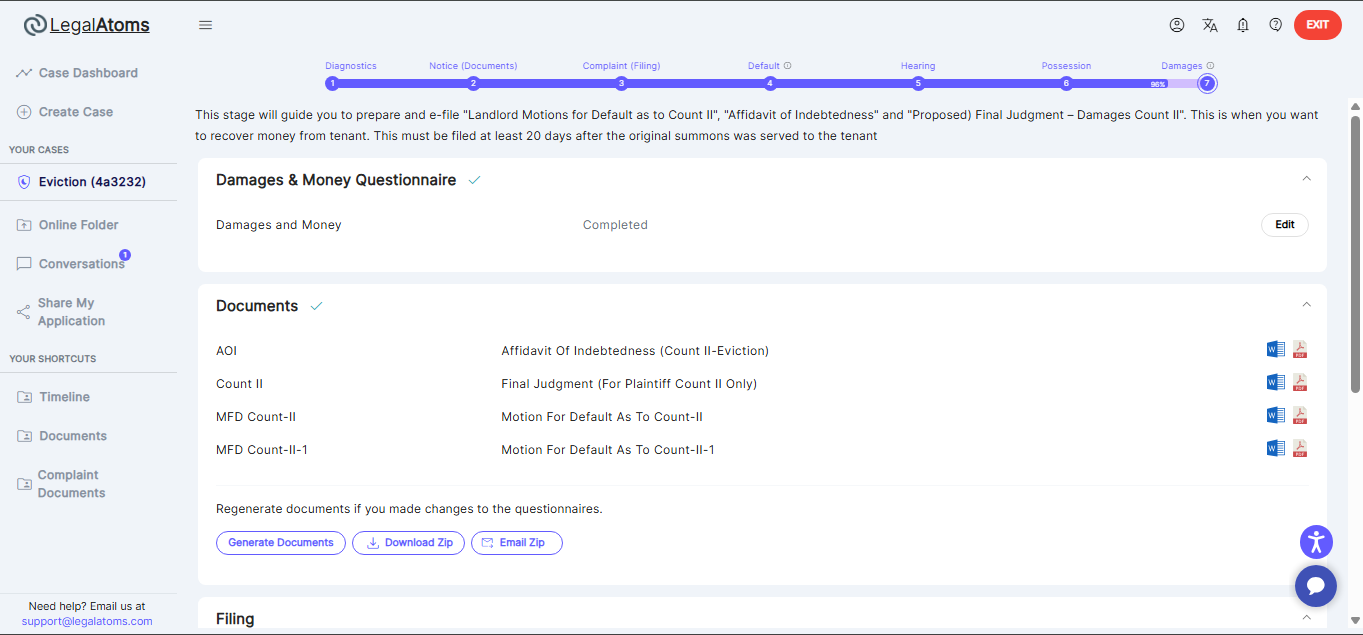
Step 7 – Damages and Money Questionnaire
Now, move to the final stage called Damages and Money. This stage is only visible if you selected the relief option “I am seeking unpaid rent or other damages.” Count II
In this stage, you need to provide details related to the amount owed and any associated costs. Once completed, the relevant documents will be generated.
This stage is for recovering money from the tenant and must be filed at least 20 days after the original summons was served to the tenant.