How Does the Clerk Add Comments to the Questions in a Case Questionnaire
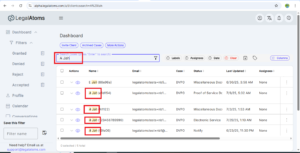
Step 1 : Search a case
Login to the LegalAtoms using the credentials for the Clerk, you will land to the clerk dashboard automatically
Click in the search bar
Enter name of client press enter if you want to search for a specific client’s cases
Entre the case number and press enter if you want to search for a specific Case
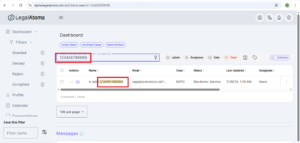
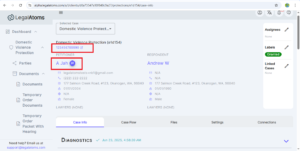
Step 2 : Locate and open case details page
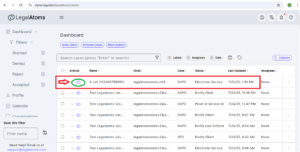
Locate case on dashboard by unique Case Number
Now move mouse on Eye Icon text “View case details page” with be appeared, click on that I con
Clicking on eye icon you will be landed to the case details page
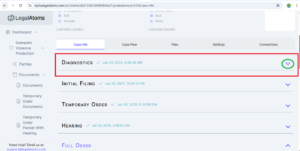
Step 3 : Expand Diagnostics Section
Scroll down the case detail page, you will see Diagnostics section under Case Info
Expand button is available in front of Diagnostics
Click on that expand button, you will see expanded Diagnostics section
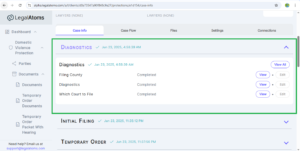
Step 4 : Open View All page
View All button is available on top of expanded Diagnostics
Click the View All button, you will land to View All page
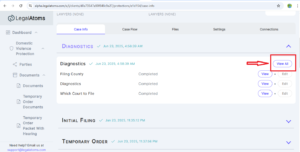
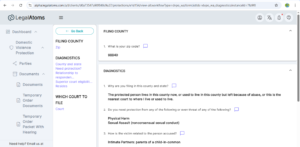
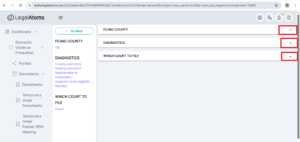
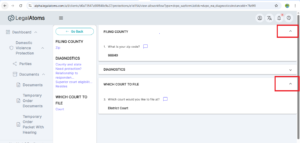
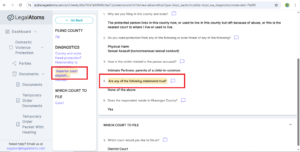
Step 5: Expand and Collapse sub sections of Diagnostics
on the View All page three subsections (Filling County, Diagnostics, Which Court to File) are available
See a Dropdown Arrow Button is available in from of every section
Click on that button Questionnaire will be expanded on first click and collapsed on second click
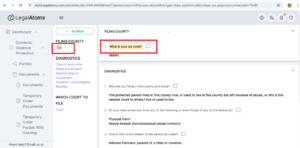
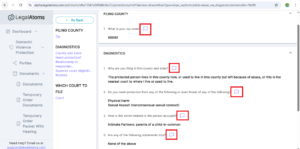
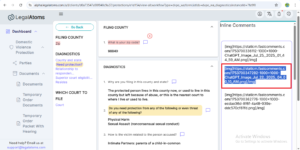
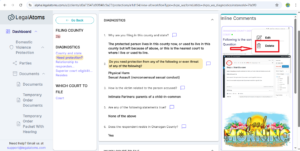
Step 6 : Locate the Question to add Comment
Subsections and their questions are available on left side of screen under Go Back button
Click on Question same question will be highlighted with yellow color in questionnaire
You also can scroll Questionnaire up and down and locate question by reading one by one to add comment
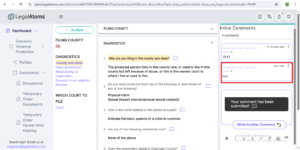
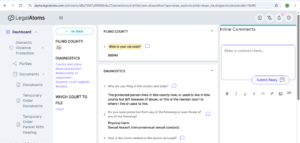
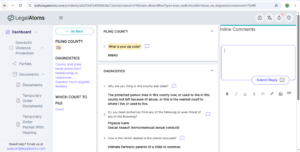
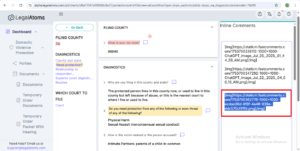
Step 7 : Open comment section for a question
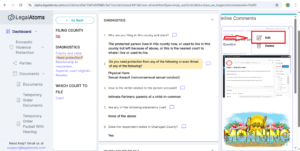
A Comment icon is available in front of every question available in question
Click on that comment icon comment section will be opened on right side of screen
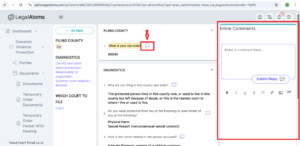
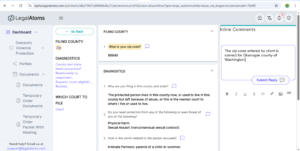
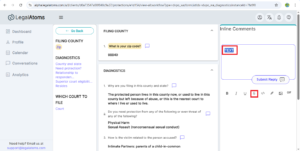
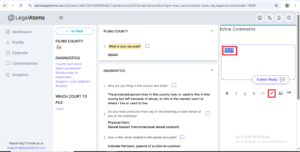
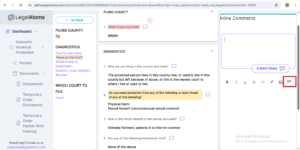
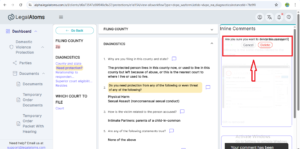
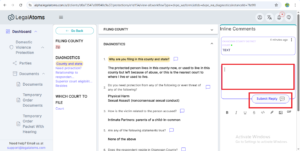
Step 8 : Enter text to the comment
Text “Enter a comment here….” is shown in the comment box
Click on text, it will enable you to enter text in the comment
Enter text
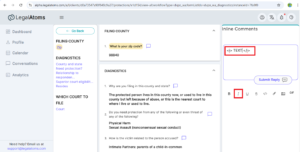
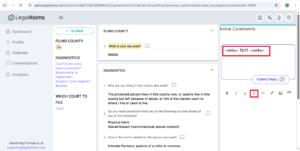
Step 9 : Bold text
Options:
Click on bold button before entering text and enter text between HTML tag e.g <b> TEXT </b>
Select the entered text and click on bold button under the comment box
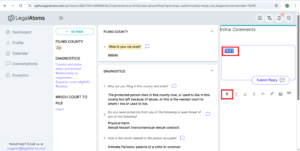
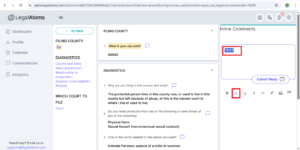
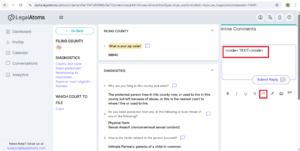
Step 10 : Italic text
Press Italic button under the comment box and enter text between HTML tag e.g <i> TEXT </i>
Select the entered text and press Italic button under comment box
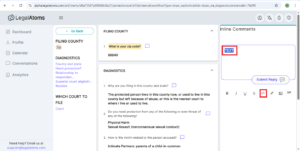
Step 11 : Underline text
Press Underline button under the comment box and enter text between HTML tag e.g <u>TEXT</u>
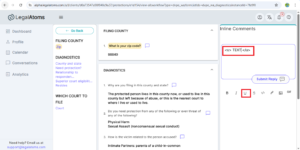
Select the entered text and press Underline button under comment box
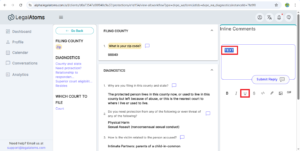
Step 12 : Strikethrough text
Press Strikethrough button under the comment box and enter text between HTML tag e.g <strike> TEXT </strike>
Select the entered text and press Strikethrough button under comment box
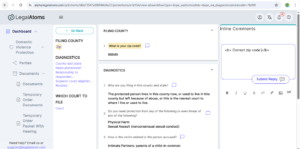
Step 13 : Code Text
Press Code button under the comment box and enter text between HTML tag e.g <code>TEXT</code>
Select the entered text and press Code button under comment box
Step 14 : Convert text to link
Press Link button under the comment box and enter text between HTML tag [TEXT](https://example.com)

Select the entered text and press Link button under comment box
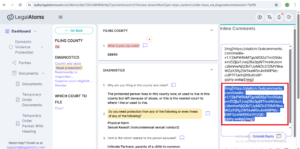
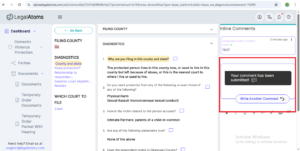
Step 15 : Insert Images
Image button is shown under comment box
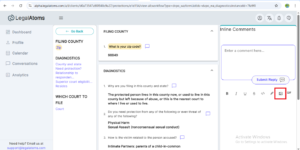
When you will click image button it will land you to the system’s memory
At that screen you will select disk, then folder and then file to upload
After selecting file click on Open button available on right bottom corner
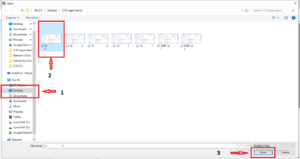
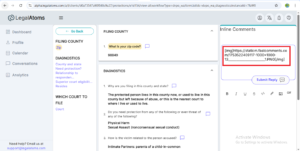
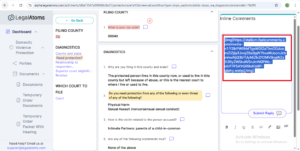
Image will be appeared in comment box in format of HTML link. Image will appear in media format after submitting comment
Step 16 : Delete Images
When you have inserted images you can see image link in the comment box
When you have to delete an image from added images select link on that image and cut that link
That image will be removed
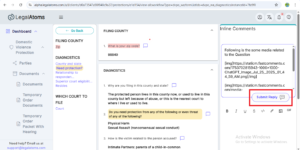
Step 17 : Insert Gifts
Gift button is available under the comment box
Click the Gift button
When you will click on Gift button then gifts will be open under the comment box
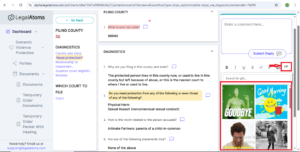
You can scroll shown gifts up and down and locate the specific sticker
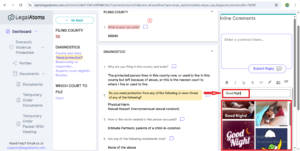
By clicking on the gift the link of that gift will be appeared in comment box and gifts under the comment box will be disappeared
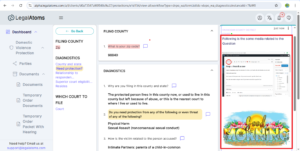
If you want to search a specific Gift without scrolling
You will see a search bar above the shown Gifts
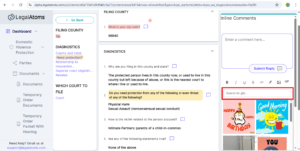
Enter the text in the search bar for the required gift
Gifts will be shown according to the entered text
Click on the gift which you choose will be inserted to the comment
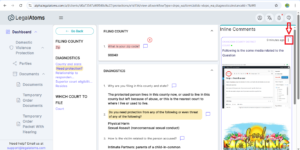
Step 18 : Delete Gifts
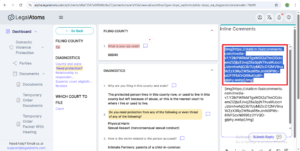
Select the link of sticker in the comment and erase that link sticker will be deleted
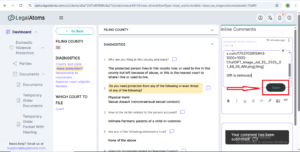
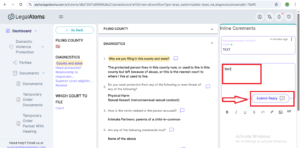
Step 19 : Submit Comment / Submit Reply
When you have added your text, required images and stickers in the comment box then you will see a button named Submit Reply
When you will click on button entered text, images and stickers will be shown in comment
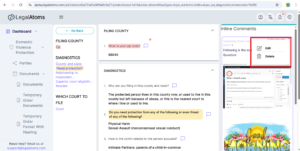
Step 20 : Edit an added Comment
When you have submitted a comment three dots will be shown in top right corner of comment
Click on that 3 dots you will two buttons Edit and Delete will be appeared

Click on Edit button, comment will be appear in edit mode
Make changing in comment and click on Save button
Step 21 : Delete an added Comment
When you have submitted a comment three dots will be shown in top right corner of comment

Click on that 3 dots you will two buttons Edit and Delete will be appeared
Click on Delete button
Two buttons Cancel and Delete will be appeared
Click on Delete button

Comment will be deleted
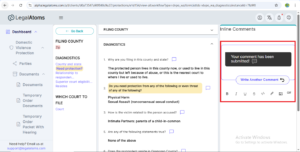
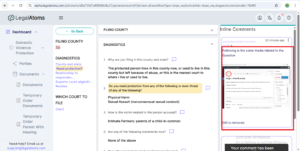
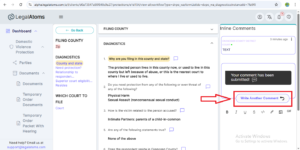
Step 22 : Write another Comment
When you have submitted a comment then you will se one more comment box with text “Your comment has been submitted!” and Write another comment button
Click on button Write another comment
Writing within comment box and button Submit Reply will be enabled
Enter text and click Submit Reply button
New comment will be submitted