How to E‑File a Case with the Clerk
This manual provides a comprehensive, step‑by‑step guide for clients on how to e‑file a case with the court clerk using LegalAtoms.
Step 1: Register or Login to Client Account
If you already have an account (Login):
- Open this URL link in your browser. https://legalatoms.com/
- Click on Login

- Enter your registered email and password.
- Click Login.
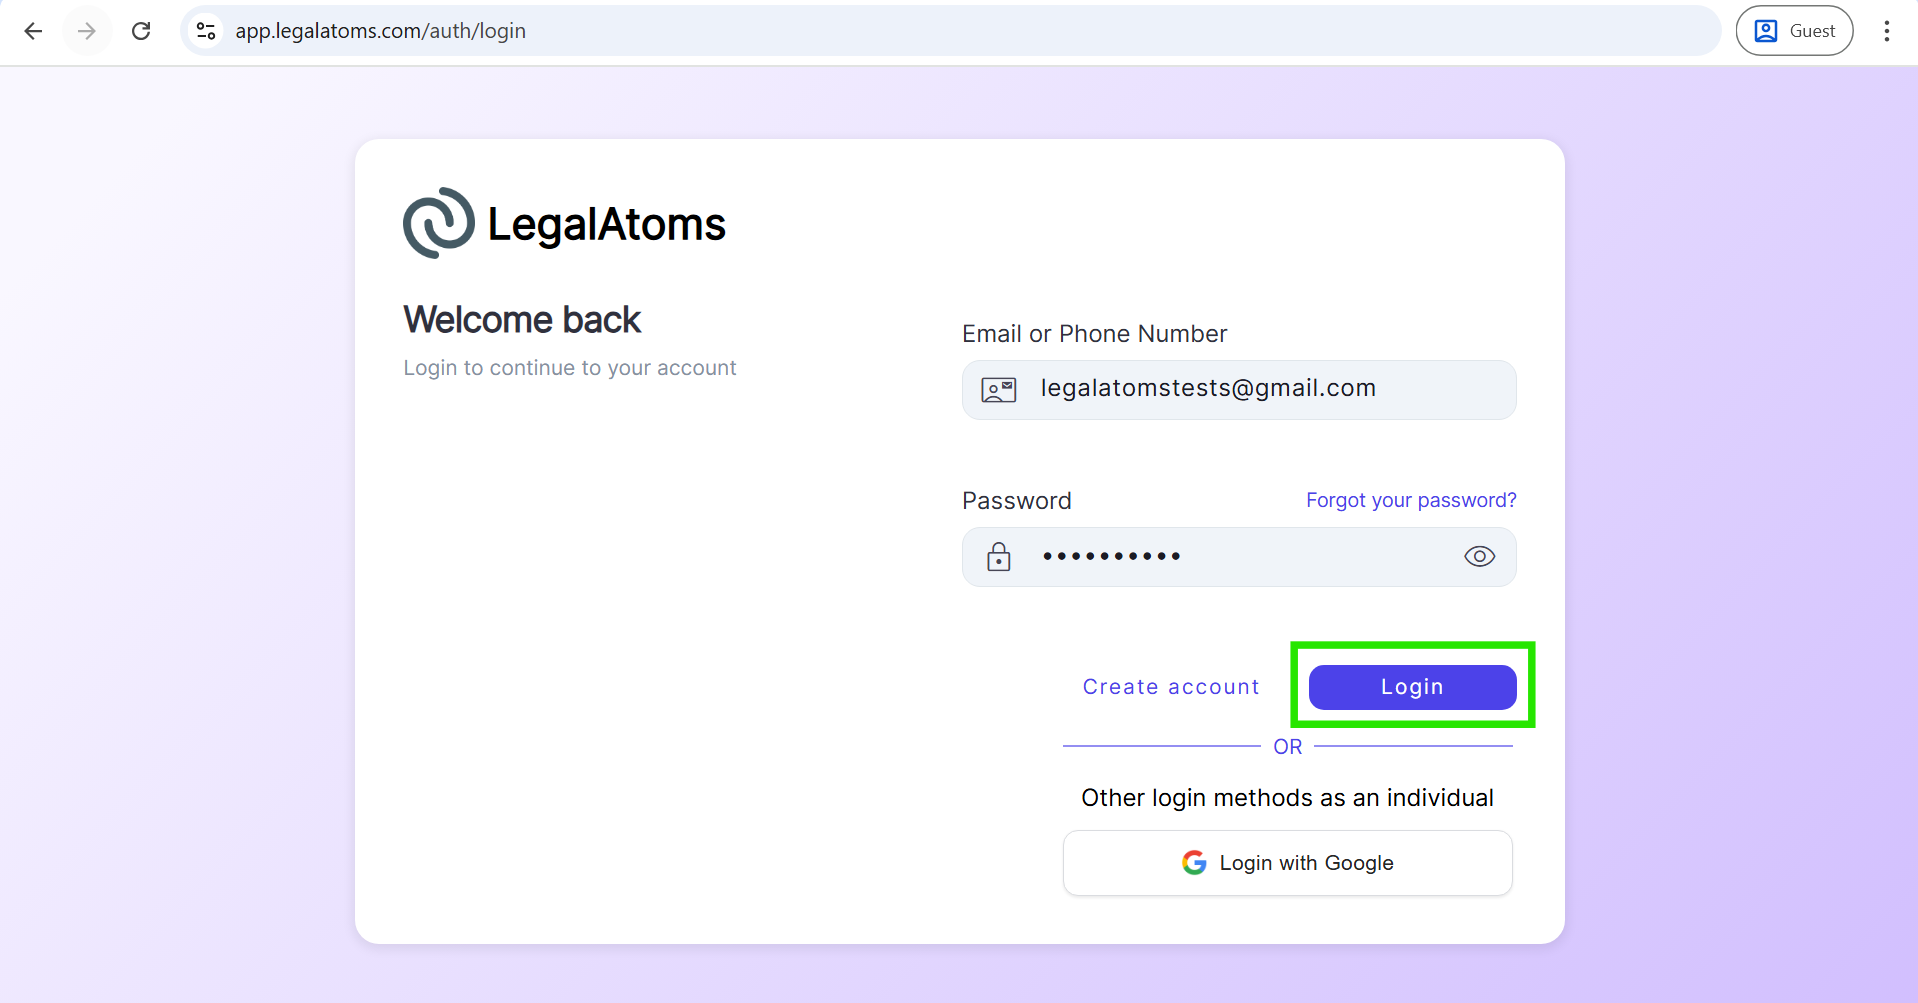
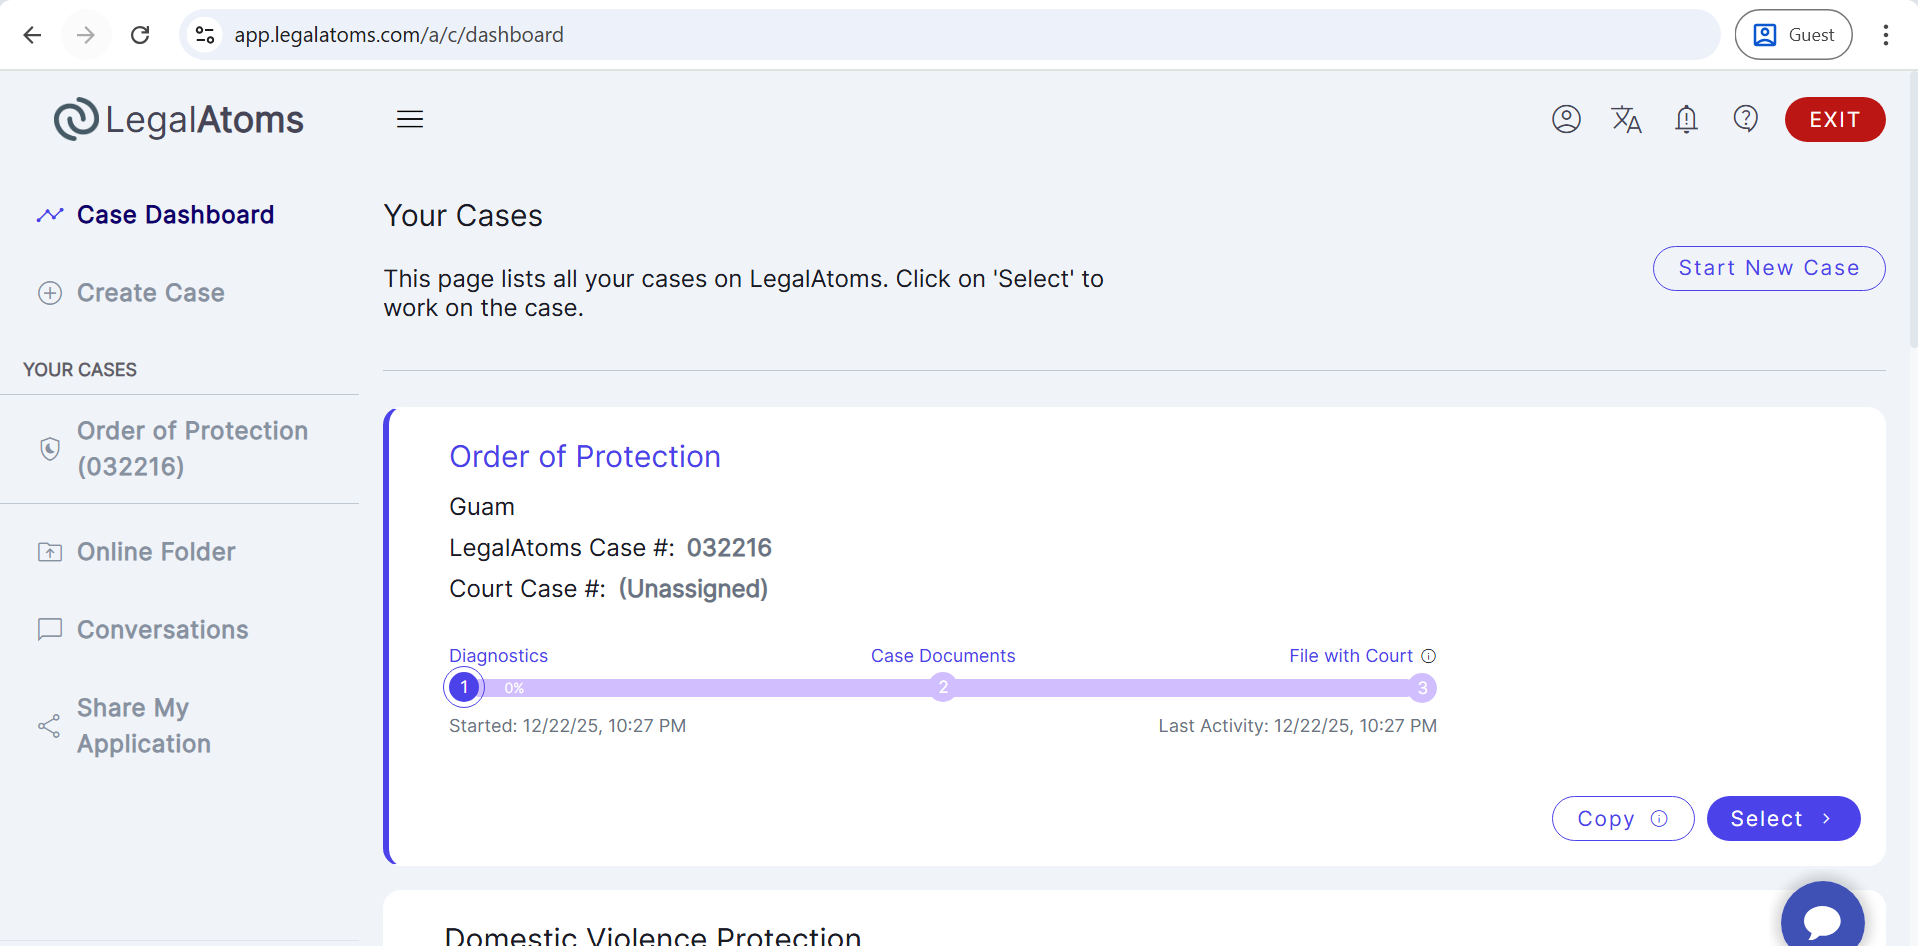
- You will land on the Client Dashboard.
If you do not have an account (Register):
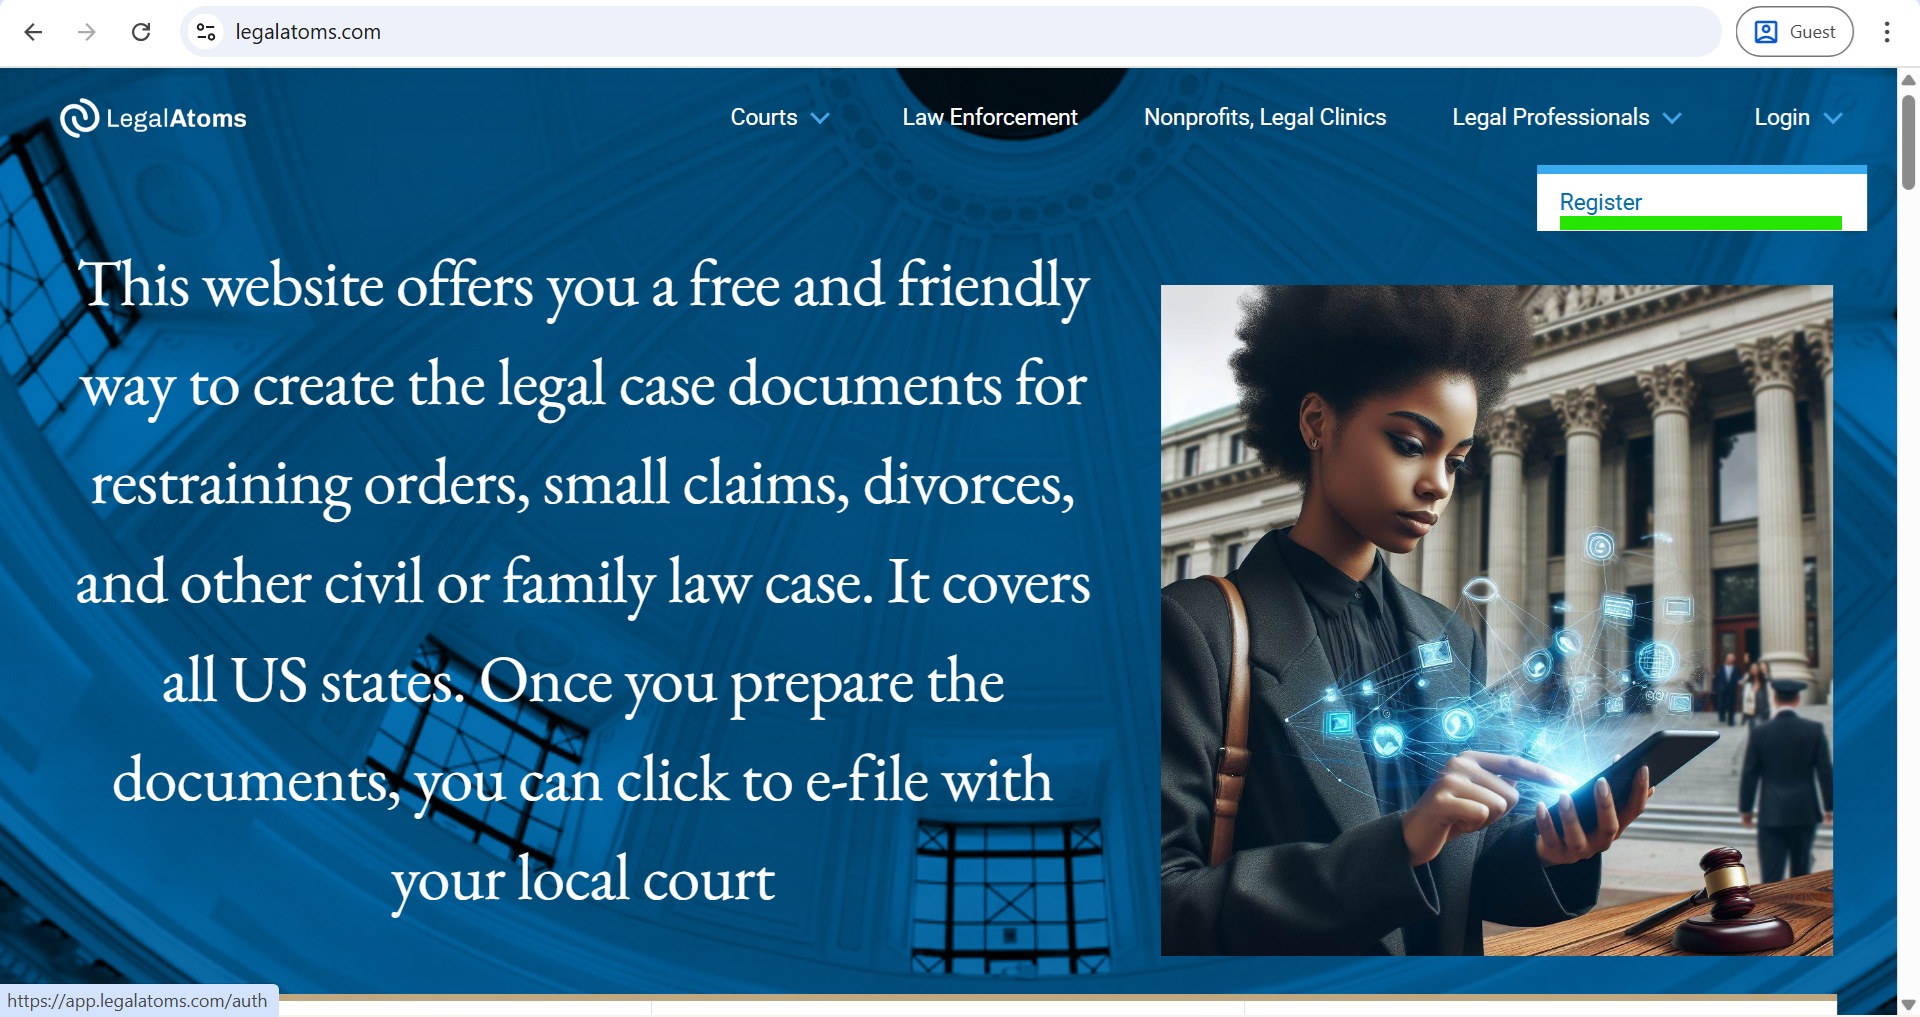
- Open this URL link in your browser. https://legalatoms.com/
- Click on Register.
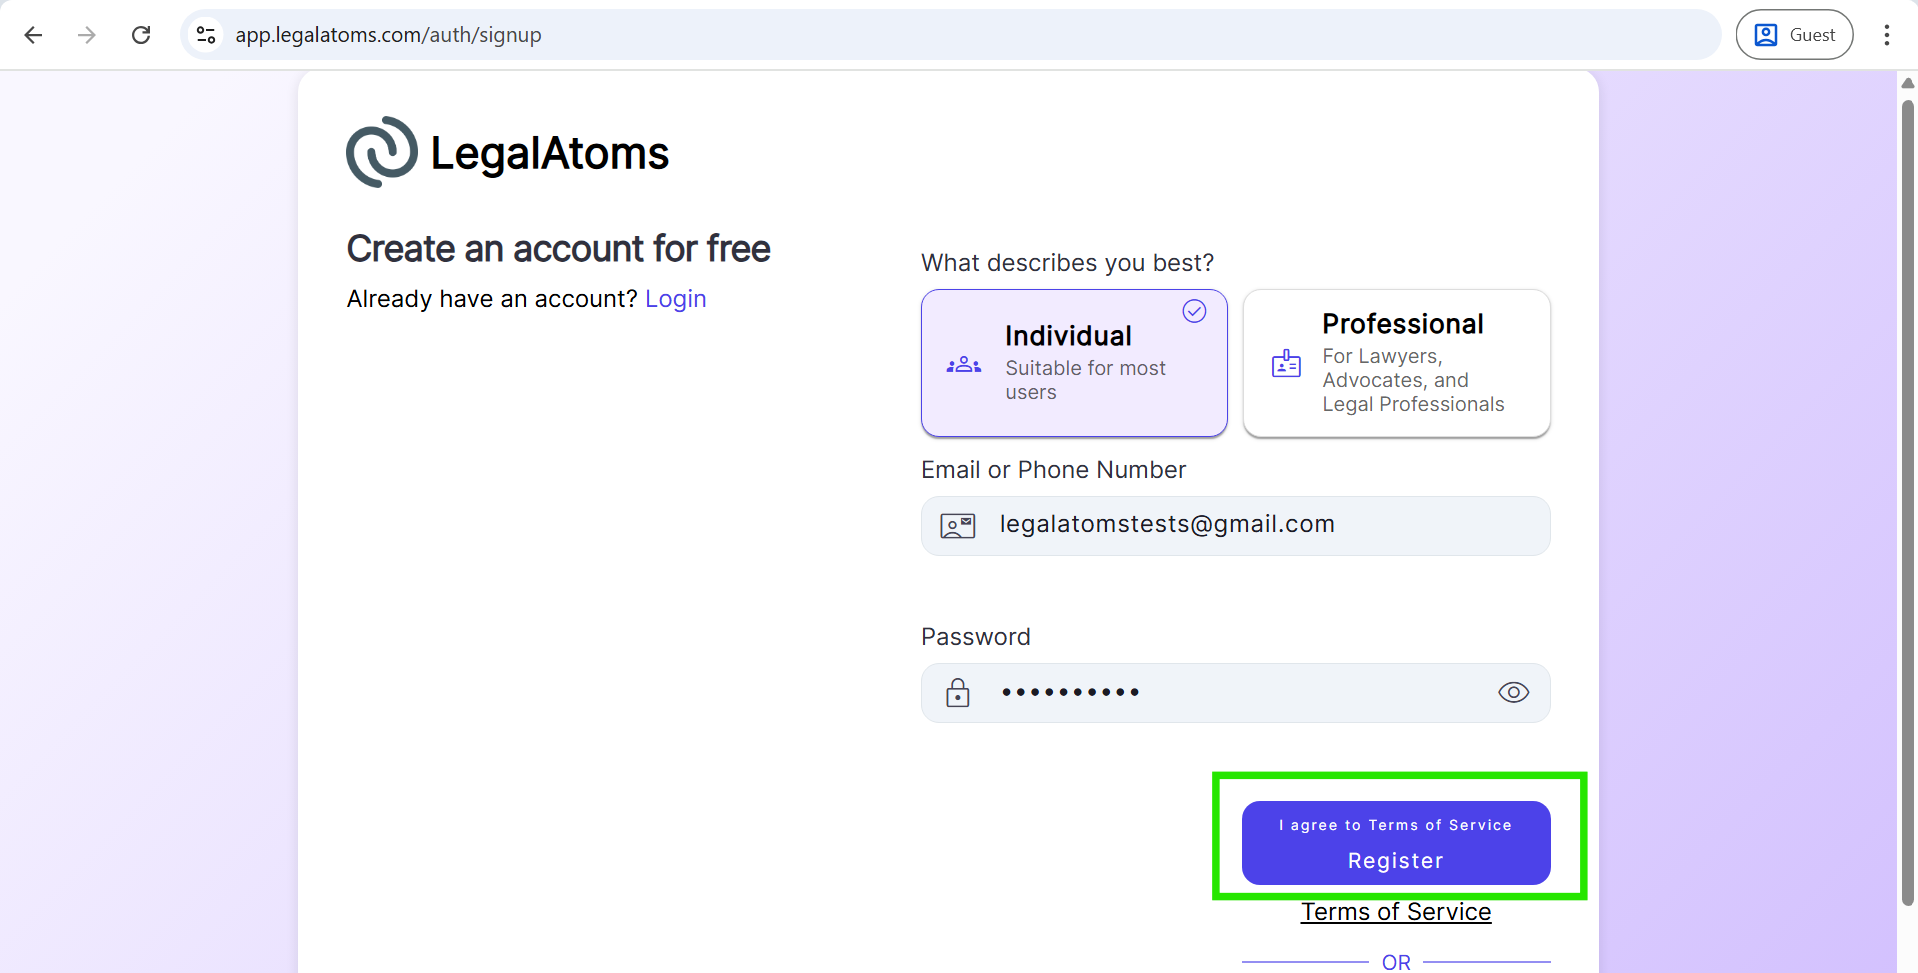
After that, you will land on the login page. Now, click on the Create account button to register an account.

- Enter the required information (Email and password).
- Click the Create Account button you will land on the Create case page.
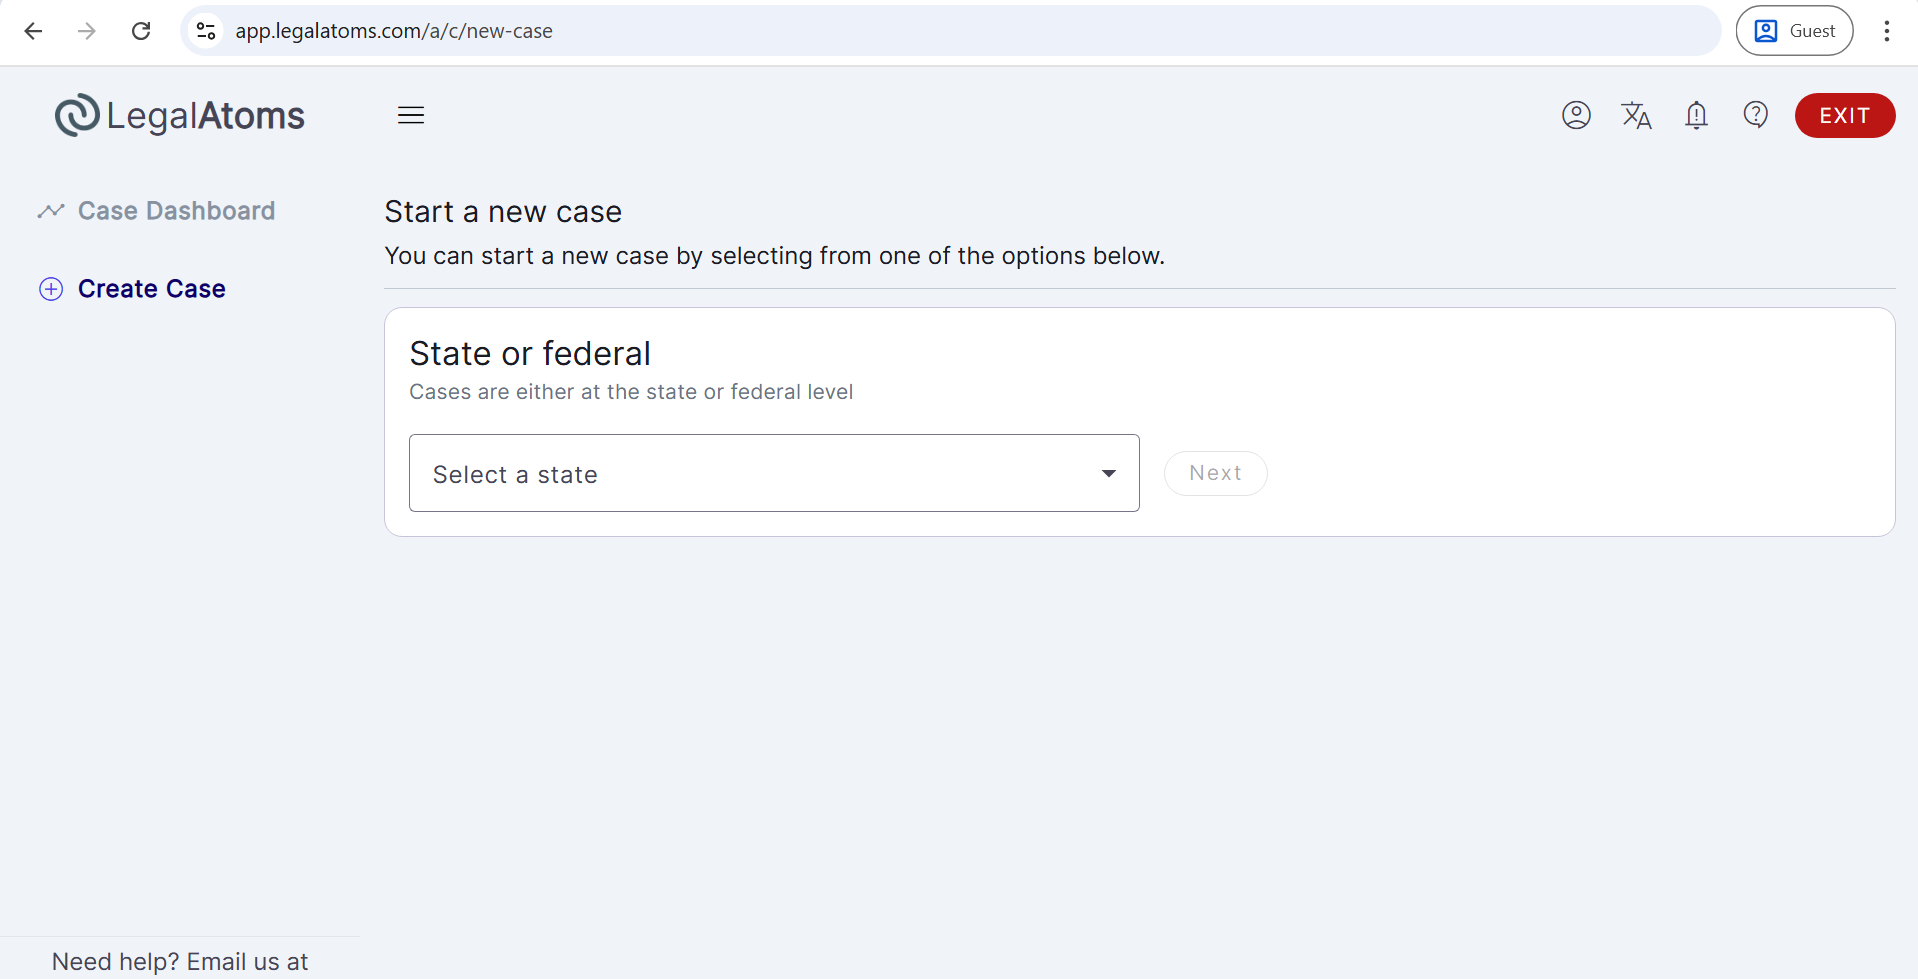
Step 2: Start a New Case
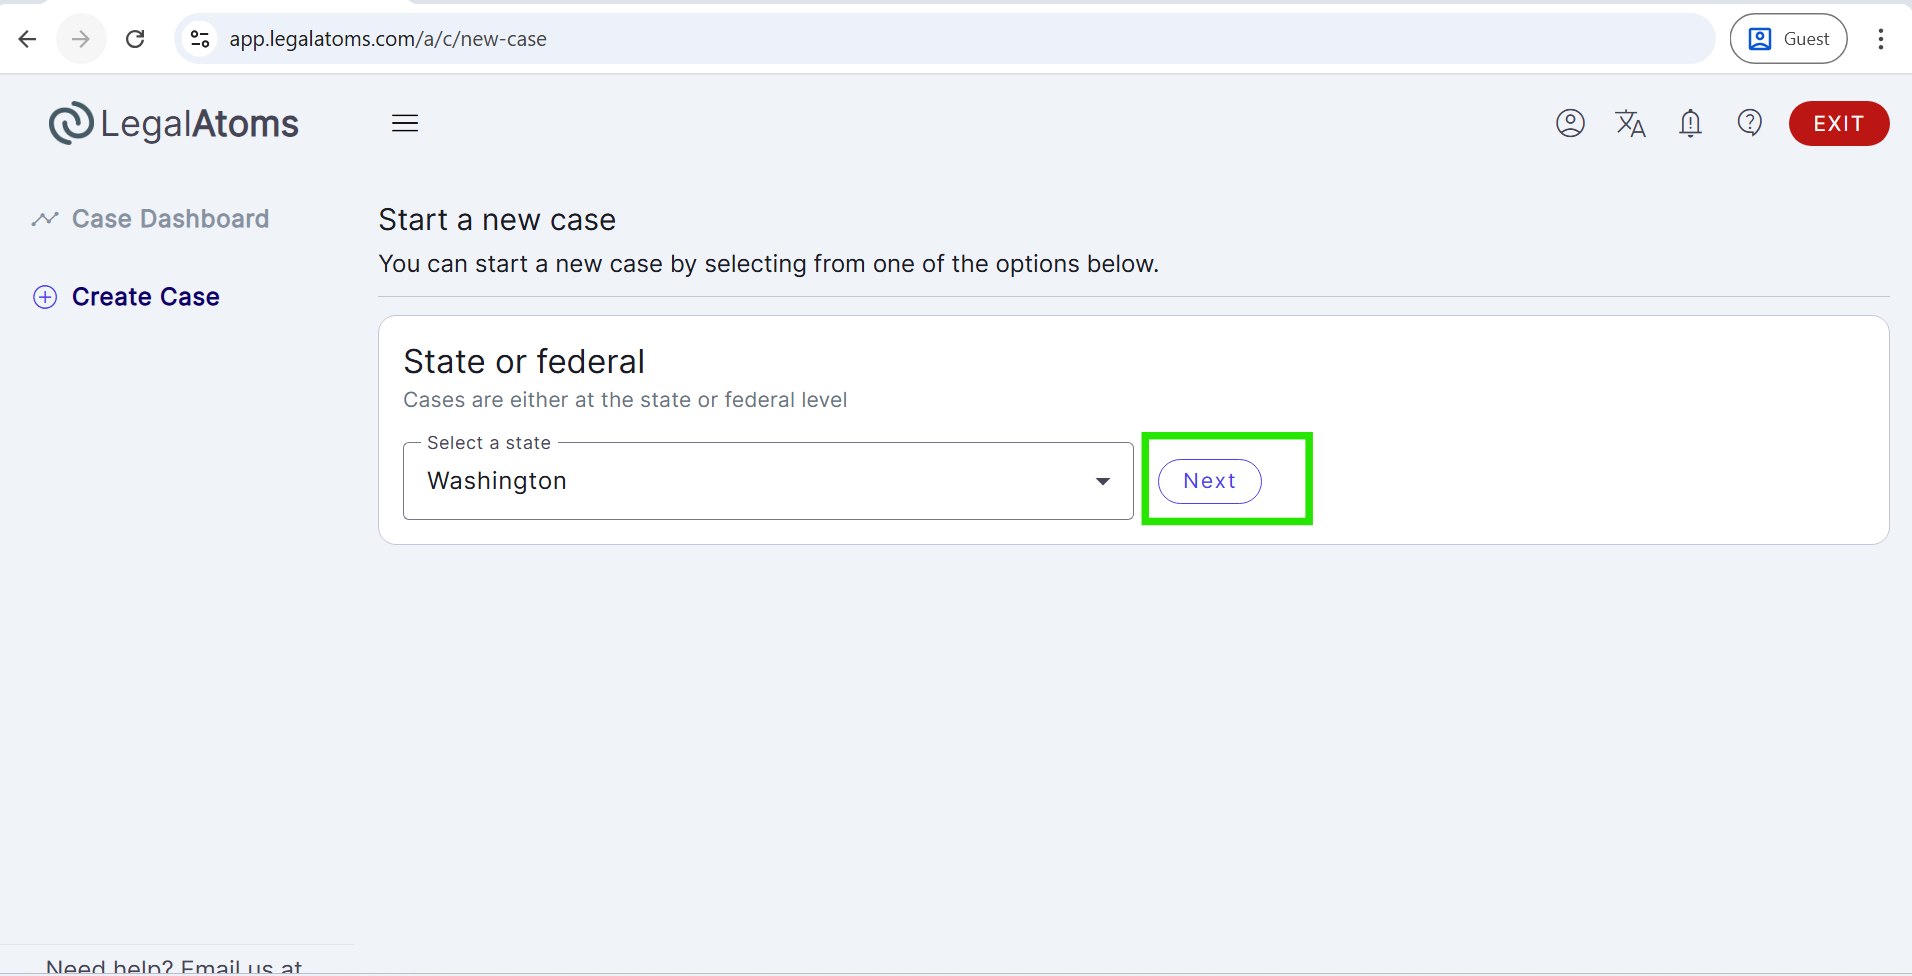
- From the Create Case page, select the State (e.g., Washington), then click Next.
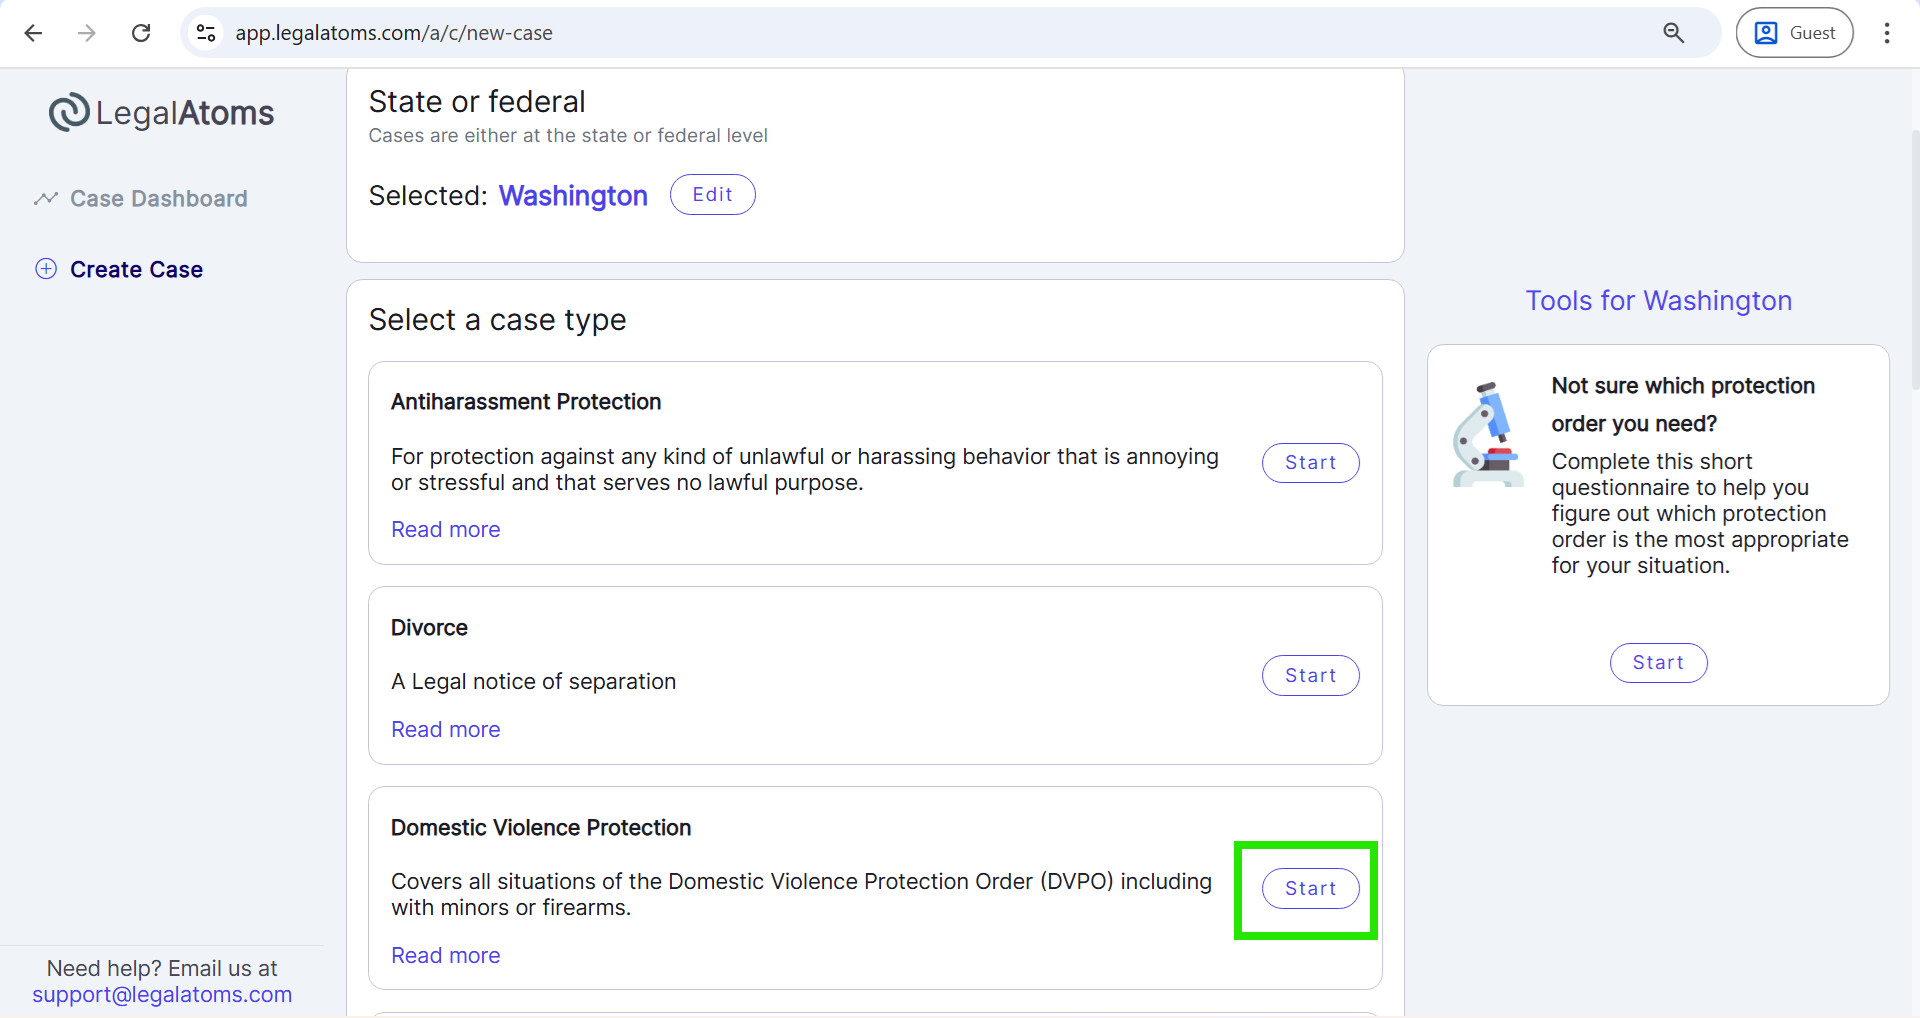
- Then, select the case type (e.g., Domestic Violence Protection).
- Click on the Start button.
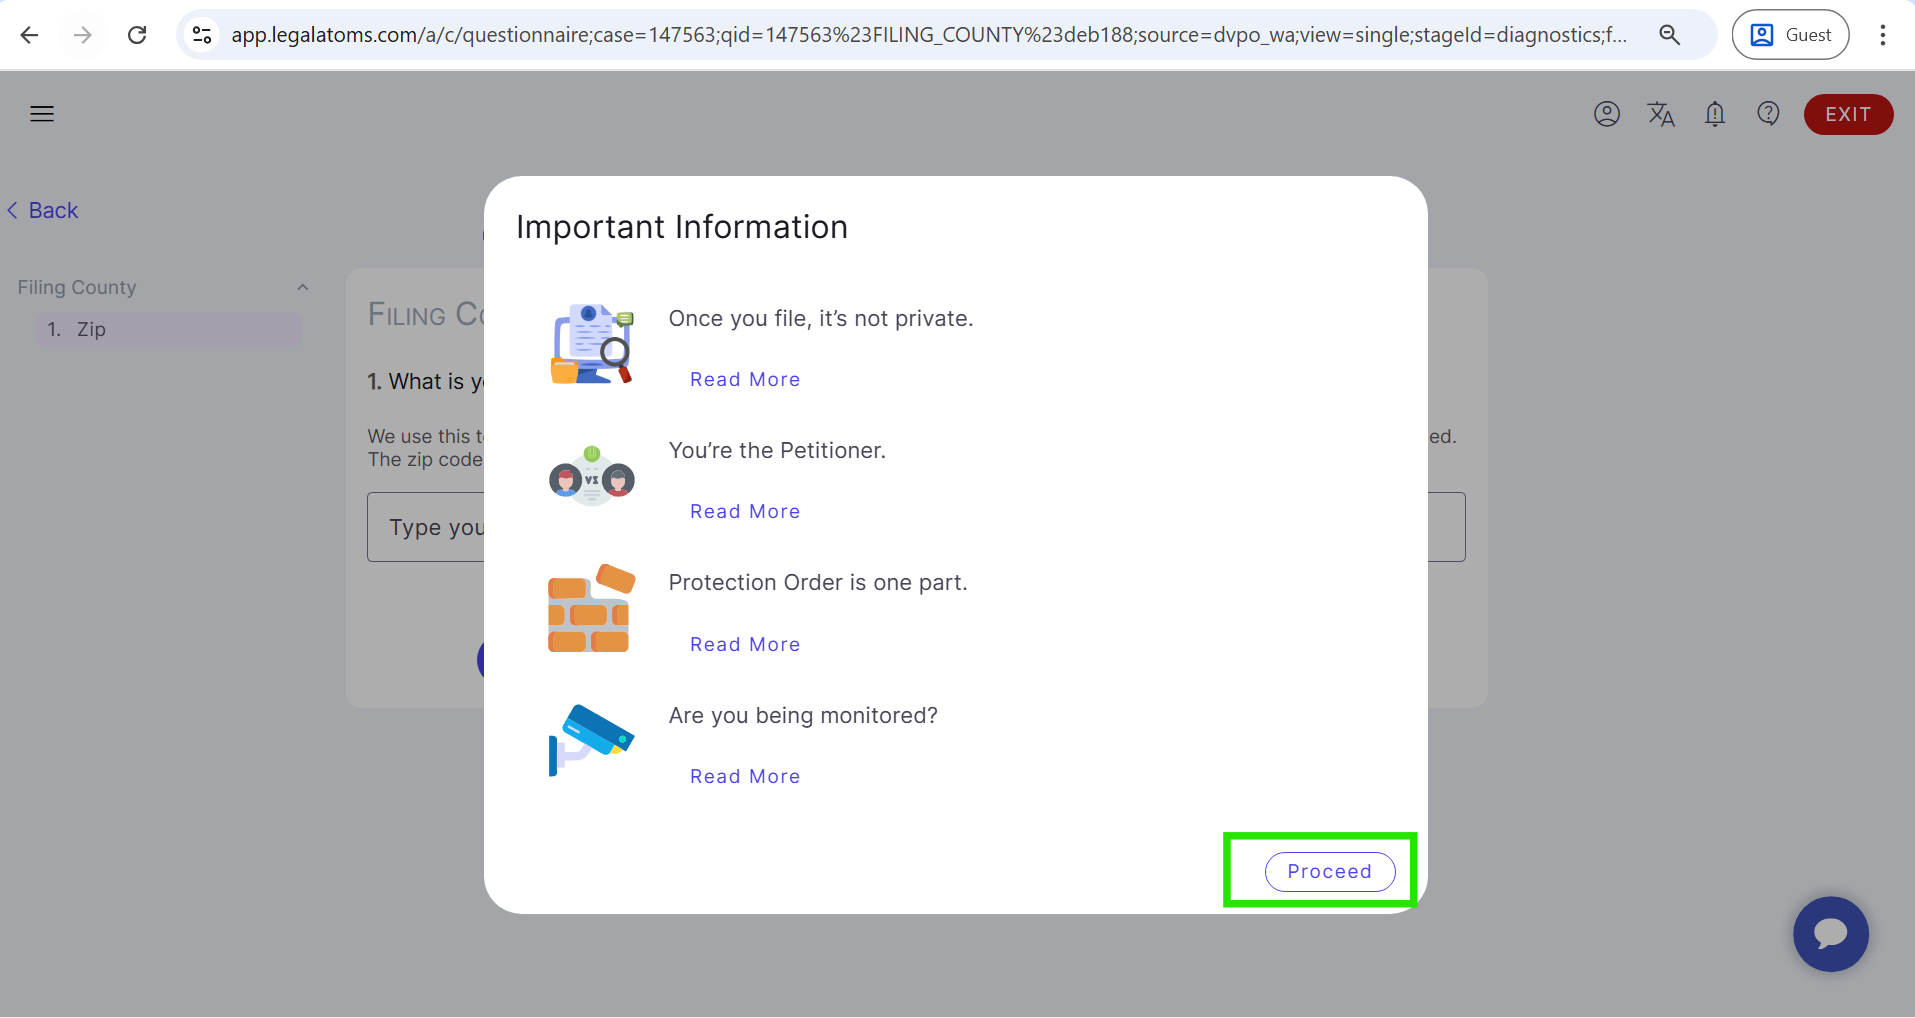
Then, the Important Information pop-up appears, click Proceed, and enter the county ZIP code.
Step 3: Fill out the Diagnostics stage questionnaire
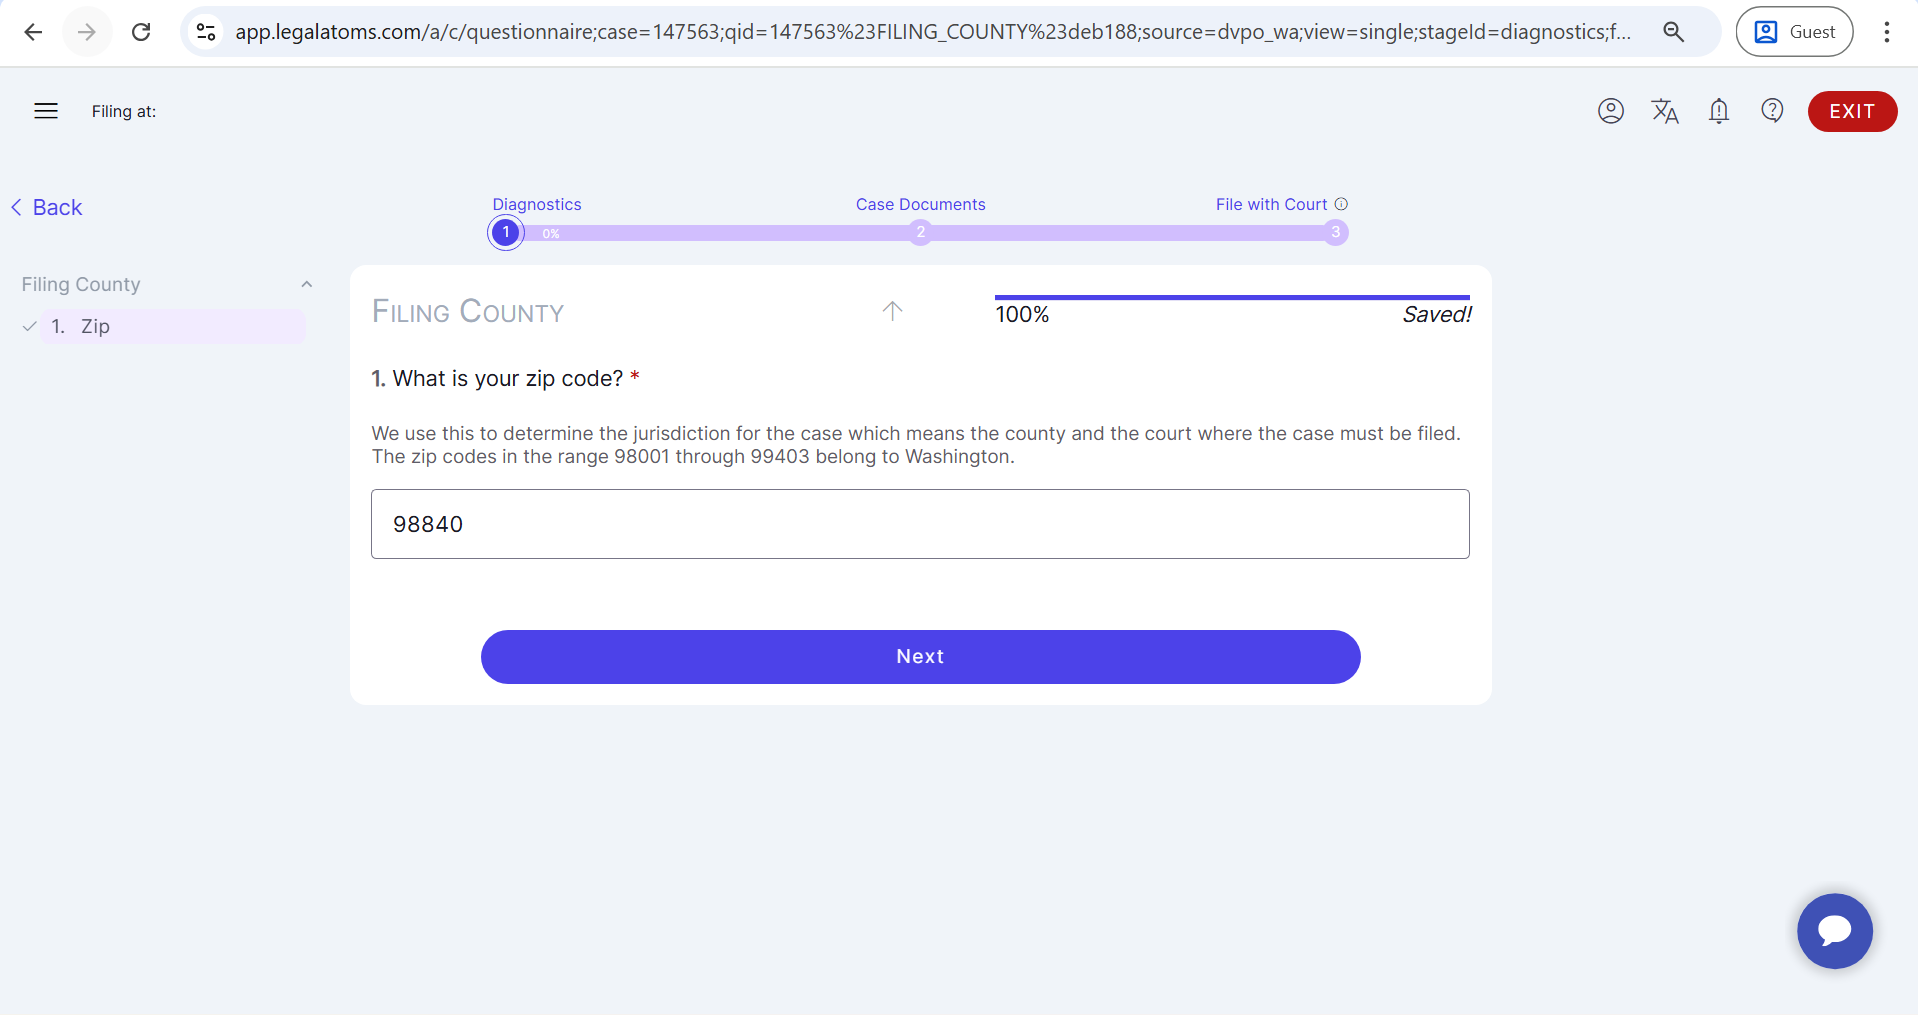
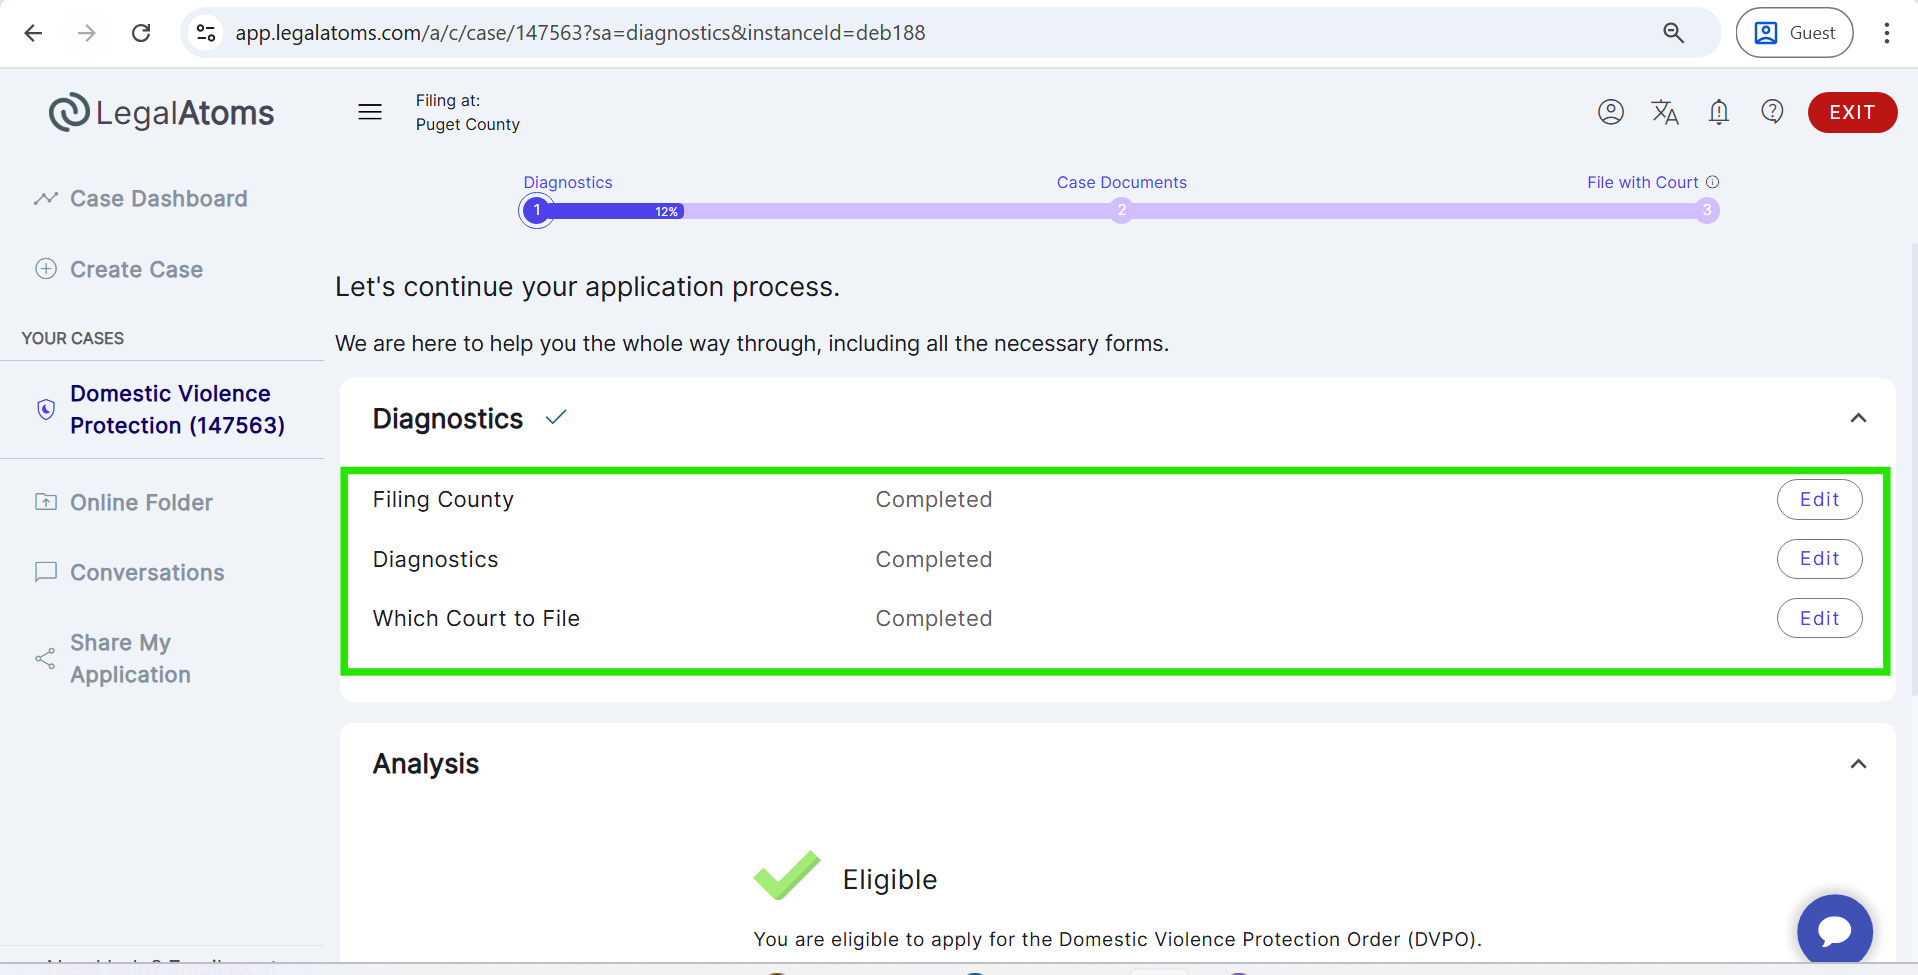
- Complete the Diagnostics stage questionnaire by answering all required questions.
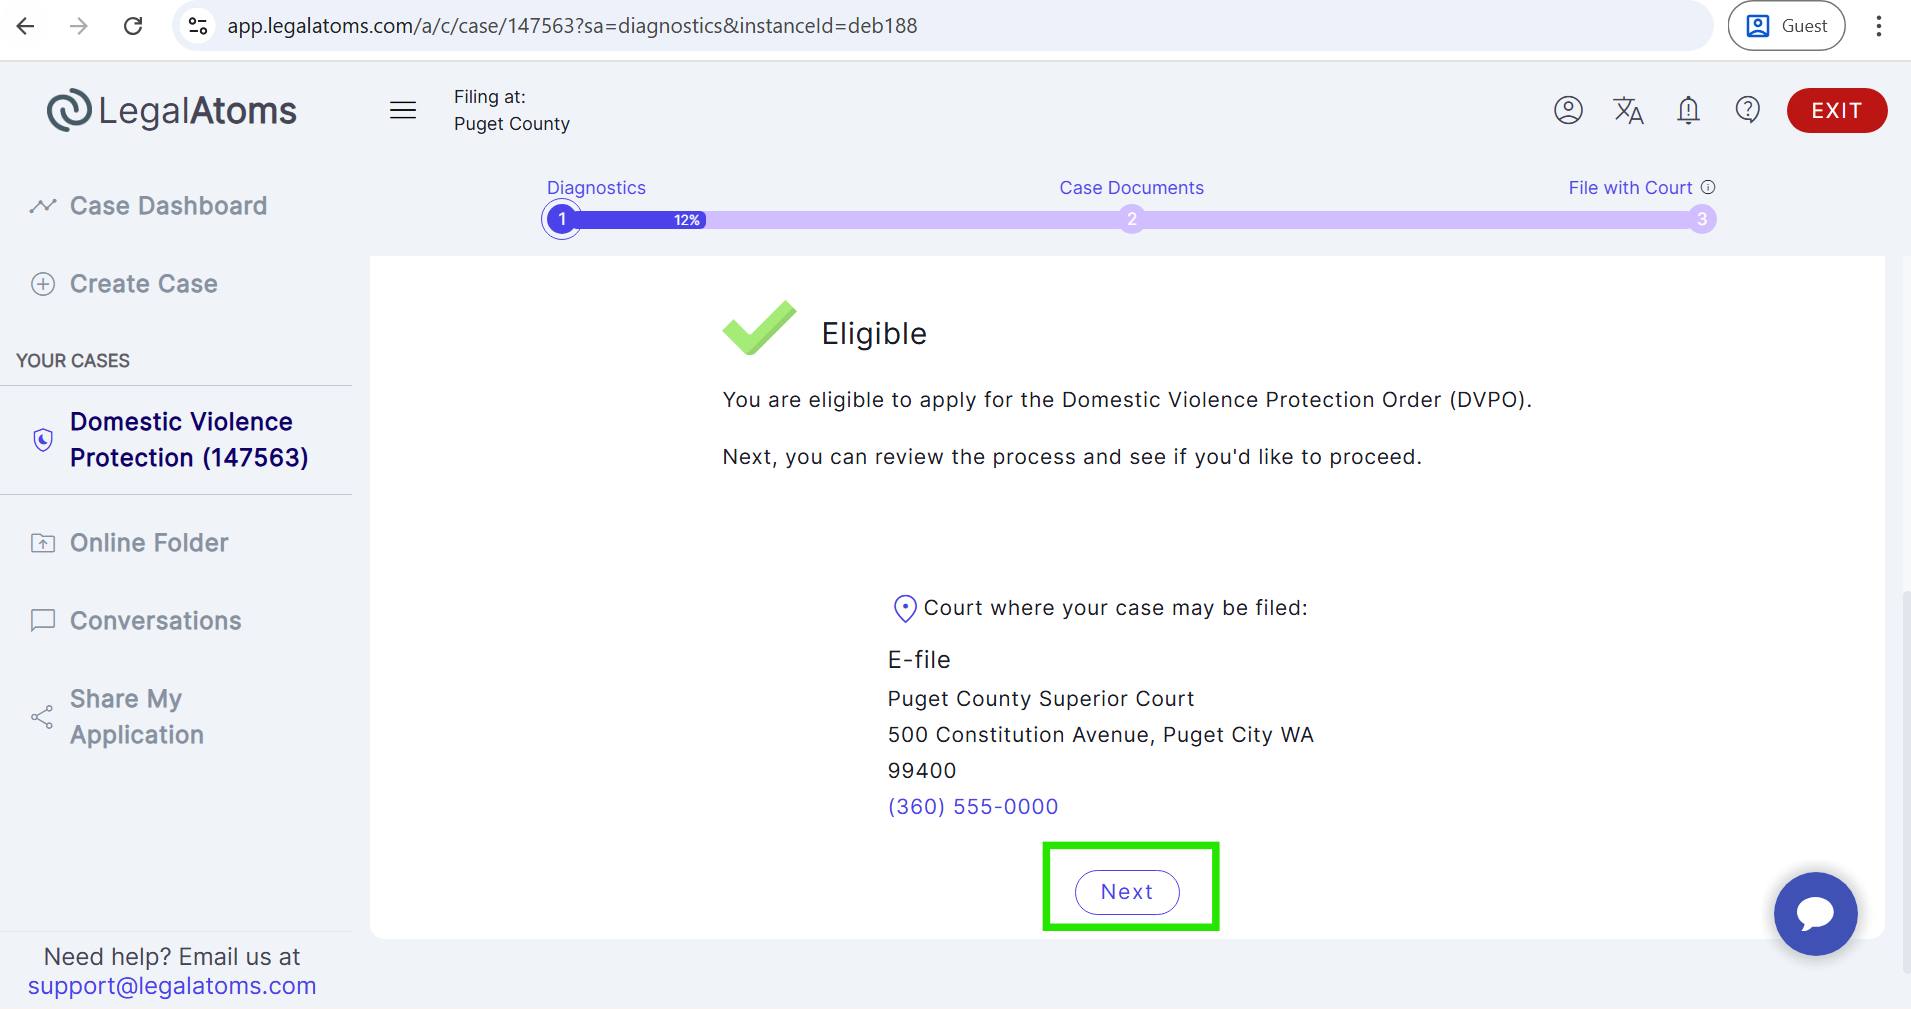
- Once the Diagnostics questionnaire is completed, the user automatically proceeds to the Analysis section.
- 3. Click Next to move to the Timeline stage.
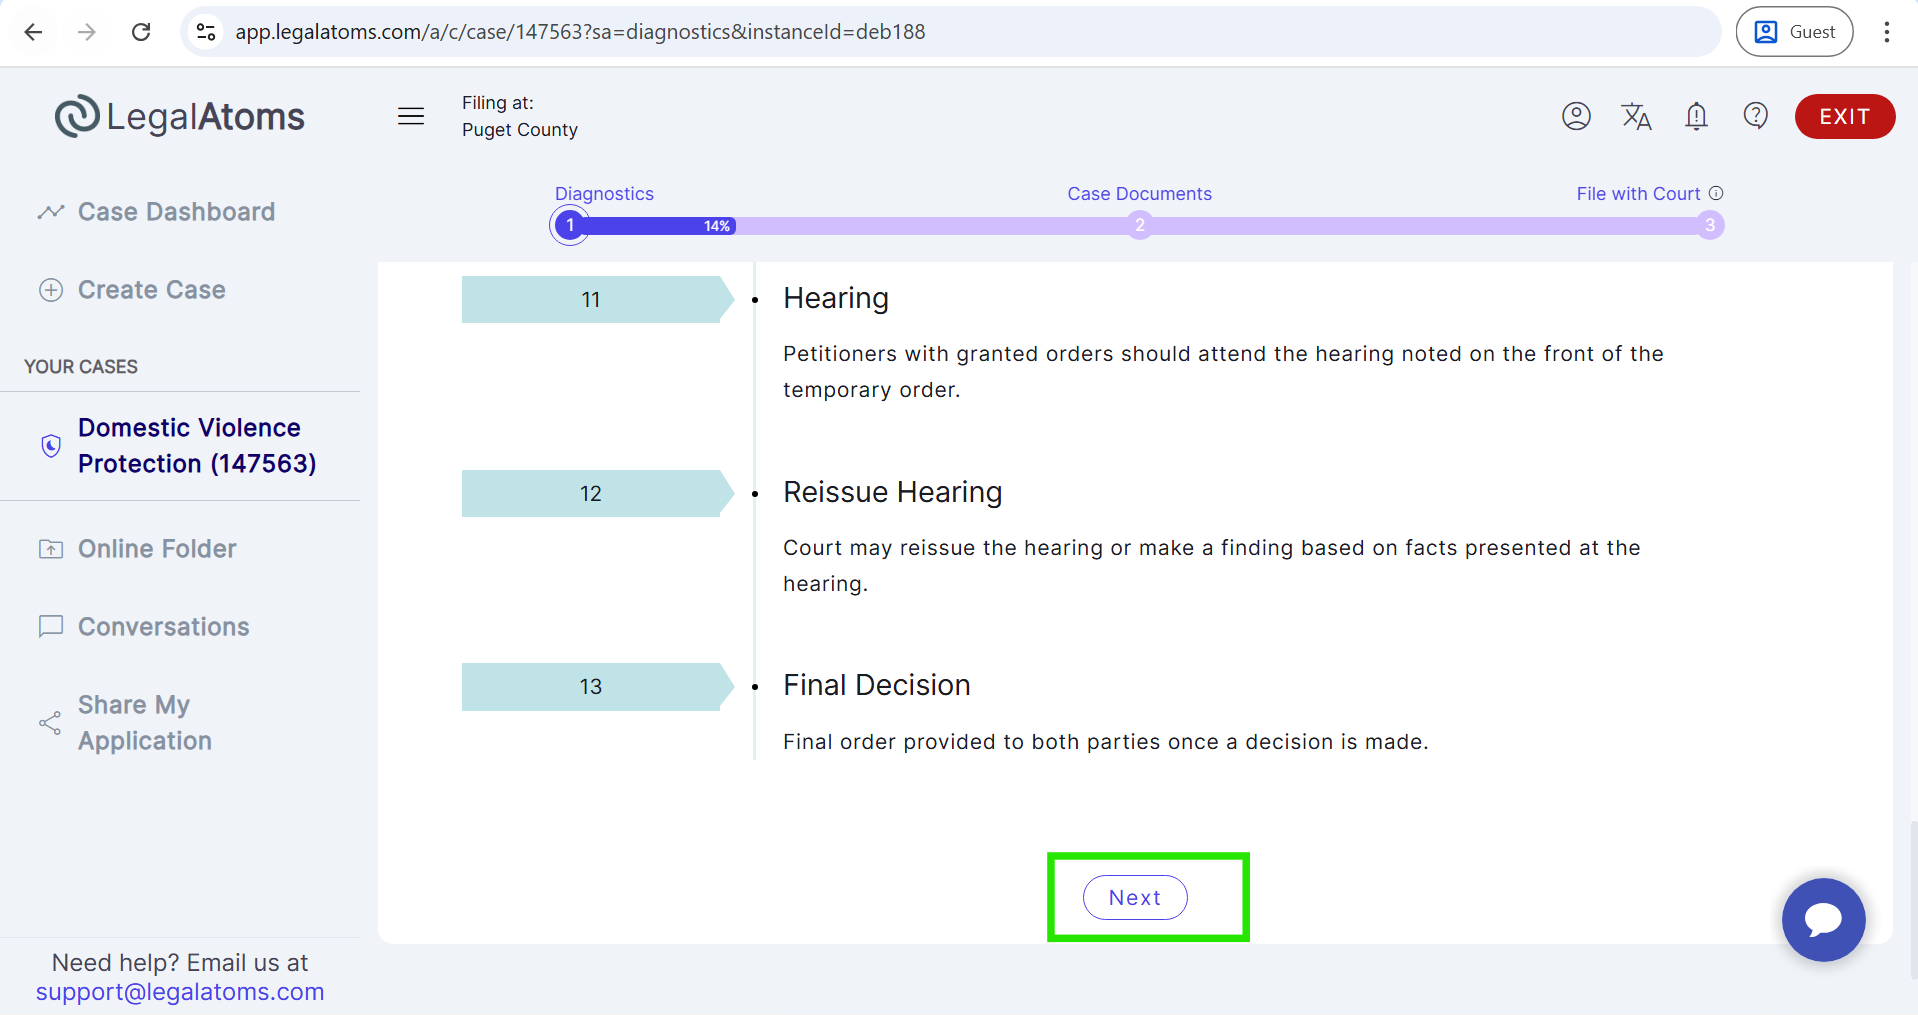
- 4. In the Timeline stage, review the timeline details and click Next.
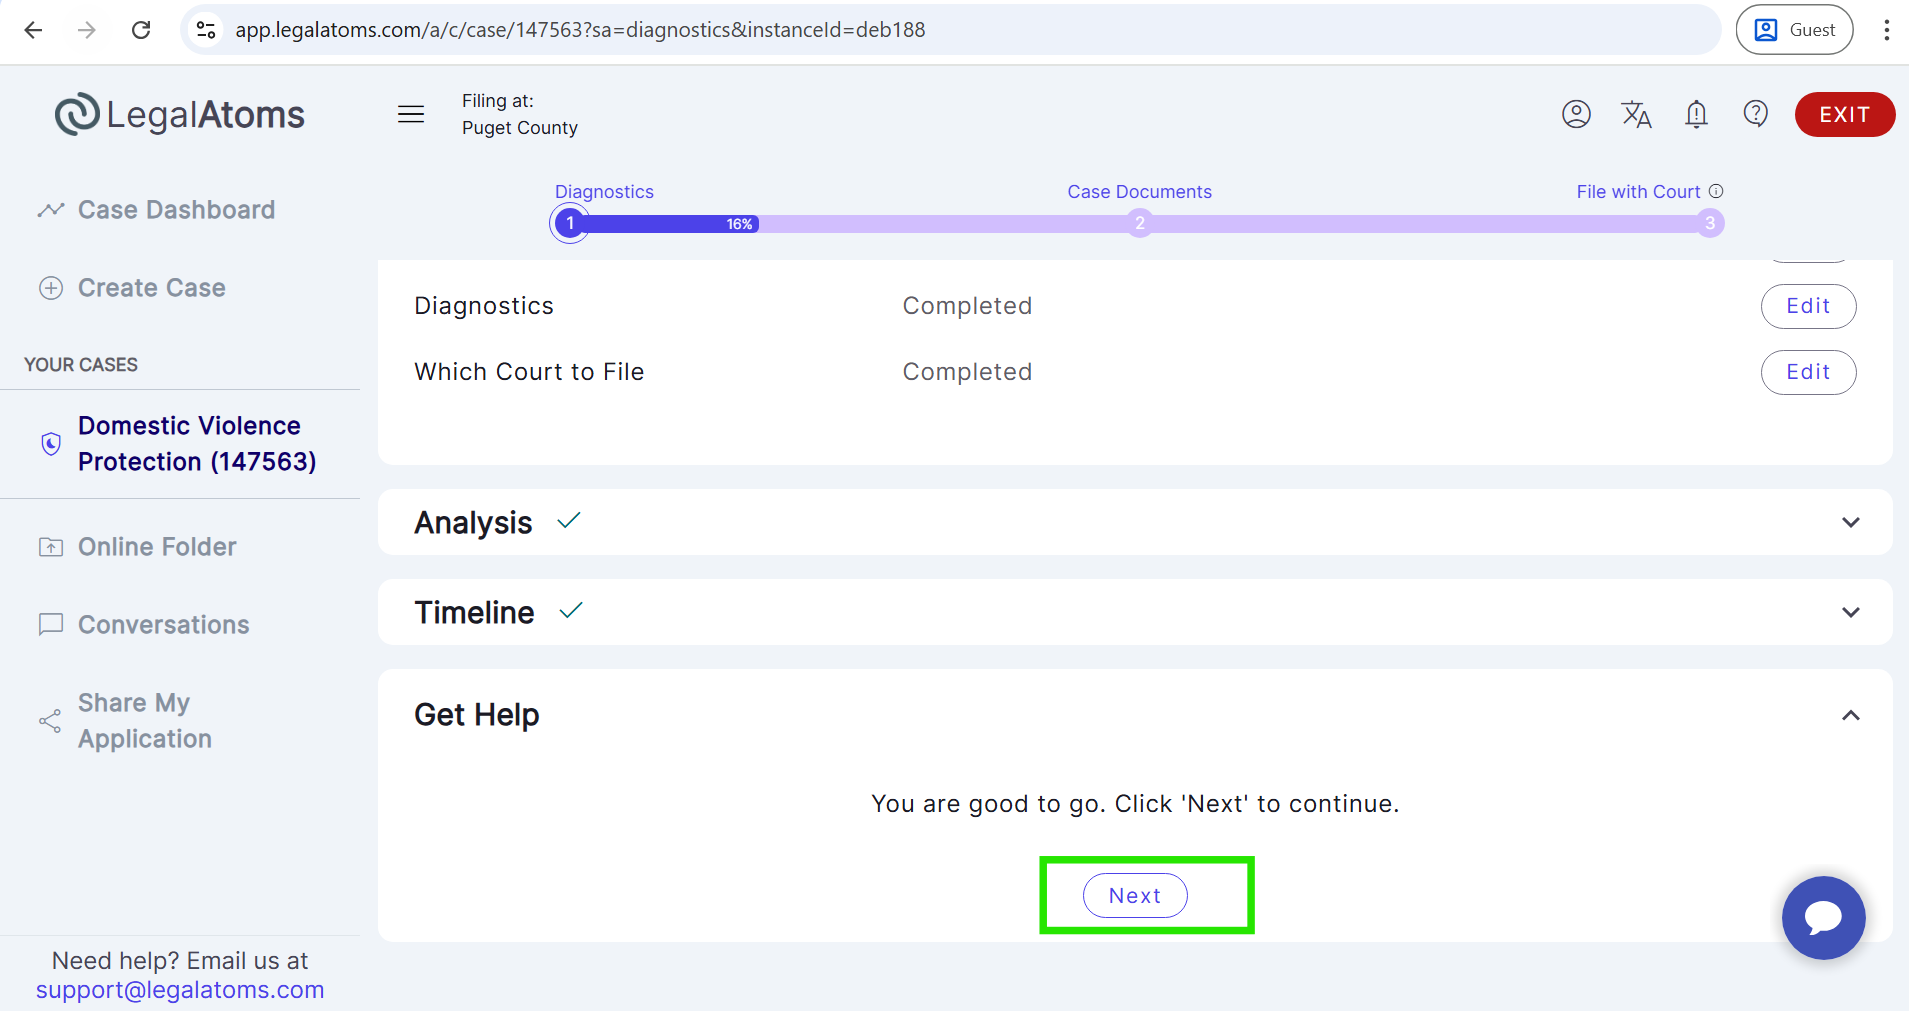
- 5. You will be navigated to the Get Help section.
- 6. From the Get Help section, click Next.
- 7. After clicking Next, you will land on the Case Documents stage.
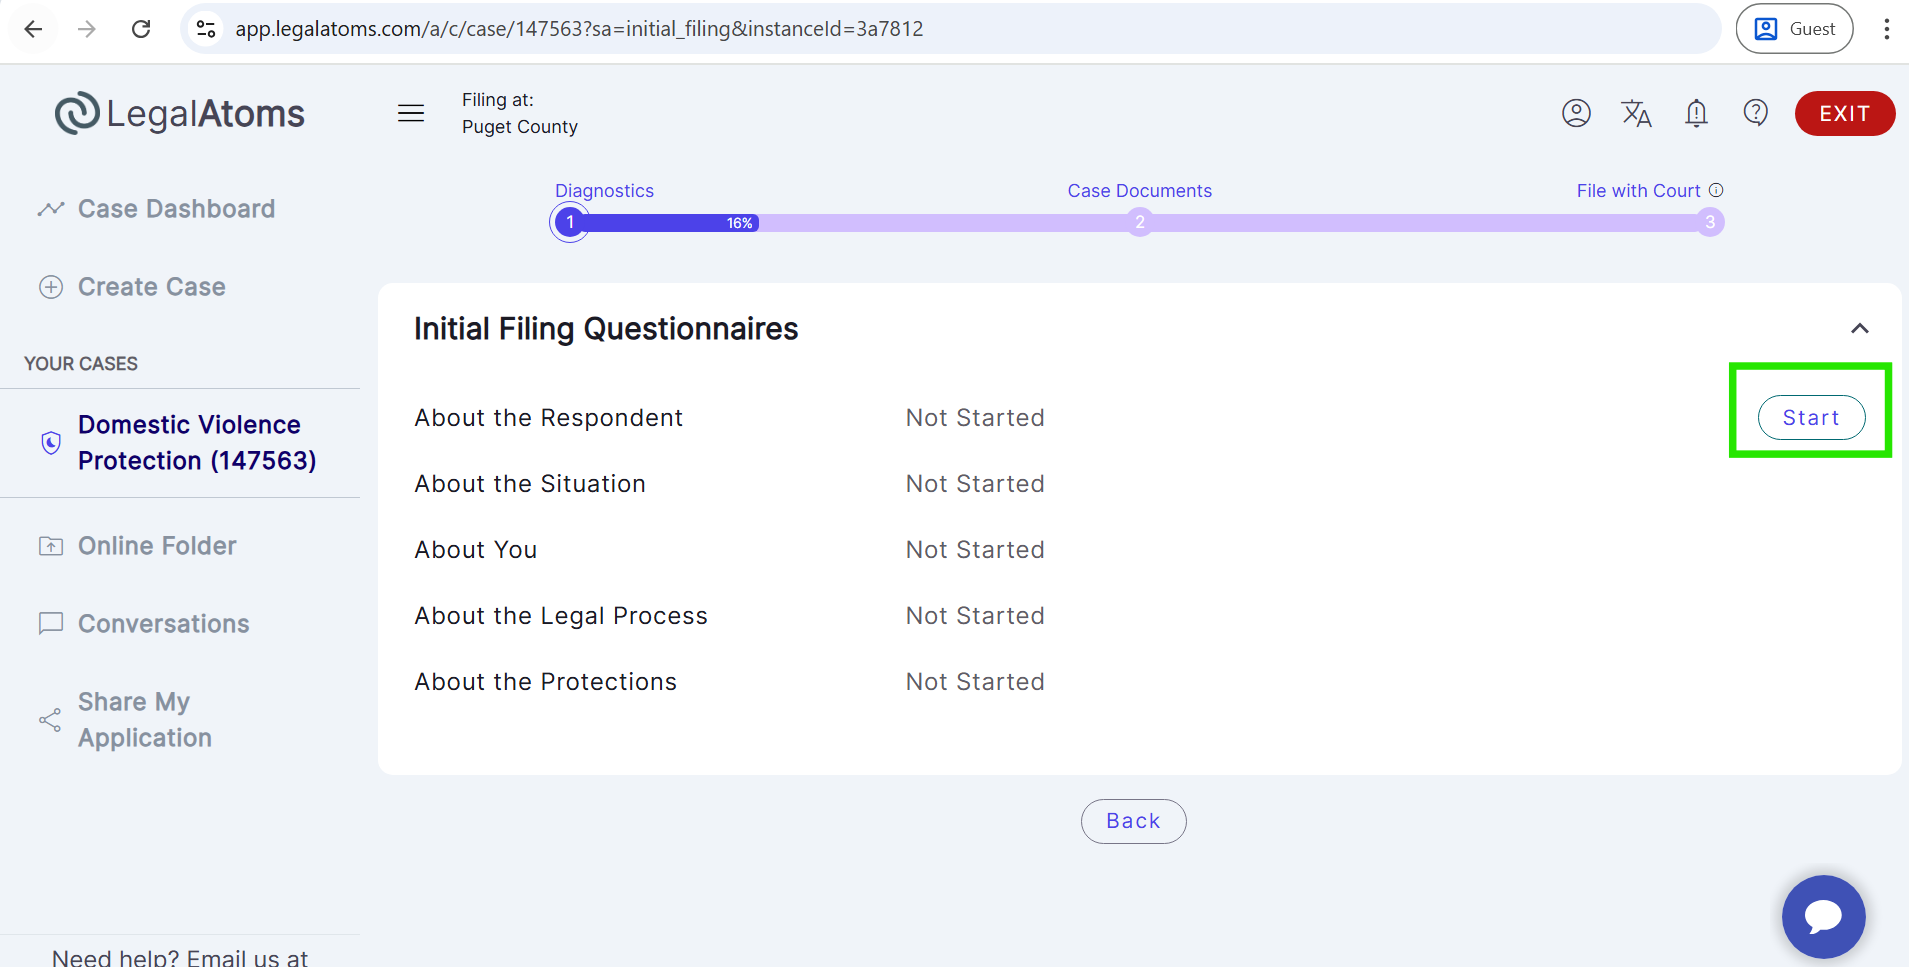
Step 4: Fill out the Initial Filing Questionnaire
- In this stage, the client completes the Initial Filing Questionnaire, which may include the following questionnaires:
- About the Respondent
- About the Situation
- About You
- About the Protections Questionnaire
- Fill out all information, including the required questions in each questionnaire.
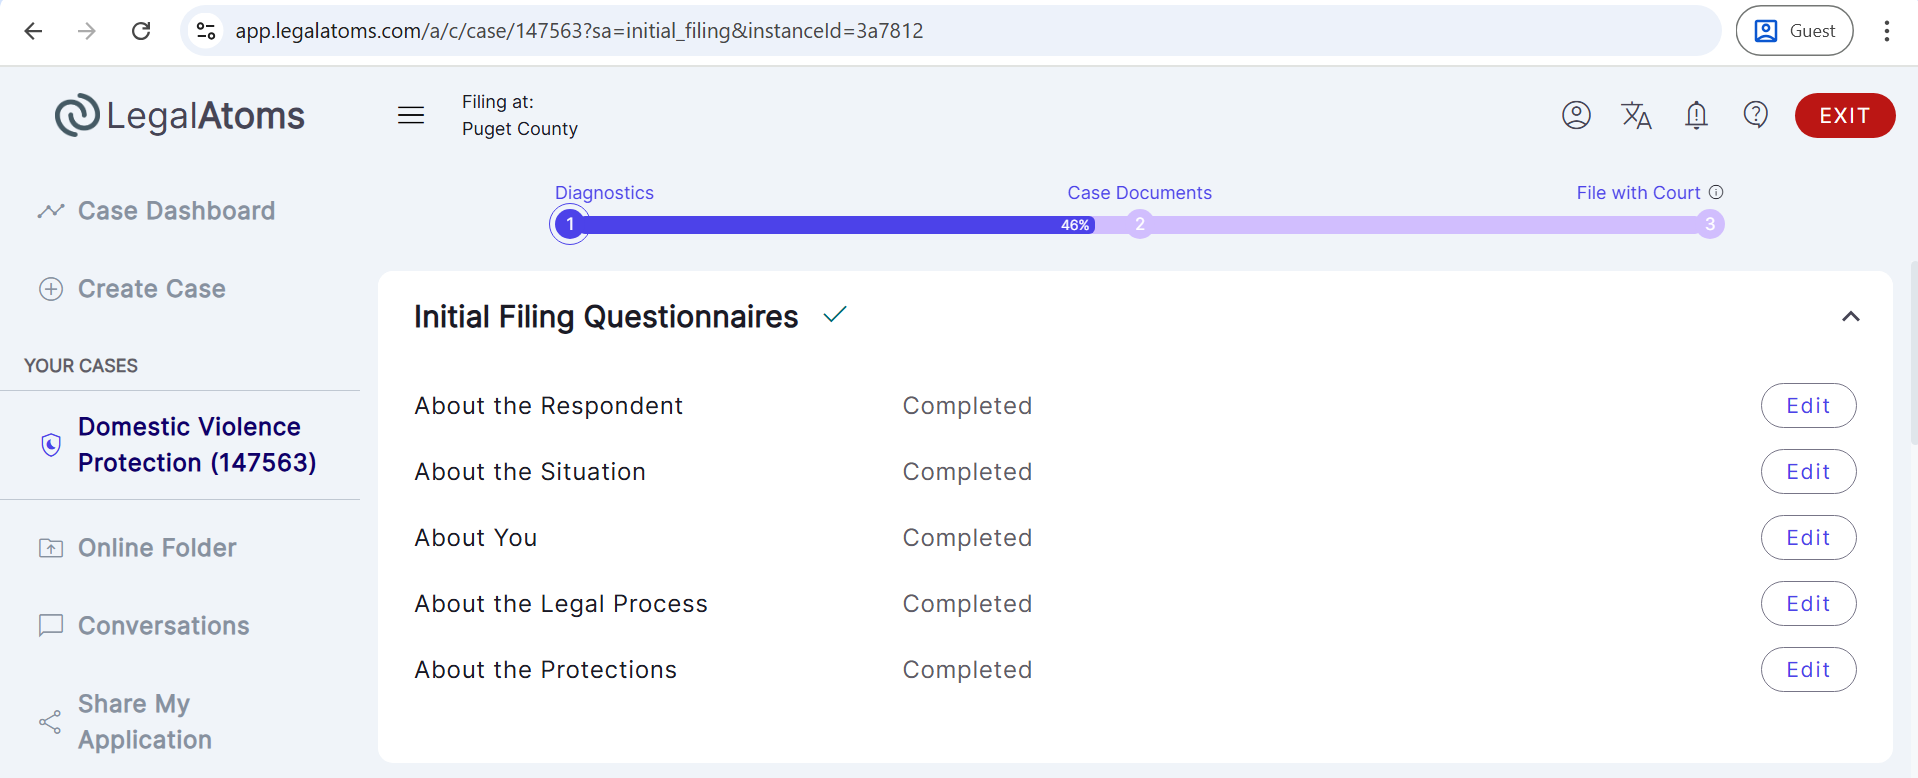
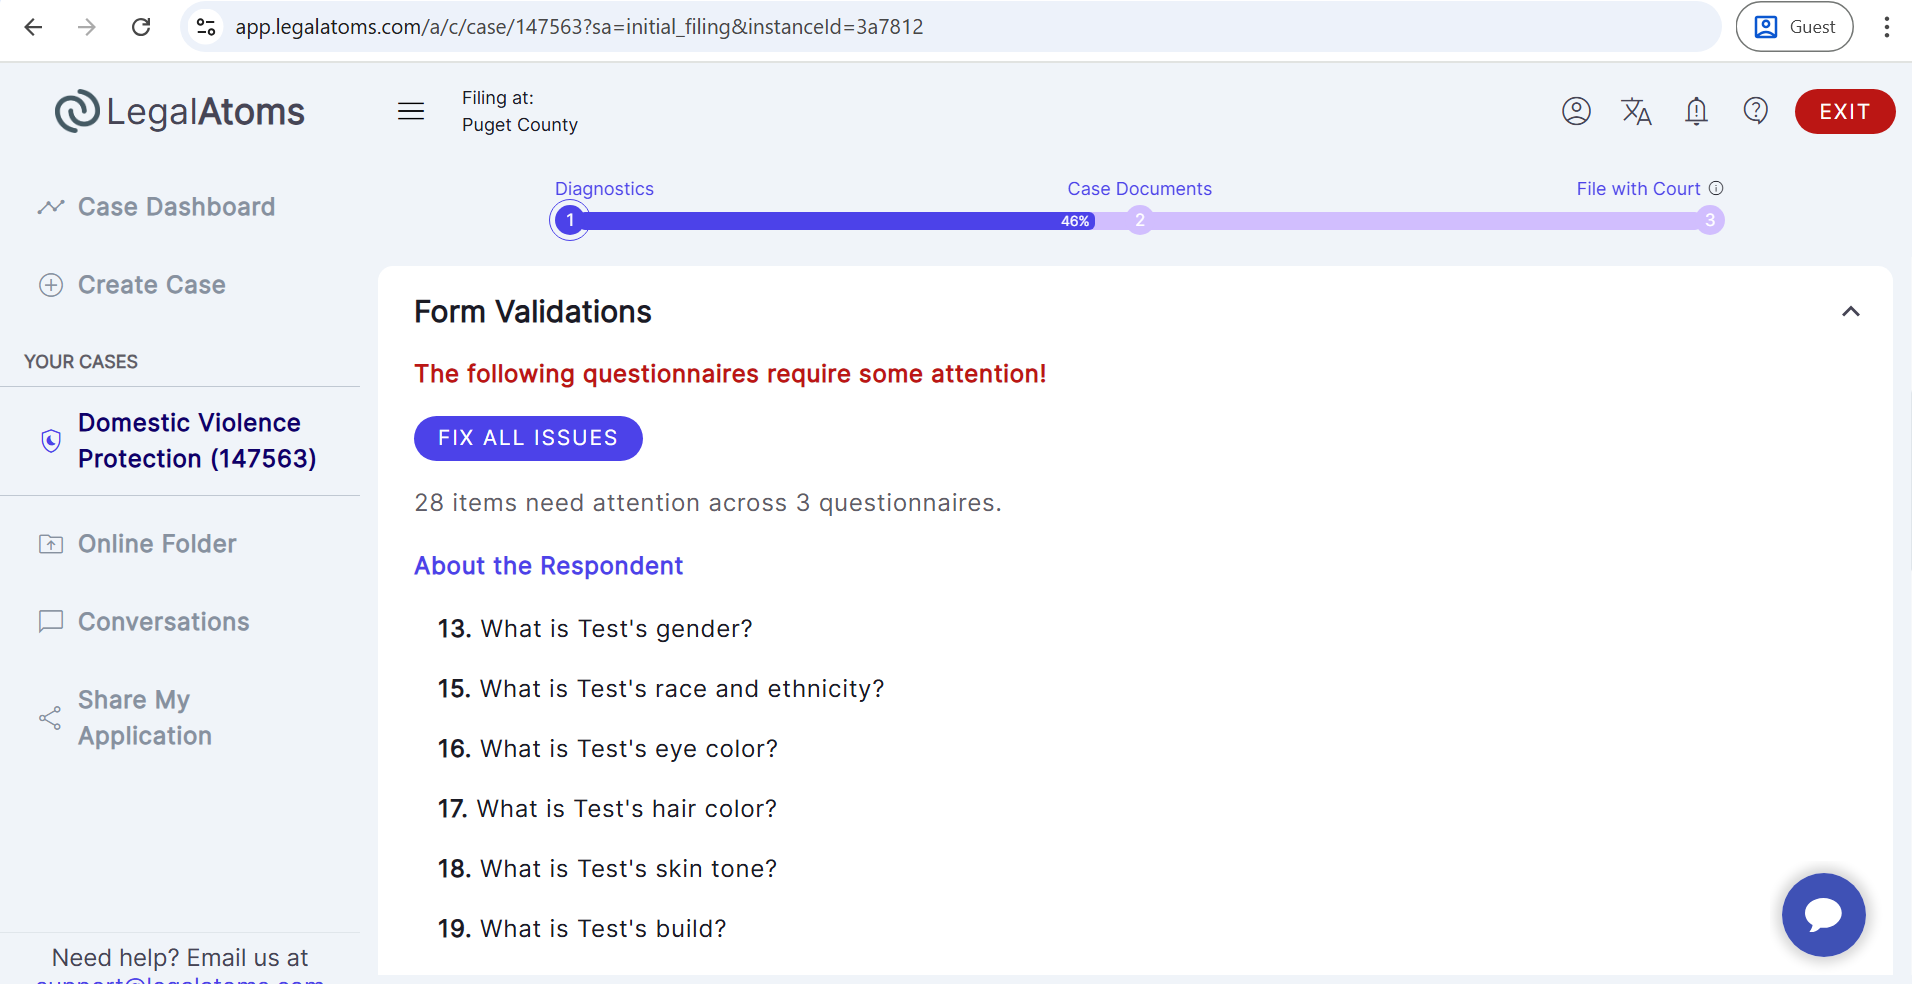
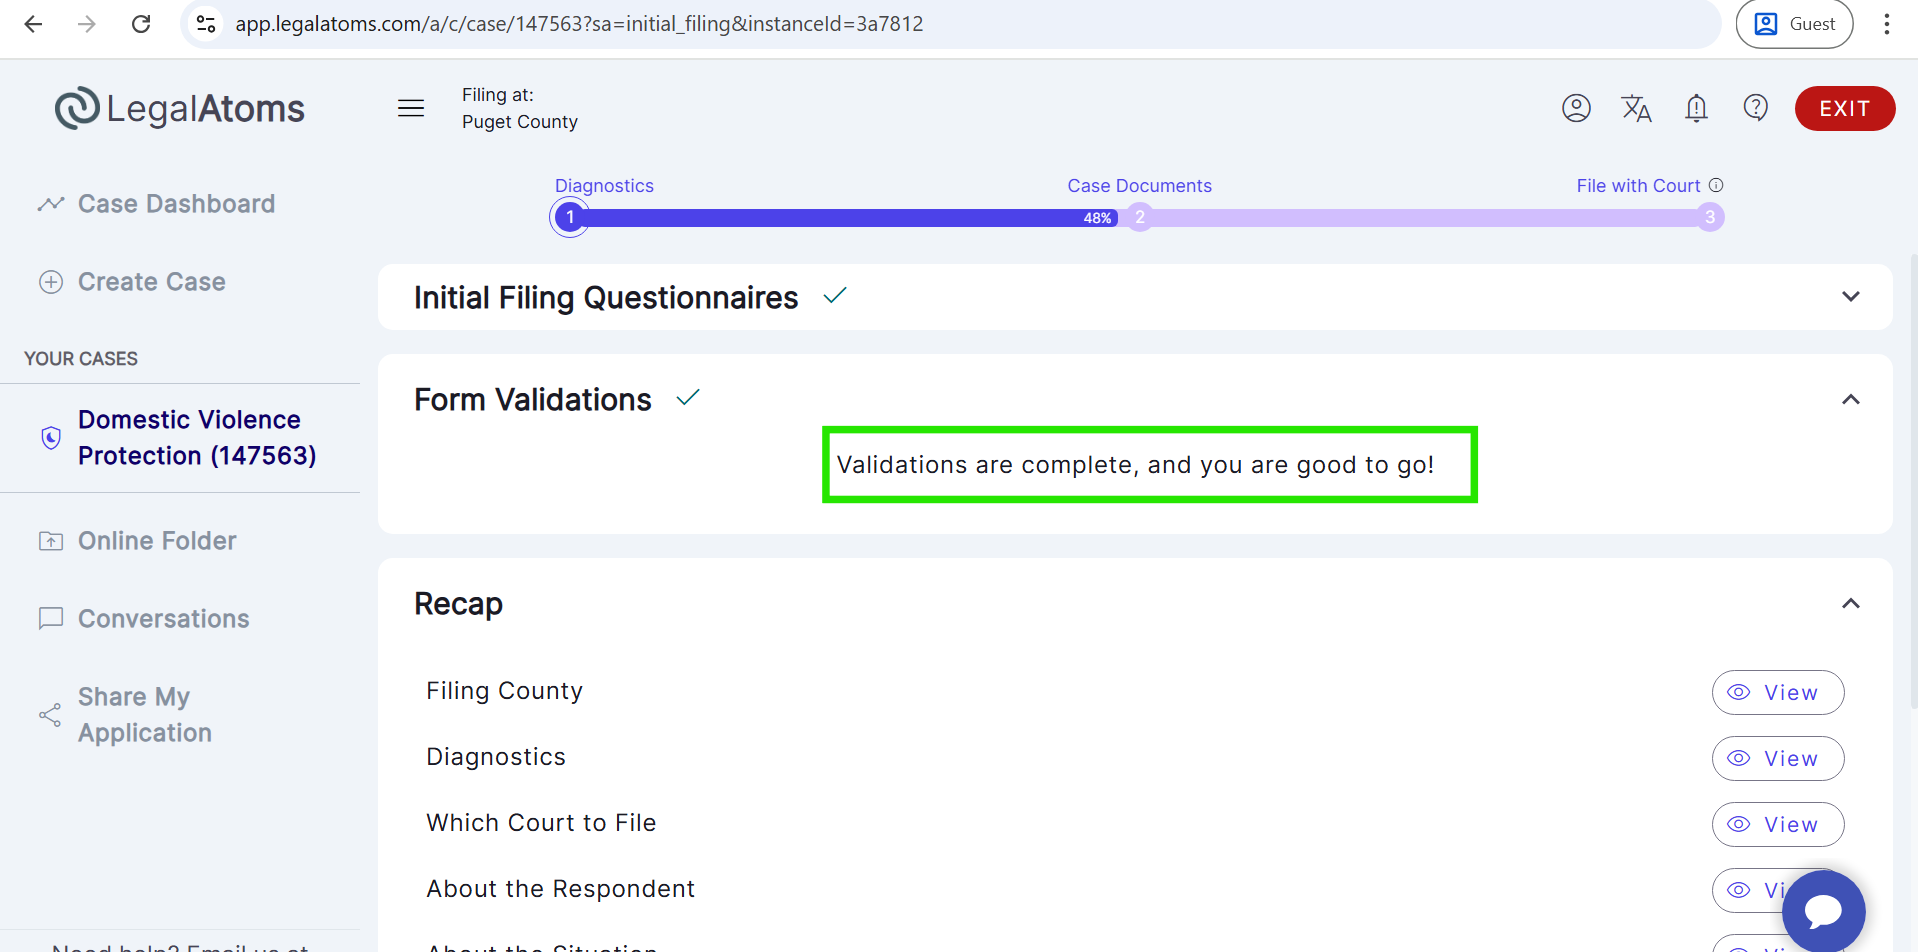
- After completing the questionnaire, the system performs Form Validations.
- If any required question is skipped, validation errors will be shown.
- The client must answer the missing or incorrect questions before proceeding.
- Once all validations pass successfully, the Recap section is displayed.
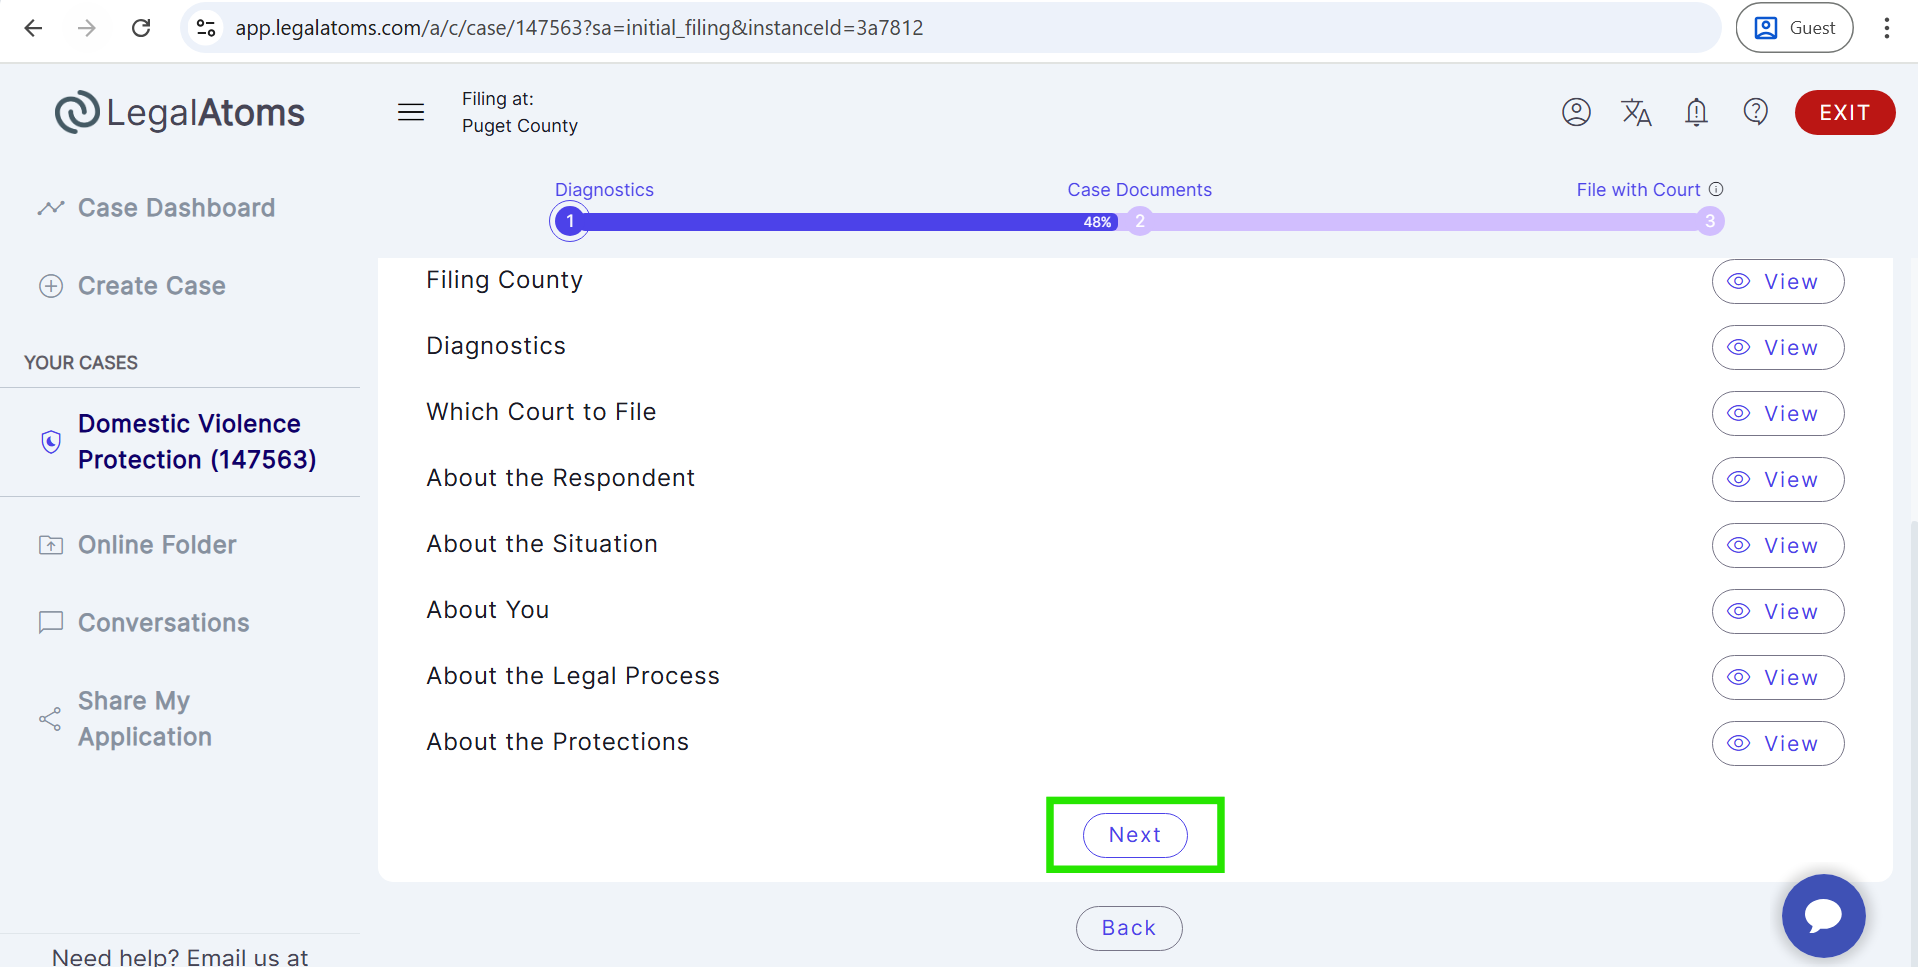
- This section shows a summary of all questionnaire responses entered by the client.
- You can review the recap information carefully if you want and click Next.
- Upon clicking Next, the required court documents are automatically generated by the system.
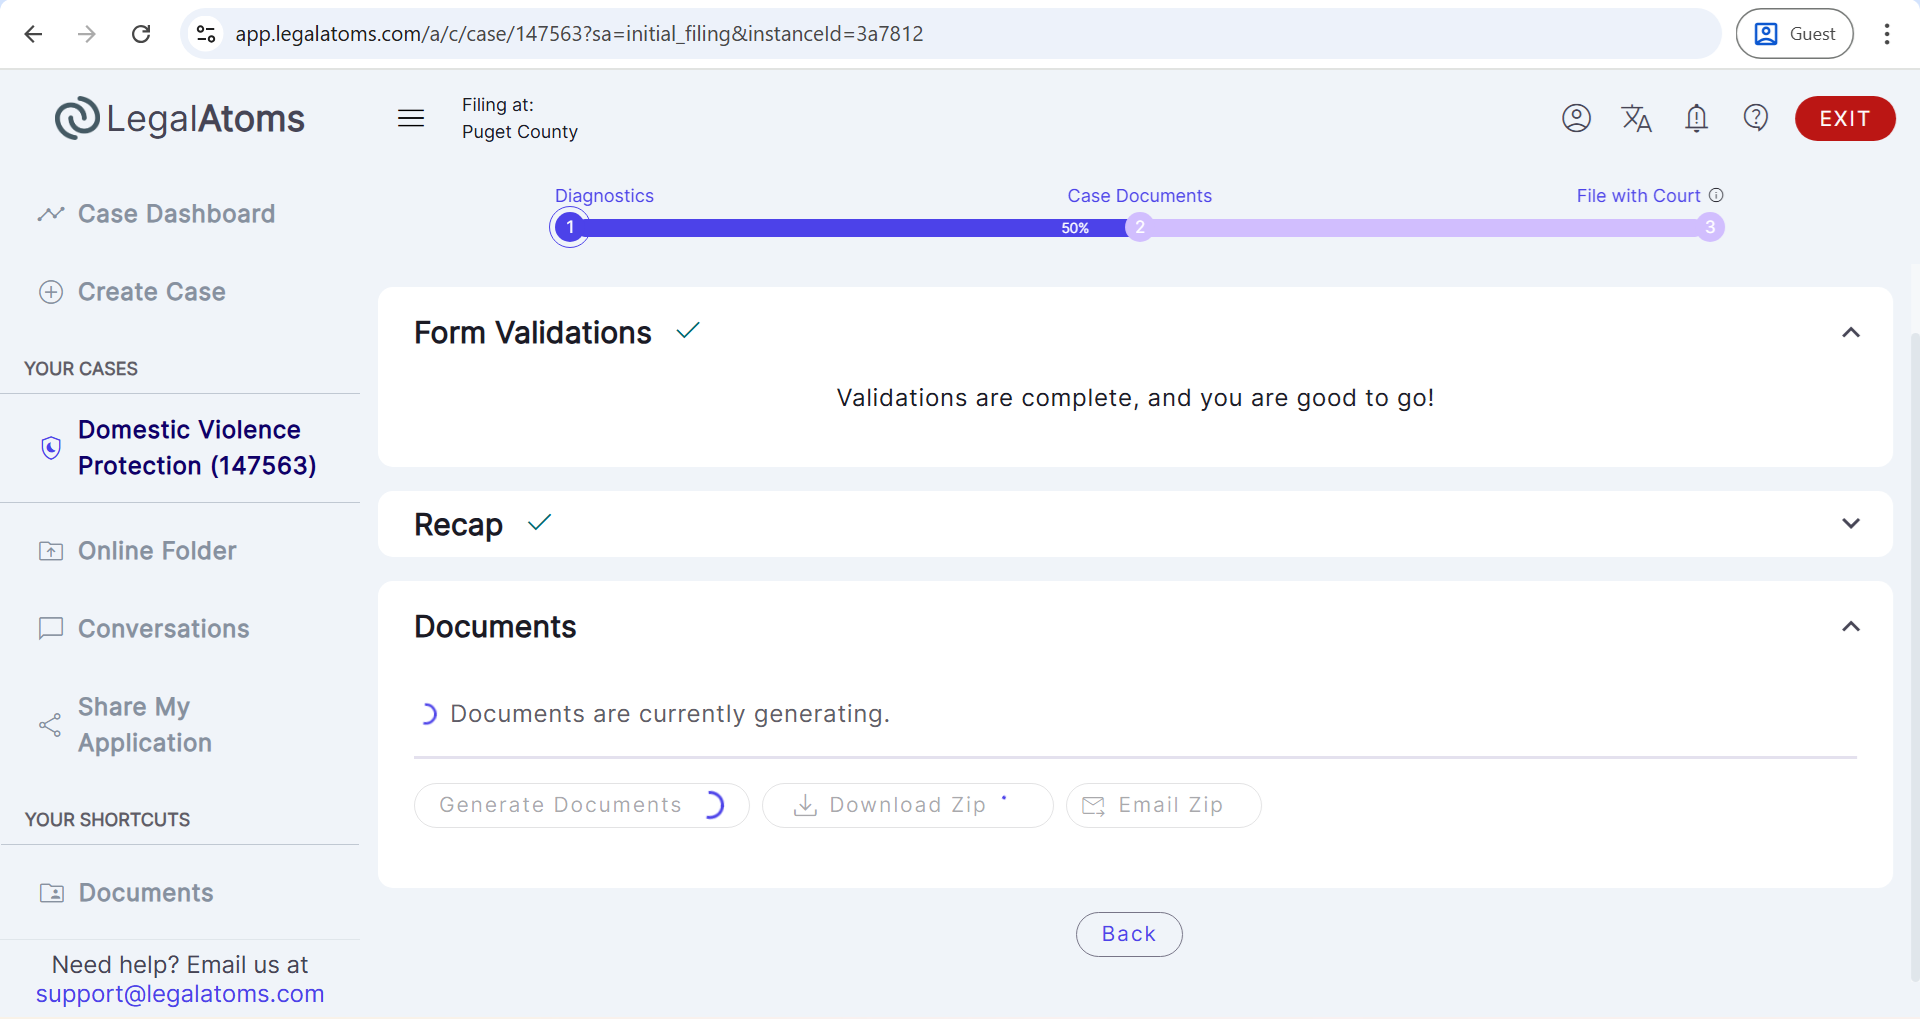
Step 5: E‑File case with Clerk
- After documents are generated, the Filing section appears.
- Click the Submit button to e-file the case with the court clerk.

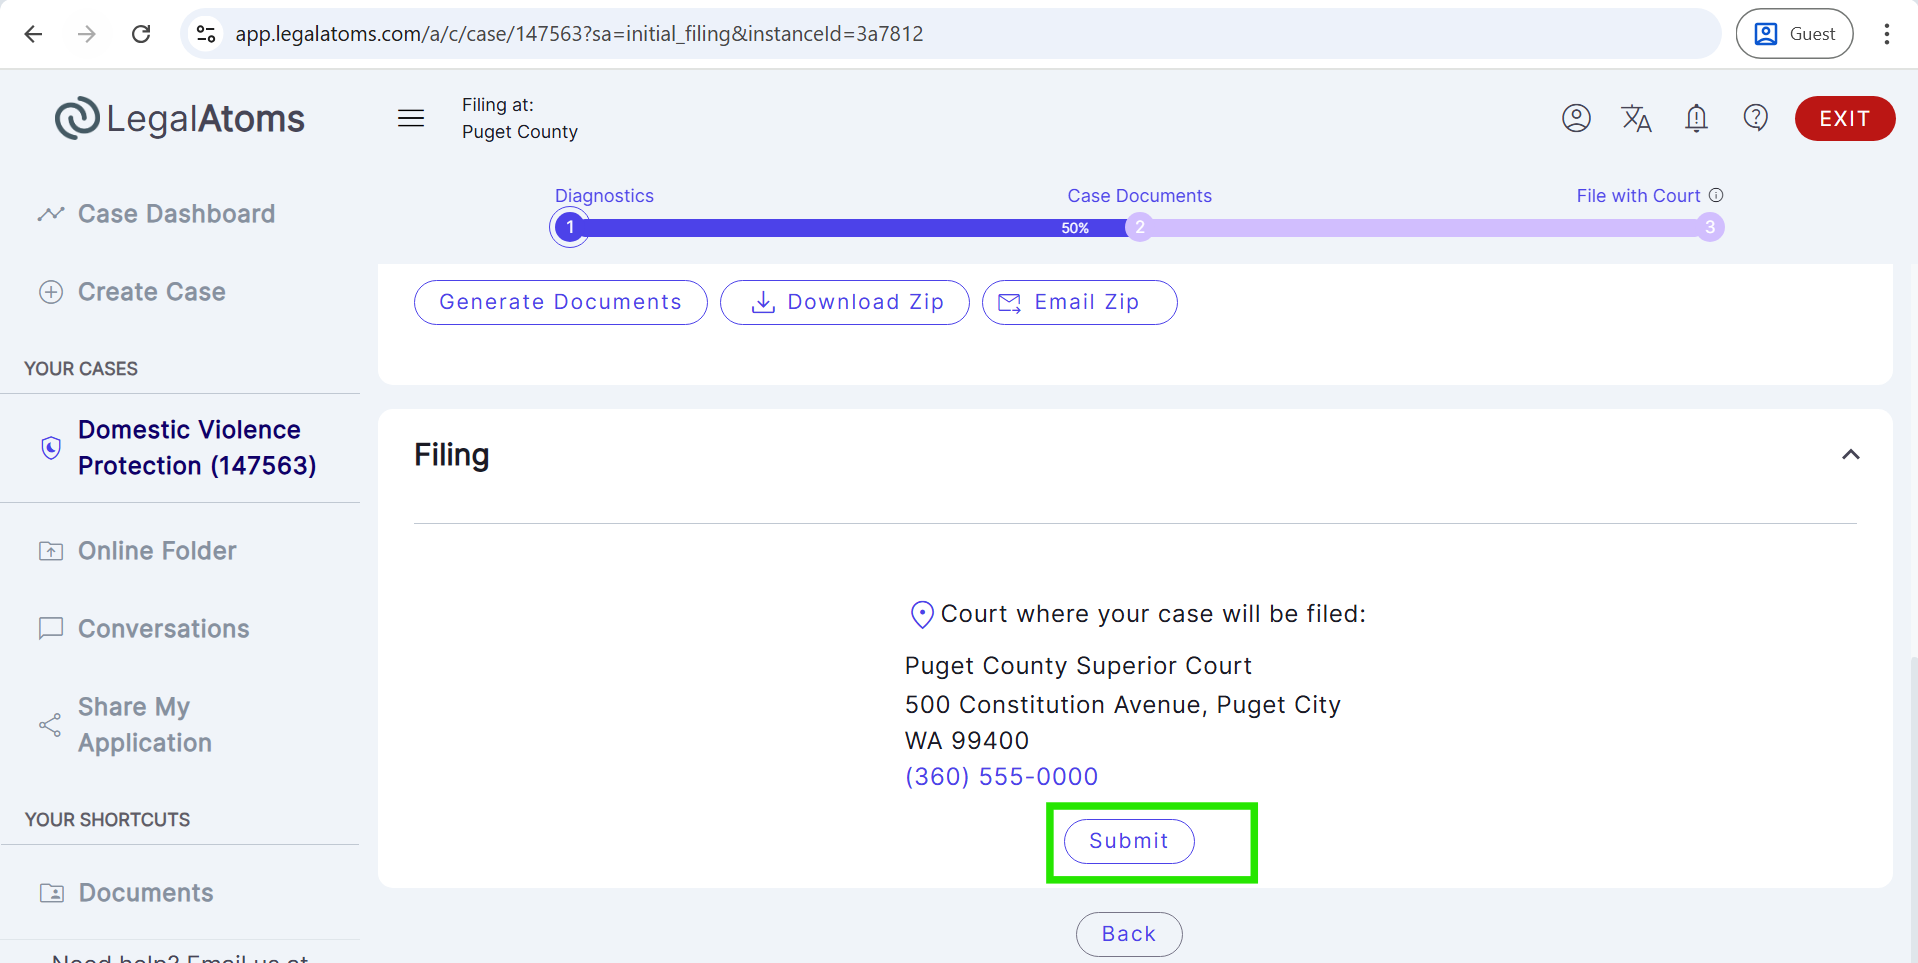
- After successful e-filing, an e-file submission notification email is sent to both the court clerk and the client with an attached zip document.

