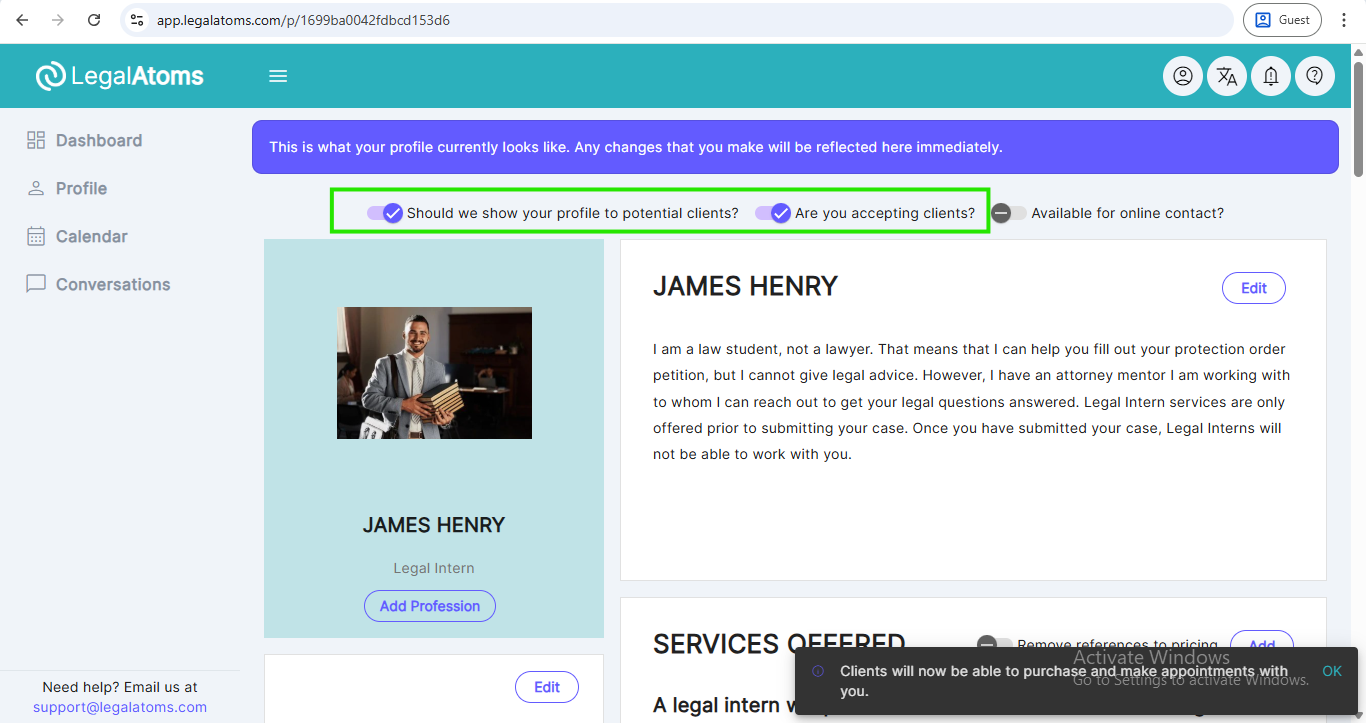
Create a Profile as a Non Profit Member
Recently updated on June 26th, 2025 at 09:16 pm
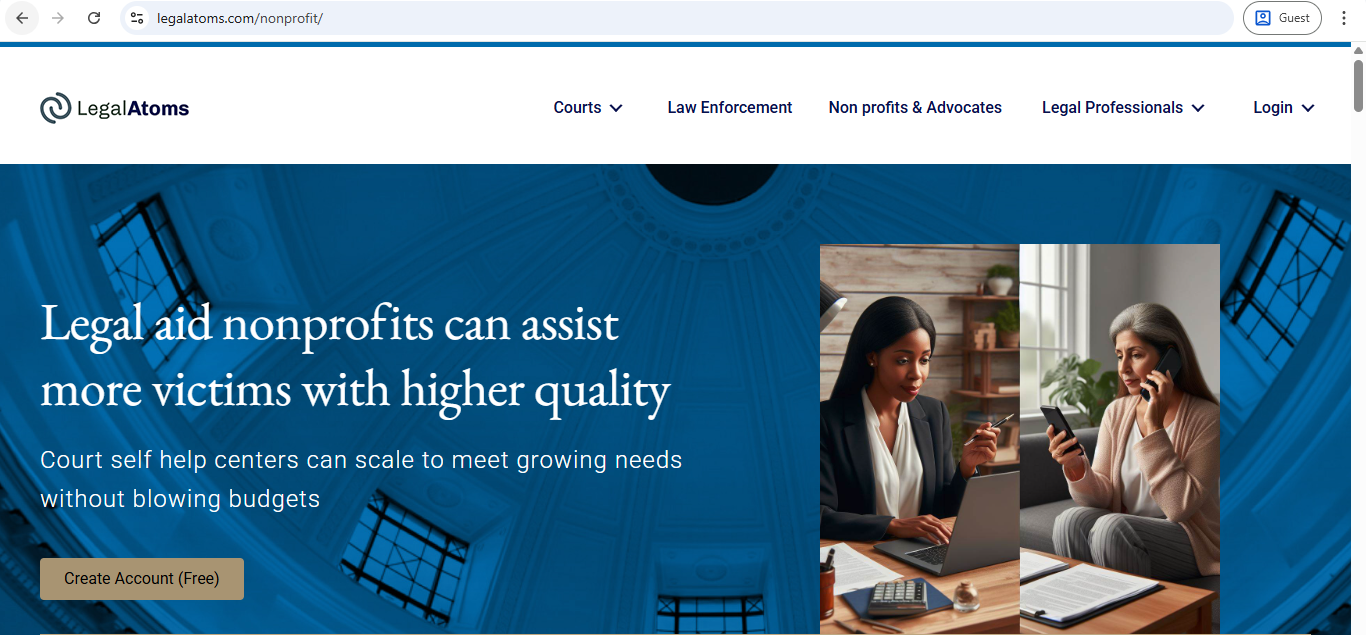
Step 1: Visit the Non profit Page
Read the page to get an overview https://legalatoms.com/nonprofit/
Step 2: Click on “Create Account (Free)” button
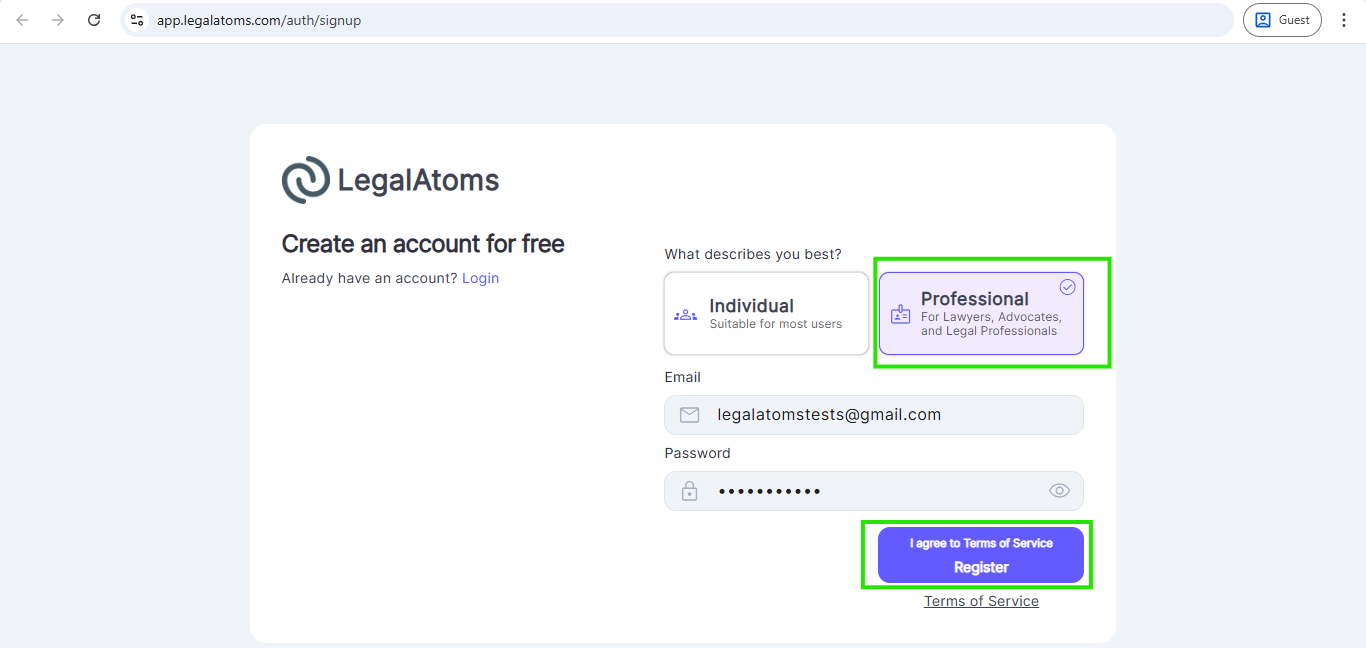
Step 3: Register as a “Professional”
After clicking on the Create Account (Free) button, you will be redirected to the signup page
Then enter the following fields
- Email: Note: This is where you want to receive your important account notifications. This email is not publicly visible. The email visible to the public is setup later
- Password:
- First Name:
- Last Name:
- Select Professional For Lawyers, Advocates, and Legal Professionals — this is key to setting up an account as a professional and not a client. Note: If you accidentally miss this, you can delete your account and start all over again
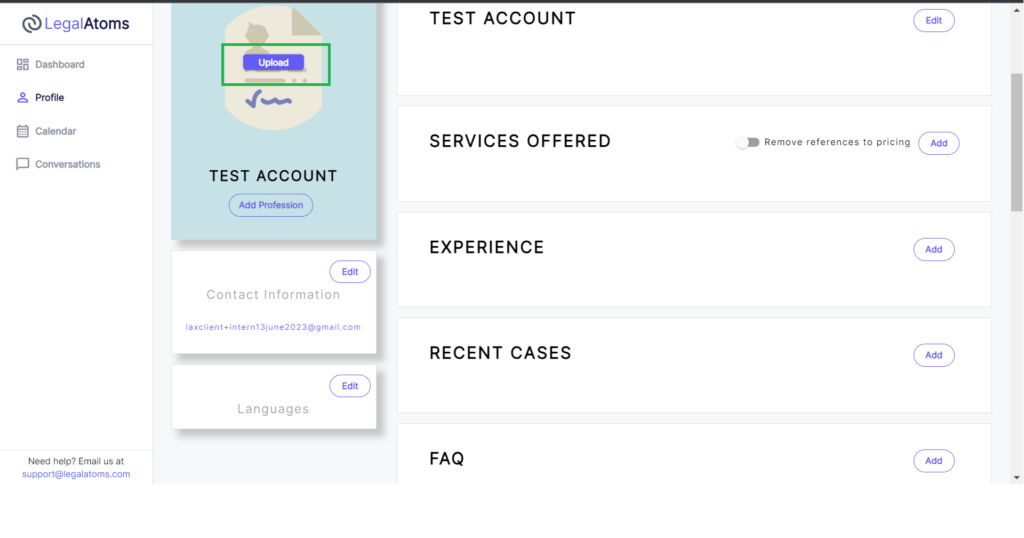
Step 4 Upload a Profile Picture
Please note: A profile picture greatly increases the chance of being selected by the client. However, you are not required to have one in case you don’t feel comfortable releasing one for privacy.
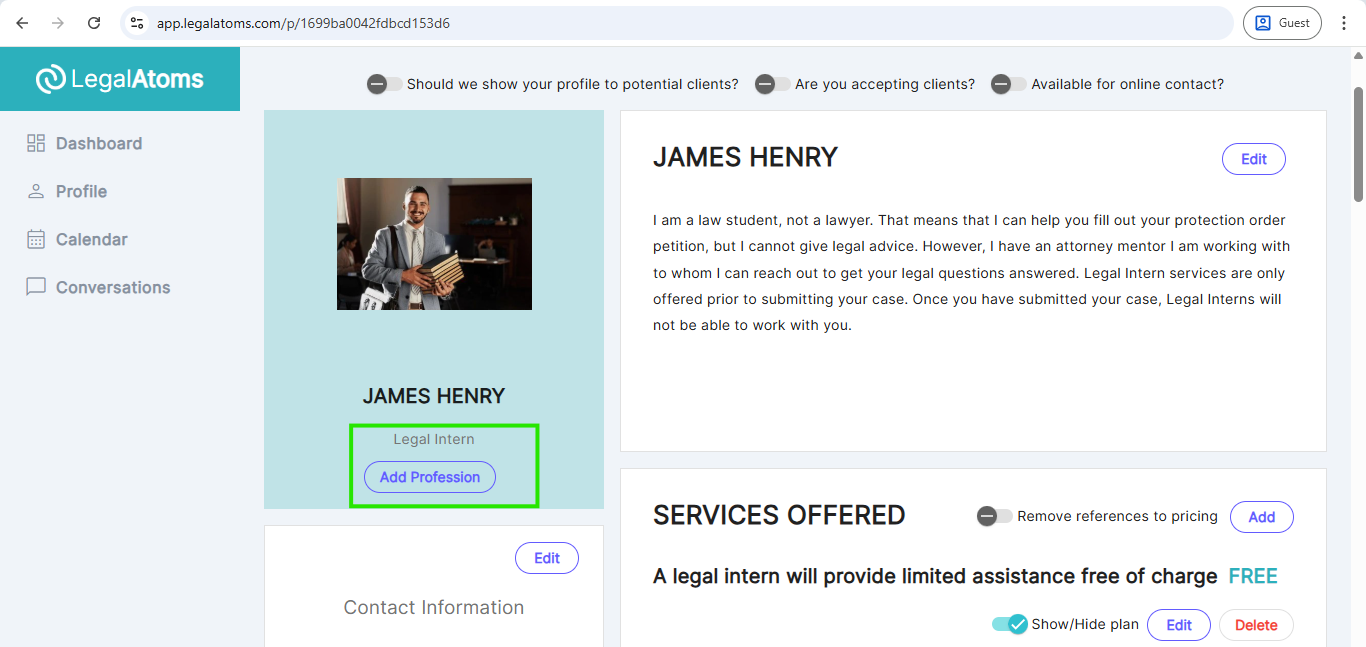
Step 5 Set Profession
Set the Profession as Nonprofit
Step 6 Write a blurb
Write a blurb which describes your role and organization
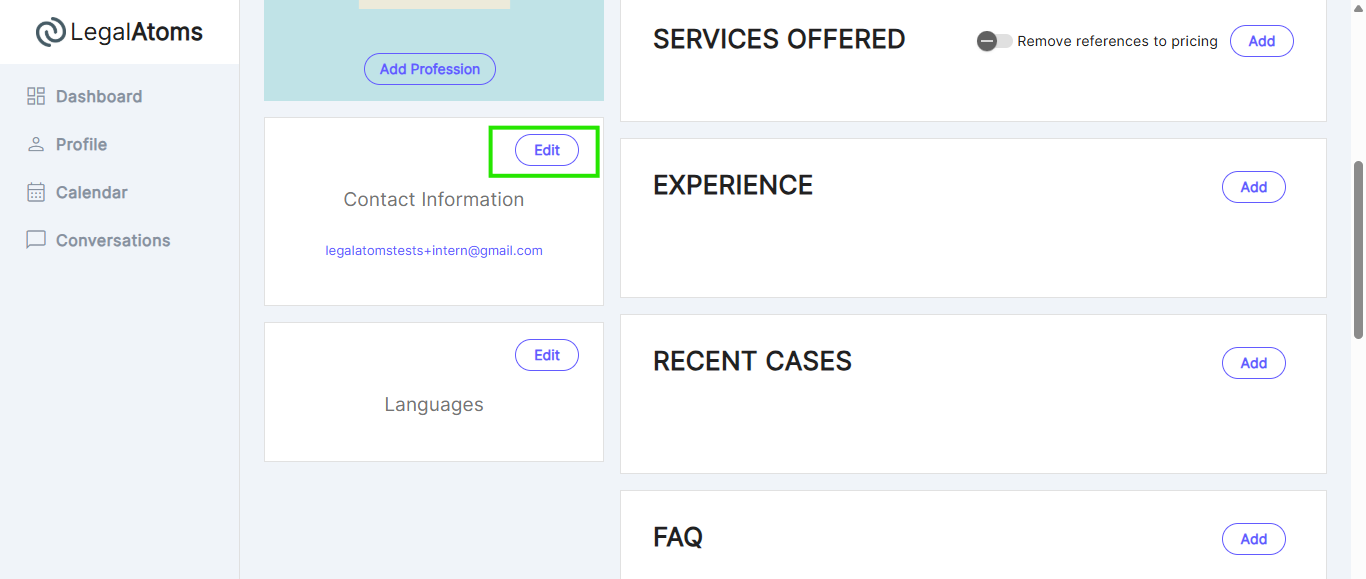
Step 7: Add Contact Information
In case you don’t have an office phone, then create a free Google Voice forwarding phone number to keep your personal phone number private
Step 7b: Address
Even if you work remotely please enter a reference address as this helps us show your profile to clients geographically closer to you
You can still specify later all the jurisdictions you provide your services in.
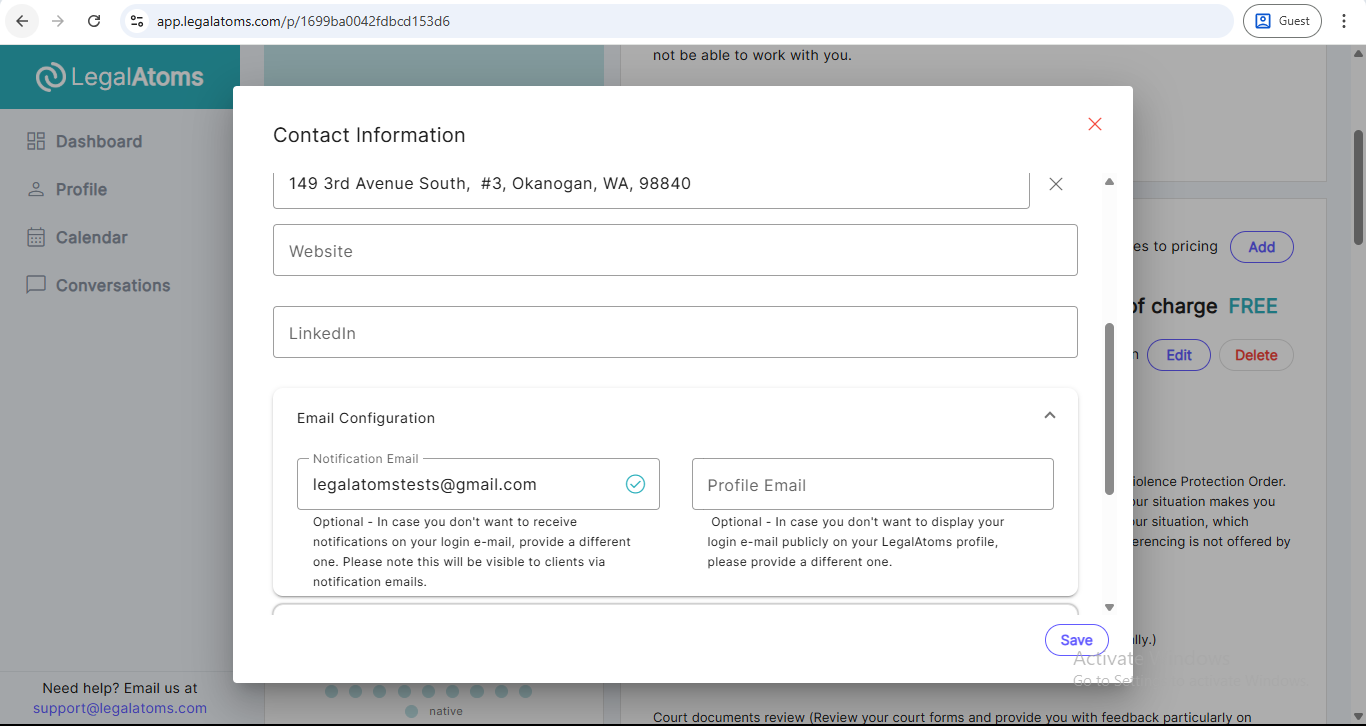
Step 7c: Email Configuration (Notification Email)
This section allows you to specify a Notification Email, which is where you will receive e-Filing notifications.
Notification Email Field
You can enter an email address different from your login email. This is helpful if you want to separate client-facing notifications from your internal email.
Important Notes:
-
The notification email will be used for sending e-filing-related notifications and updates.
- Make sure the email is active and monitored regularly to avoid missing any important client e-filing messages.
Additionally, there’s an optional Profile Email field if you want to publicly display a different email than your login email on your LegalAtoms profile.
Don’t forget to click the Save button after entering your contact and email details.
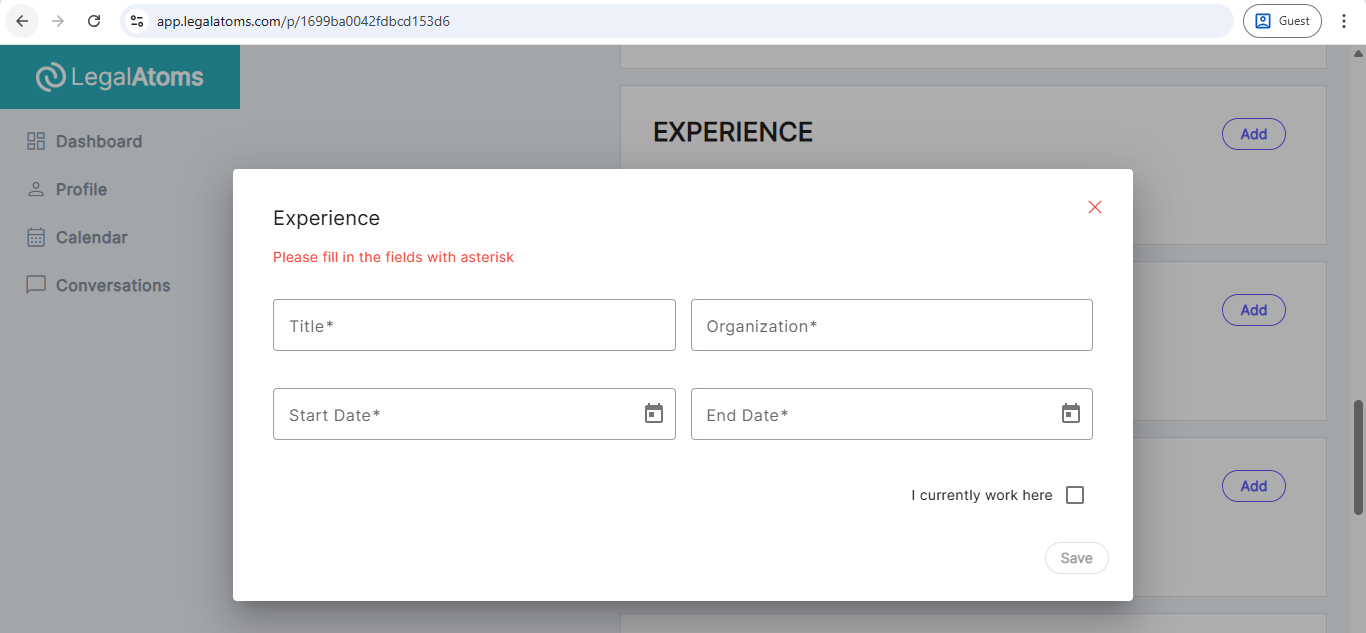
Step 8:Fill the Experience (Optional)
Add with your relevant work experiences. This is an optional section but will really help build confidence with potential clients.

This helps with matching you with clients
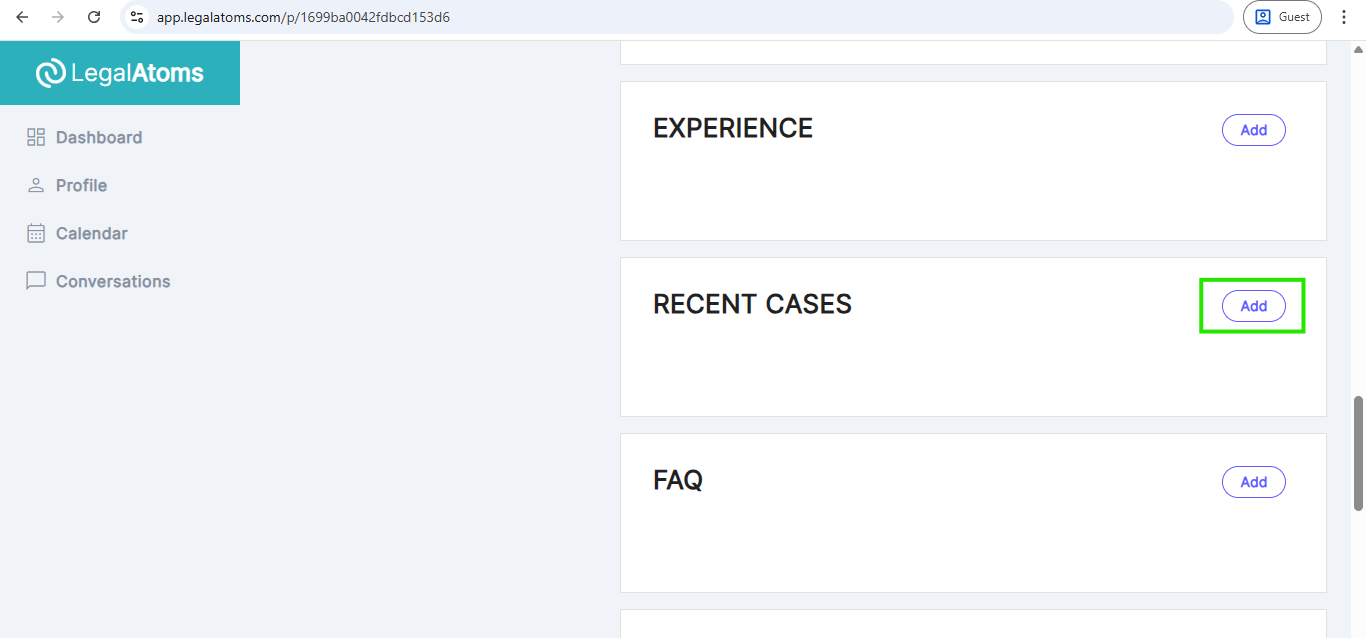
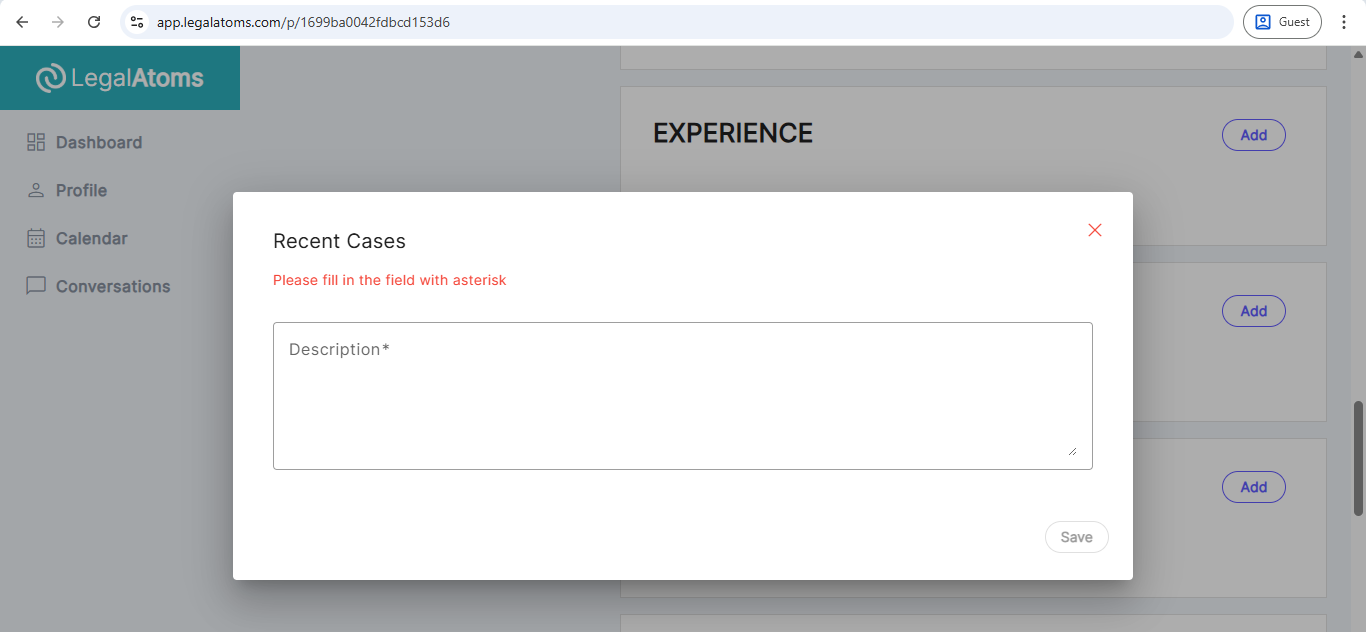
Step 9: Recent Cases (Optional)
You can discuss any cases you have worked on without revealing any client information. This section helps with the matching of clients with legal professionals.
Step 10: Pricing
Try to structure your services as a plan whereby each plan would provide specifics as to
- Who qualifies
- What a client would get
- What case types does the plan apply to. A single plan (e.g. review case documents) may apply to multiple case types
- Which jurisdictions does the plan apply to. Right now county is the best abstraction of jurisdiction for state level cases.
Step 11: Connect your calendar (Optional)
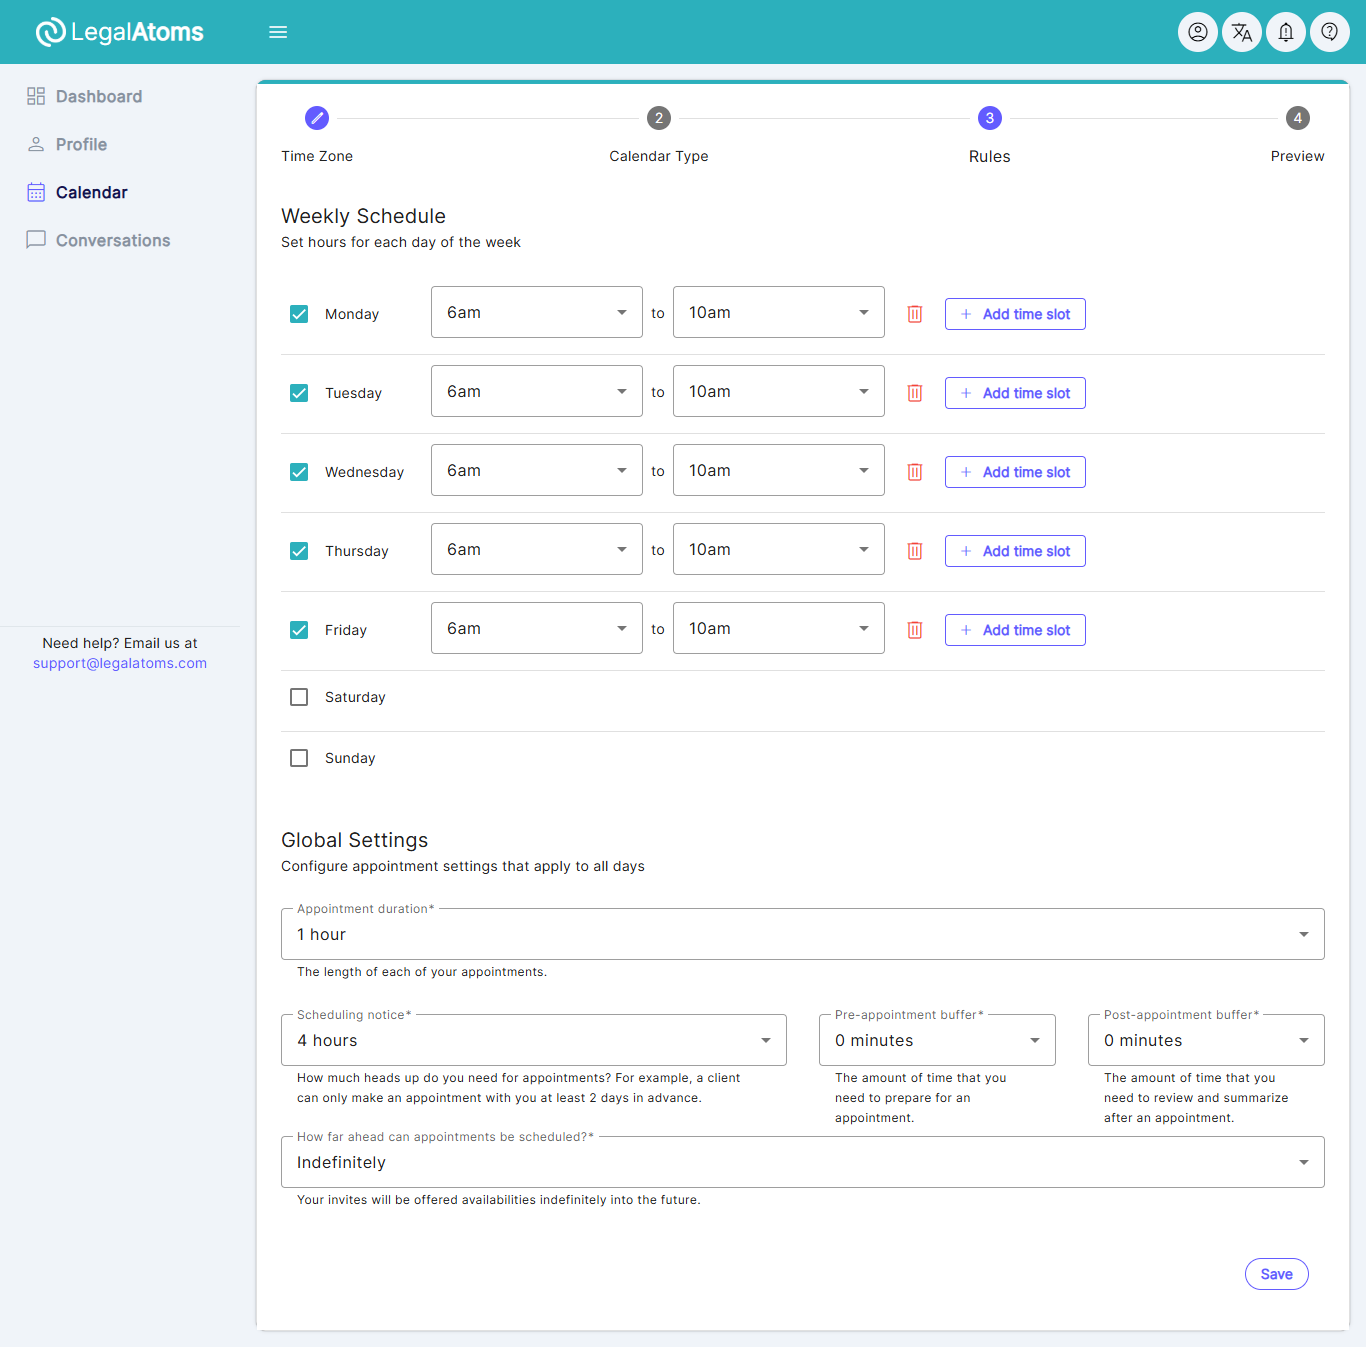
LegalAtoms allows you to link your calendar so appointment requests can be made by the clients. At the moment, only Legalatoms calendar and Google calendars are supported.
You have a fine set of controls for appointments such as
- Days of the week
- Start and end hours (e.g. Mon, Wed 12pm-2pm)
- Appointment duration
- Heads up you need (e.g. 1 day advanced notice)
- And a few other controls


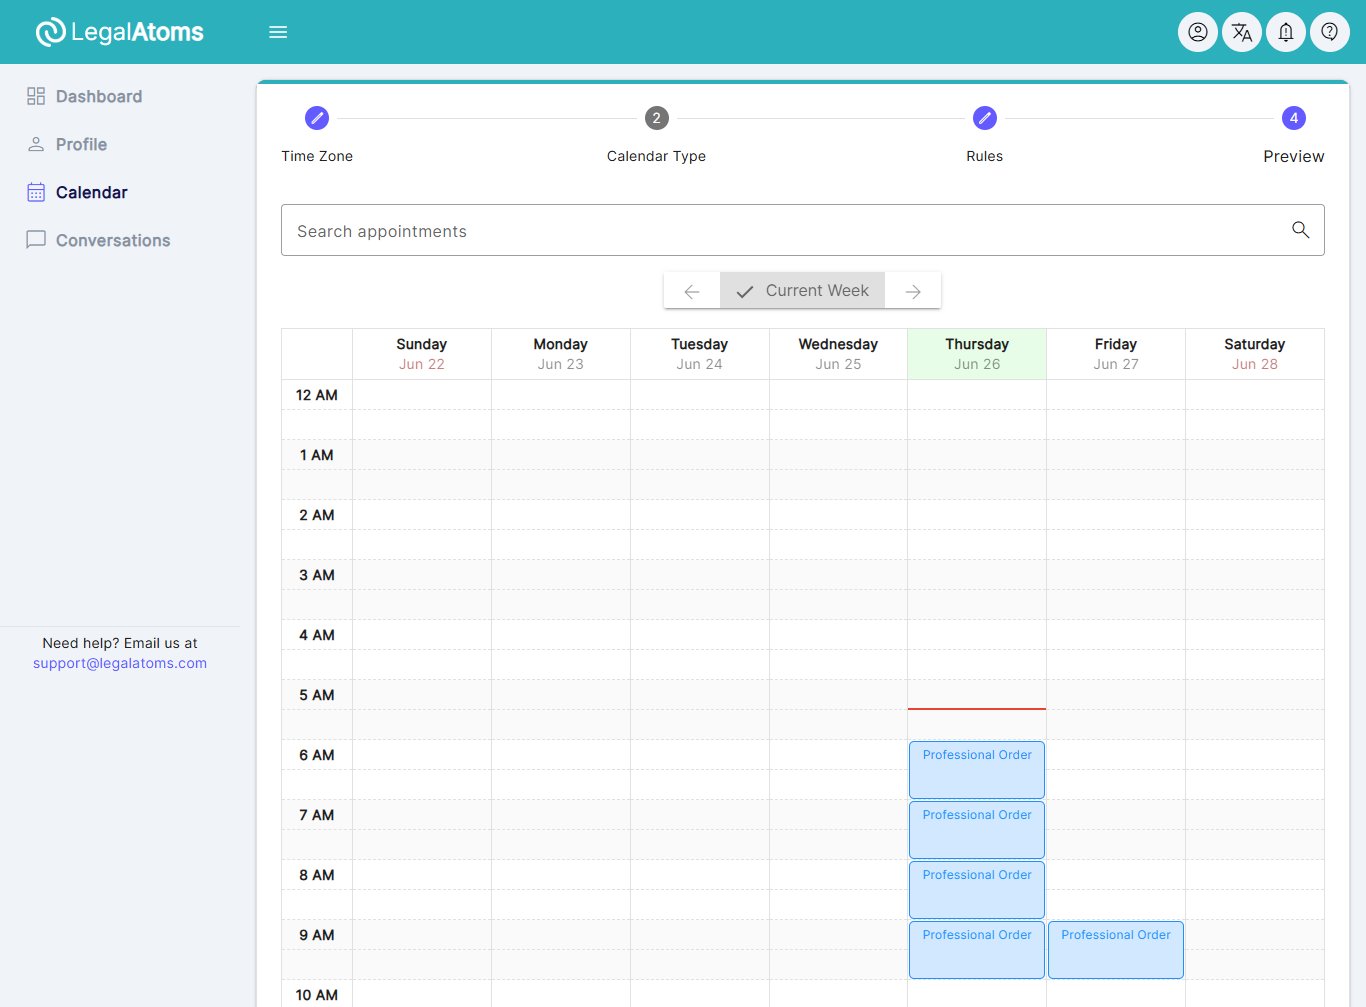
Step 12: Preview
At this point you can preview your profile
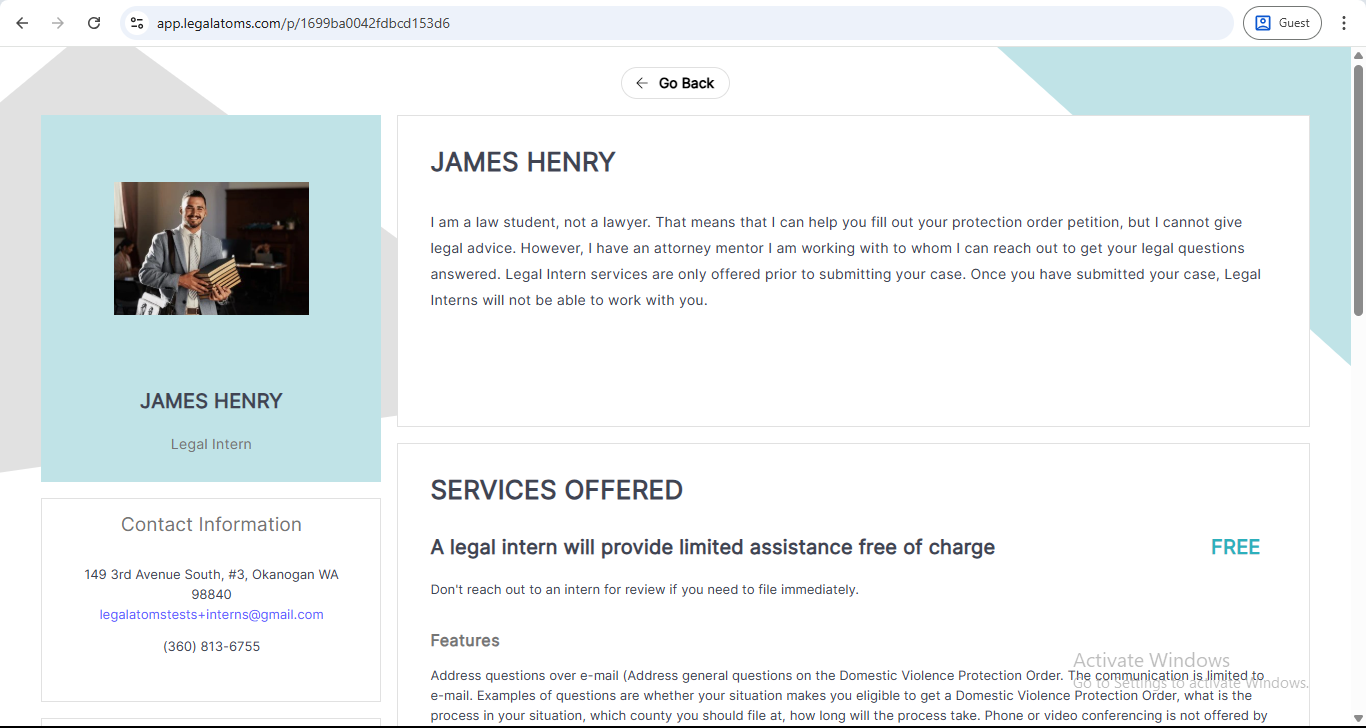
Step 13: Make your profile Public
In the settings tab, you can turn on the first switch, and this just means that your profile will be discoverable.
Only when you turn on the next switch do we allow clients to send you requests.
Once a client sends you request, you will receive an e-mail notification. If you login, you will also see a facebook style notification.
